14 Backyard Shade Ideas to Stay Cool in Style
14 Backyard Shade Ideas to Stay Cool in Style
There is a specific quality that a shaded outdoor space possesses on a hot afternoon that no amount of cooling technology, no fan, no cold drink, and no indoor air conditioning can replicate.
It is the quality of being genuinely outside while being genuinely comfortable — of feeling the air move and hearing the garden and smelling whatever is growing nearby while being protected from the direct sun that makes all of those pleasures impossible to enjoy without the shade that allows them. The shaded outdoor space is not a compromise between inside and outside. It is the outdoor environment at its most fully habitable.
Most backyards are shaded inadequately — one parasol positioned where the table is rather than where the shade is needed, or a strip of fence shadow that moves across the garden through the afternoon and leaves the primary seating uncovered by three o’clock.
The shade solution that works is the one that was designed for the specific garden, positioned for the specific sun angles of the specific climate, and specified for the specific activities the shaded space needs to support. The ideas below address every version of that problem at every budget level.
Each idea below is a specific approach to one type of backyard shade solution. Each includes what you will need, what it will cost, and a practical tip to make it work as well as the cool, stylish outdoor space it is designed to produce.
1. The Louvred Pergola Roof
Budget: $1,500 – $8,000
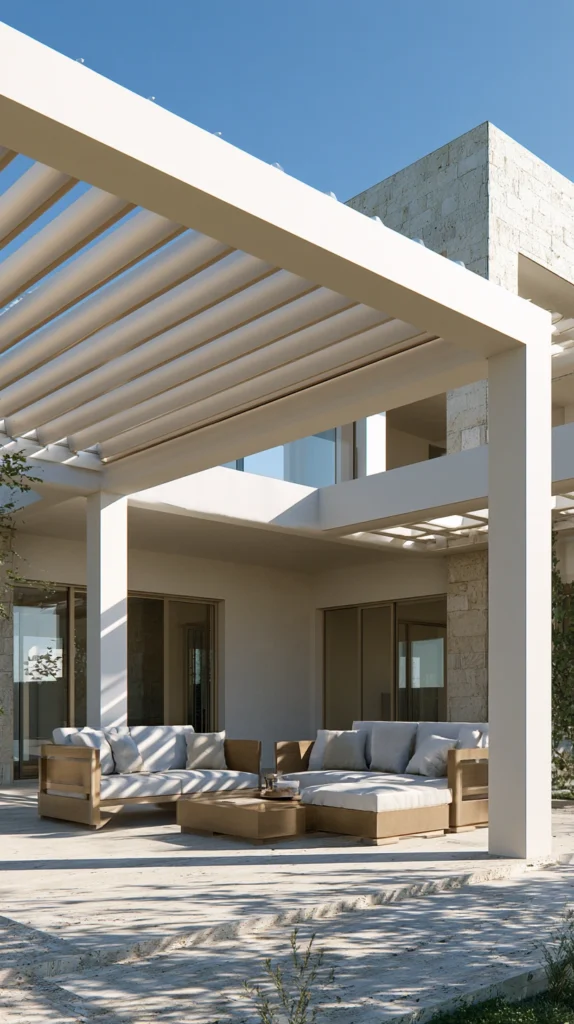
A louvred pergola — a pergola with adjustable aluminium or timber slats in the roof that can be opened to let in sun and rain or closed to provide complete shade and weather protection — is the most functionally sophisticated and most consistently useful of all the backyard shade solutions.
The louvred roof provides complete control over the outdoor environment — full shade, full sun, partial shade at any angle — and its ability to close completely against rain extends the comfortable use of the outdoor space from the summer months into the full calendar year.
An aluminium louvred pergola of 3 by 4 metres costs $1,500–$4,000. A motorised version with a rain sensor that closes automatically costs $2,500–$6,000. A timber louvred structure with manually adjustable slats runs $1,200–$3,500. The louvred roof requires a structural post framework that is engineered for the specific wind loads of the site — the louvred panels in their closed position present a significant wind resistance, and the post and beam structure must be specified for this loading rather than for the open-frame loads of a conventional pergola.
Style tip: Choose the louvre slat colour in relation to the house exterior rather than the garden — the louvred pergola is seen from the house as much as from the garden, and a louvre colour that relates to the house roof, window frames, or exterior wall communicates material continuity between the built structures. A contrasting louvre colour reads as a separate garden element rather than an architectural extension of the house.
2. The Shade Sail Installation
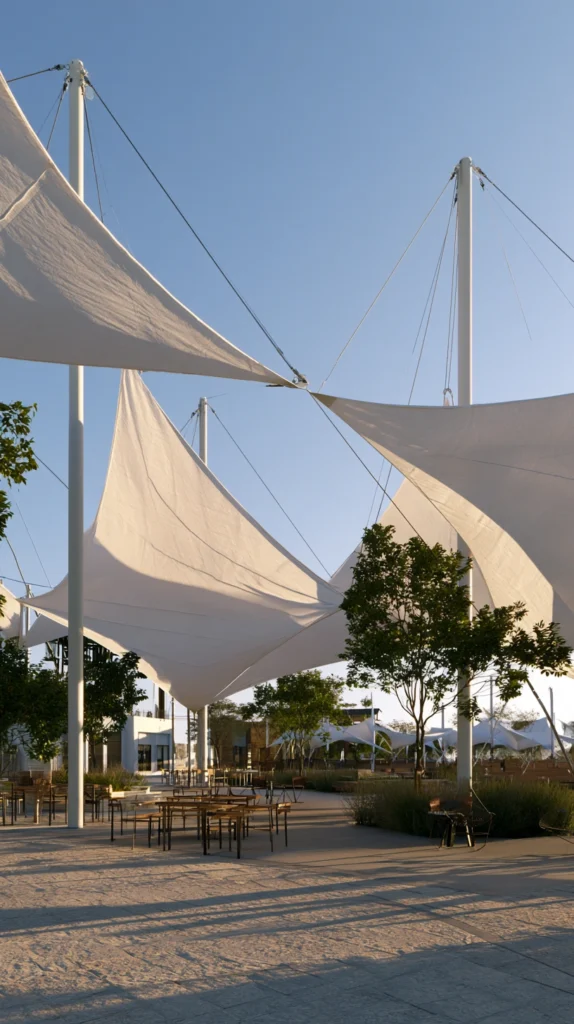
Budget: $80 – $600
A shade sail — a stretched canopy of high-density polyethylene fabric, fixed to three or four anchor points, providing a triangular or rectangular area of dappled shade beneath — is the most immediately dramatic and most architecturally graphic of all the budget shade solutions. A well-specified and well-installed shade sail transforms the visual quality of the outdoor space as well as its thermal comfort, and two or three overlapping sails in complementary colours can create an overhead composition of considerable visual sophistication.
A quality shade sail in a standard 3 by 3 metre triangle costs $80–$200. A 4 by 4 metre square version runs $120–$300. Quality shade sail fabric of 285–320 grams per square metre provides 95 percent UV blockage while remaining breathable — inferior fabric at lower GSM provides less UV protection and deteriorates faster. Stainless steel anchor points fixed into concrete posts or masonry walls cost $20–$50 each — four anchor points for a standard installation runs $80–$200 in fixings.
Style tip: Install shade sails at different heights on each anchor point rather than at the same height on all points. A shade sail that slopes — higher at the back anchor and lower at the front — sheds water more effectively, catches the breeze to create air movement beneath, and has a more dynamic visual quality than a sail stretched flat across a horizontal plane. The angle also reduces the visual obstruction of the sail from inside the house.
3. The Garden Pergola With Climbing Plants
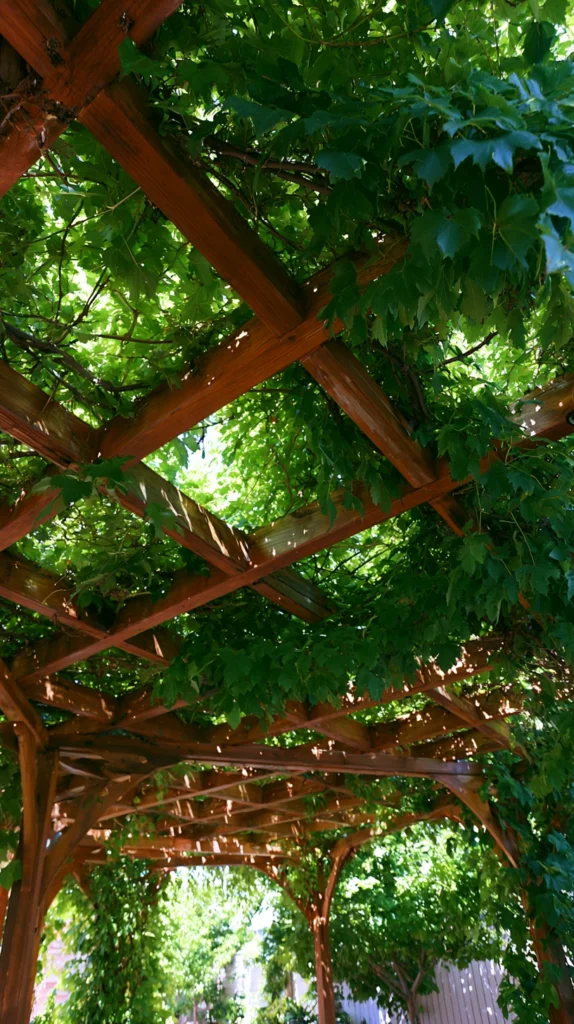
Budget: $300 – $2,000
A pergola with established climbing plants — wisteria, climbing roses, or a grape vine — provides the most beautiful and most specifically garden-quality shade available to any outdoor space. The climbing plant canopy is not uniformly dense like a roof; it is layered, dappled, constantly moving with the breeze, and seasonally changing — a different quality of shade at every hour of the day and in every season of the year. The mature planted pergola in full leaf on a hot afternoon is the closest available approximation of the quality of sitting in a tree.
A timber pergola of 3 by 4 metres costs $200–$600 in materials. A wisteria for the pergola costs $20–$50 — one plant per post, trained along the beams from the first season. A grapevine provides the fastest dense canopy and produces edible fruit — $15–$35 per plant. The planted pergola requires two to three seasons to achieve useful shade density and the patience of those seasons is the investment in the shade quality that matures rather than the shade quality that is installed.
Style tip: Supplement the planted pergola canopy with a shade cloth fixed to the underside of the beams during the establishing seasons while the climbing plants develop. A shade cloth of 50 percent density costs $20–$60 for a standard pergola size and provides the practical shade function during the years when the climbing plants are still establishing their canopy. Remove the shade cloth as the plant canopy becomes sufficiently dense to replace it.
4. The Retractable Awning
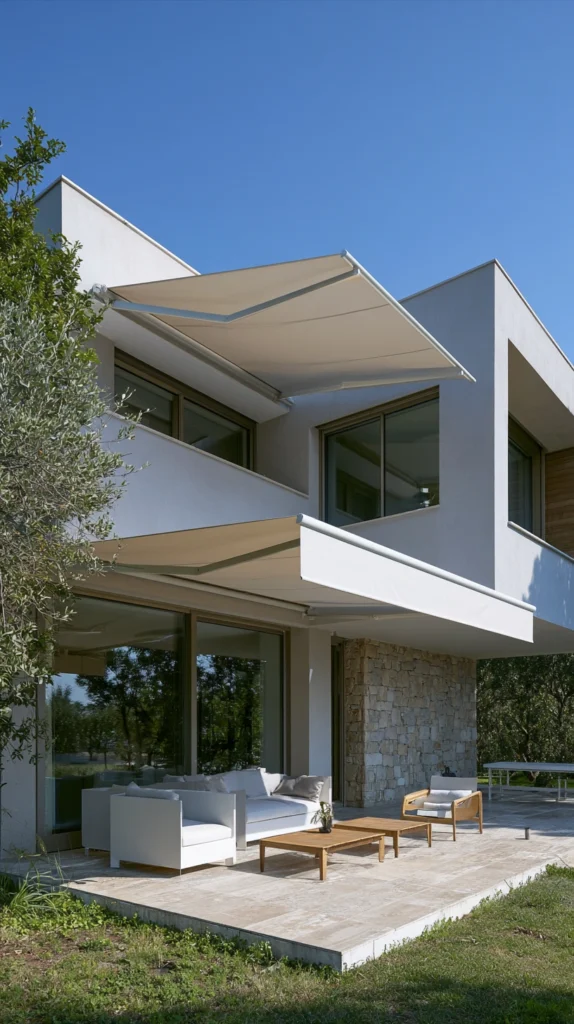
Budget: $400 – $2,000
A retractable awning fixed to the house wall above the back door or the primary outdoor living area — extending and retracting on a folding arm mechanism — provides on-demand shade that can be deployed when needed and retracted when not, leaving the outdoor space open to full sun on the cooler days and the cloudy days when the shade solution is not required. The retractable awning is the shade solution with the most flexible use pattern and the one that most accurately delivers shade where it is needed without permanently reducing the light to the adjacent rooms inside the house.
A manual retractable awning of 3 metres in width costs $400–$800. A motorised version with a wind sensor that retracts automatically costs $800–$2,000. An awning with an integrated LED lighting strip for evening use runs $600–$1,500. The awning fabric should be in a solution-dyed acrylic rather than polyester — acrylic resists UV fading for five to ten years; polyester begins to fade within the first season of regular sun exposure.
Style tip: Fix the awning wall bracket into the structural masonry of the house wall rather than into the render surface or the cavity wall face. An awning in strong wind creates significant force on its wall fixings, and a bracket fixed into non-structural render or a lightweight wall panel will fail in the first significant gust regardless of the quality of the fixing hardware. The structural masonry fixing is the safety decision that determines the awning’s long-term reliability.
5. The Established Tree Canopy
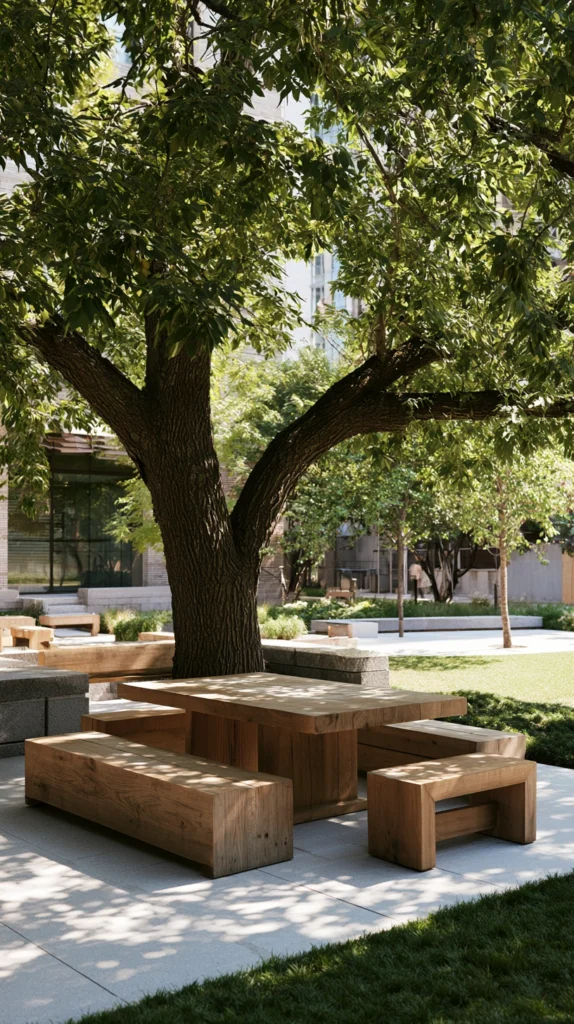
Budget: $0 – $500
An established tree at the correct position in the garden — positioned so its canopy falls across the primary seating area during the hottest hours of the afternoon — provides the most natural, the most beautiful, and the most ecologically valuable shade available to any backyard. The tree canopy is not merely shade; it is a living ceiling that absorbs carbon, supports wildlife, humidifies the air beneath it, and produces the specific quality of dappled, moving light and shadow that no manufactured shade structure can replicate.
An established tree already in the garden costs nothing beyond the decision to arrange the seating beneath it. A nursery tree of 3–4 metres in height — in a fast-growing species such as a birch, a rowan, or a fruiting apple — costs $80–$300 and achieves useful shade within three to five seasons. Position the new tree based on the summer sun angle at the specific latitude — the sun travels at a specific arc through the sky, and the tree planted in the position that intercepts that arc at the primary seating position is the tree that provides the shade at the correct time.
Style tip: Choose a tree with a high canopy and a clear trunk rather than a low-branching species for the seating shade tree. A high canopy with a 150–180 centimetre clear trunk provides shade at the level required for standing and seated comfort while allowing circulation beneath it; a low-branching tree provides shade at the canopy level but creates obstacles for people moving beneath it.
6. The Cantilever Umbrella
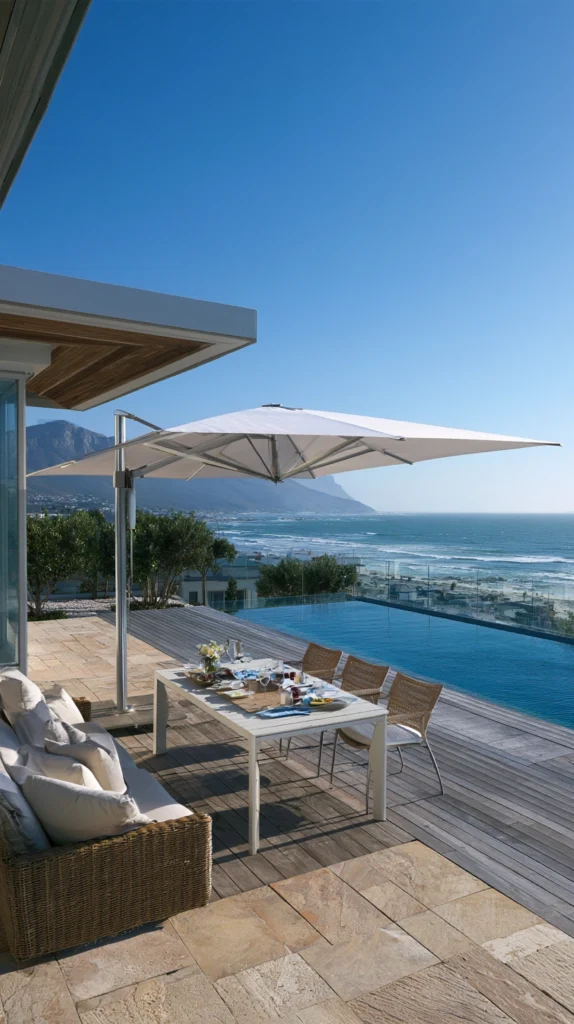
Budget: $150 – $600
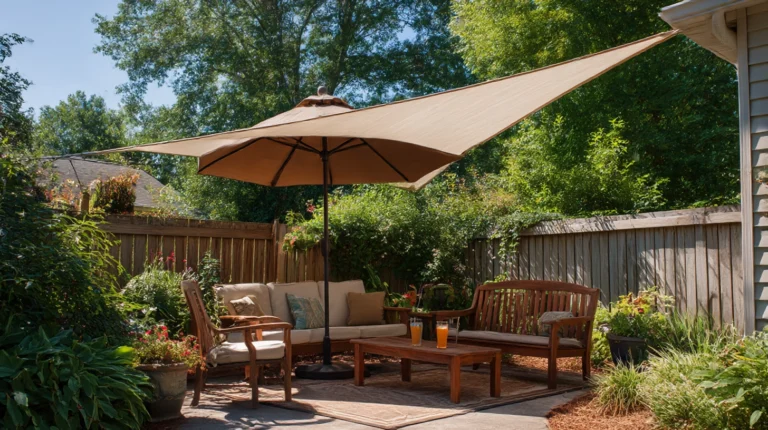
A cantilever parasol — a large umbrella whose supporting arm is offset from the centre so the shade area is free of a central post, allowing furniture to be arranged freely beneath the canopy — is the most immediately practical and most arrangement-flexible of all the portable shade solutions. The cantilever design is specifically superior to a central-post parasol for table use because the absence of a central post allows the dining table and chairs to be arranged without accommodating the post position.
A cantilever parasol of 3 metres in diameter with a weighted base costs $150–$400. A 4-metre version with a rotating mechanism costs $250–$600. The weighted base is the stability specification that most determines the cantilever parasol’s safety — a base of at least 60 kilograms is required for a 3-metre parasol in moderate wind. An undersized base produces a parasol that tips in light wind, which is both a safety hazard and a practical nuisance.
Style tip: Position the cantilever parasol so it extends over the dining table from the north side in the northern hemisphere — the north-side position provides the most consistent shade throughout the afternoon by keeping the parasol between the sun and the table at its greatest arc. A cantilever positioned to the south of the table provides shade only when the sun is at a specific angle and loses its effectiveness as the sun moves around.
7. The Thatched or Living Roof Structure
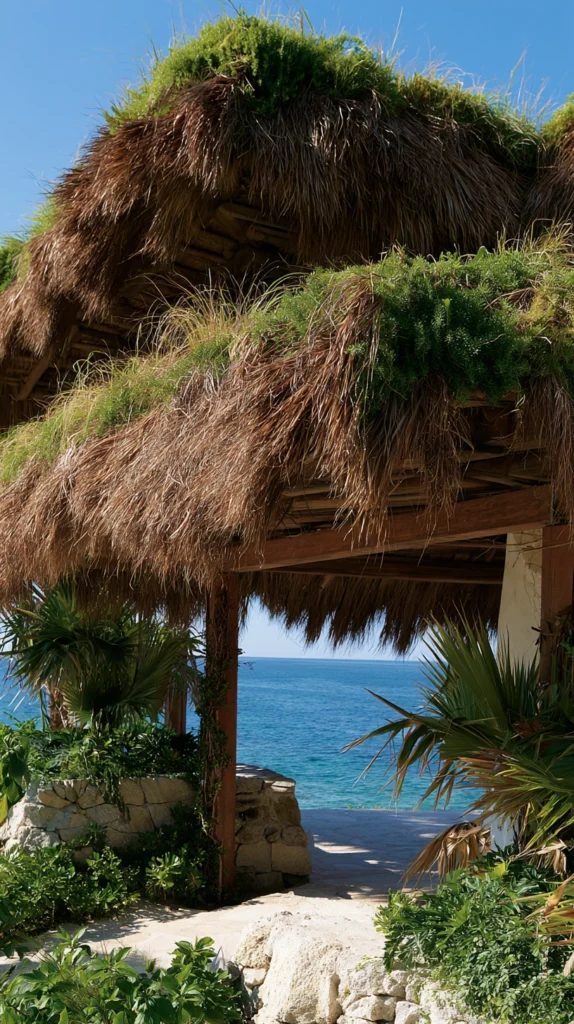
Budget: $400 – $3,000
A shade structure with a thatched or living green roof — either traditional thatching material or a sedum and grass planted roof on a lightweight structure — creates the most natural and most thermally efficient of all the overhead shade solutions. A thatched or planted roof insulates the structure below from heat in a way that a flat fabric or a polycarbonate sheet cannot — the air pockets within thatch and the evaporative cooling of the planted roof produce a genuinely lower temperature beneath than the equivalent manufactured roof at the same sun exposure.
A thatched shade structure of 3 by 3 metres costs $800–$3,000 including the thatch material and the specialist thatching labour. A living sedum roof on a lightweight timber pergola costs $400–$1,200 in frame, drainage mat, growing medium, and sedum plants. The living roof requires a waterproof membrane beneath the growing medium and a structural assessment of the pergola frame — the saturated growing medium of a planted roof is significantly heavier than a dry fabric shade and the supporting structure must be designed for this additional load.
Style tip: Plant the living roof with a mixture of sedum species of different heights, colours, and seasonal interest rather than a single variety. The sedum mix produces a living roof that changes in colour and texture through the seasons and reads as a genuine garden element overhead; a single-species sedum roof reads as a planted surface of one variety and loses the seasonal interest that the mixed planting provides.
8. The Bamboo Screen Overhead
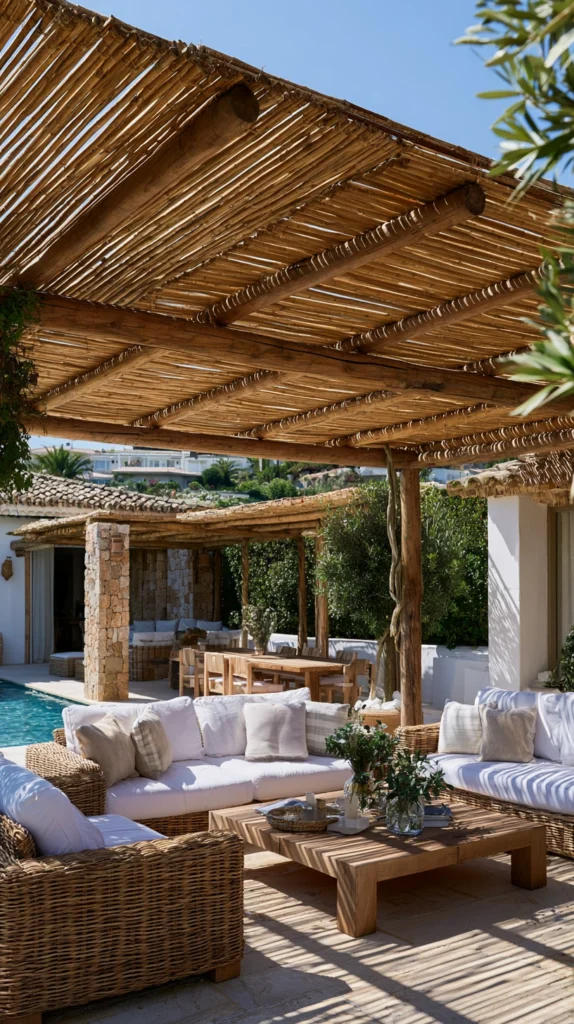
Budget: $60 – $300
A horizontal bamboo screen fixed to the overhead beams of a pergola — bamboo poles of 3–4 centimetres diameter, laid side by side or with small gaps between them — creates a dappled shade canopy of extraordinary natural character at the lowest cost of any permanent pergola roof treatment. The bamboo overhead provides partial shade — enough to reduce the direct sun substantially while allowing the light and air movement that make the outdoor space pleasant — and it produces the specific warm, golden-toned quality of bamboo light that few other shade materials match.
Bamboo poles of 3–4 centimetres diameter cost $1–$3 each. A pergola of 3 by 4 metres requires approximately 40 poles — $40–$120 in materials. Wire to fix the poles to the pergola beams costs $5–$10. A penetrating bamboo preservative applied before installation runs $15–$25. Treat the bamboo with preservative before fixing — untreated outdoor bamboo splits and deteriorates in UV exposure faster than treated timber.
Style tip: Orient the bamboo poles perpendicular to the pergola’s primary beam direction so the poles span between the beams rather than running parallel to them. The perpendicular orientation makes the poles structural elements that span between supports rather than decorative elements laid on top of them, and the structural span communicates a considered overhead treatment rather than bamboo placed on the pergola for visual effect.
9. The Polycarbonate or Glass Roof Panel
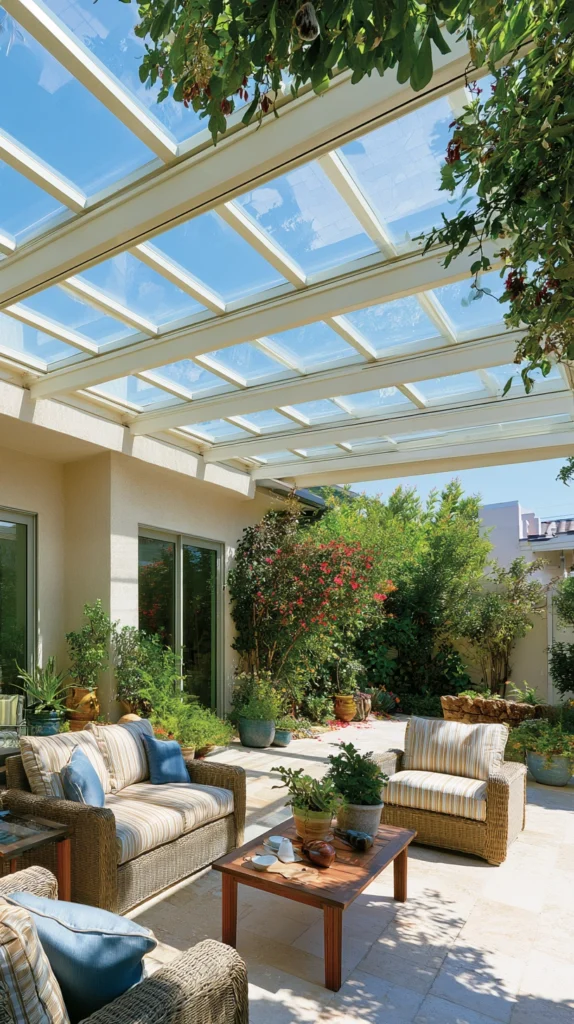
Budget: $100 – $600
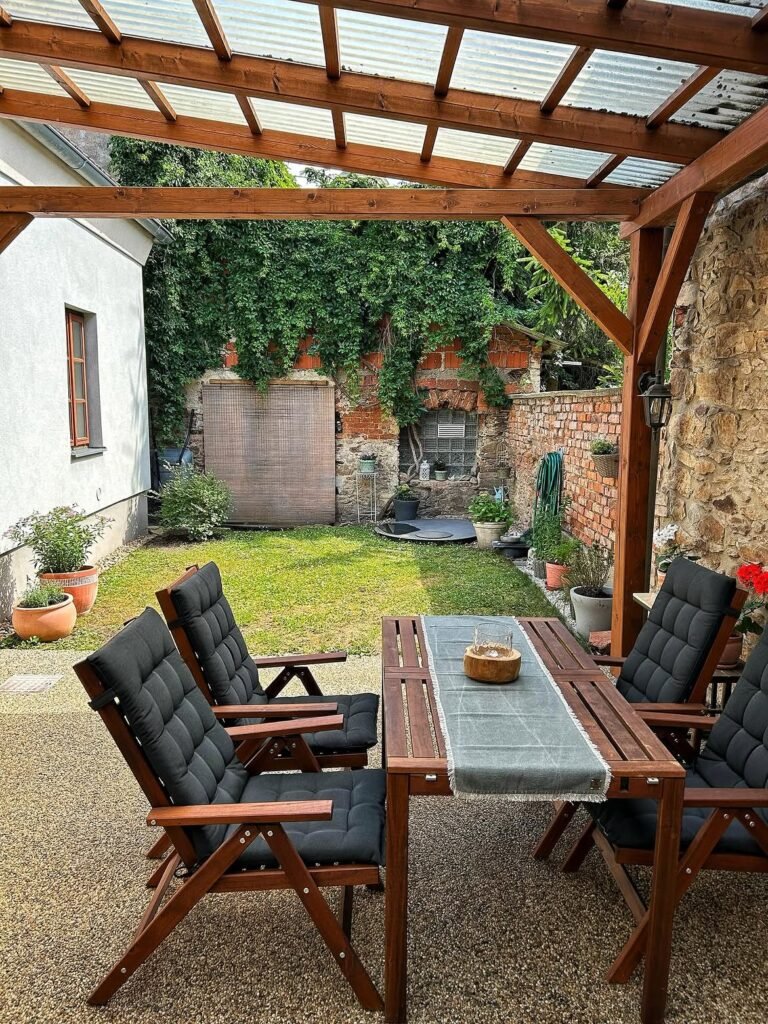
A polycarbonate roof panel fixed over an existing pergola or shade structure — providing complete weather protection while transmitting a percentage of the available light — converts the open pergola into a covered outdoor room that can be used in rain as well as in sun. A polycarbonate roof is not a shade solution in the full sense — it reduces the direct sun without eliminating its warmth — but in combination with shade cloth applied to the underside of the panels, it provides both weather protection and solar control simultaneously.
Multiwall polycarbonate roof sheets in a standard 6-metre length and 1-metre width cost $20–$40 each. A standard pergola of 3 by 4 metres requires six sheets — $120–$240 in material. A solar control version — bronze or opal tint — costs $30–$60 per sheet and reduces solar transmission to 20–30 percent rather than the 70–80 percent of clear polycarbonate. Install with a fall of at least 1 centimetre per 30 centimetres of roof length — a flat polycarbonate roof holds water, produces condensation drips, and grows algae within the first season.
Style tip: Use opal or diffused polycarbonate rather than clear — the diffused panel transmits the same amount of light as the clear panel but distributes it evenly across the interior rather than producing the sharp, moving sun patches that clear polycarbonate creates. The diffused light beneath an opal polycarbonate roof is more pleasant and more evenly illuminated than the light beneath the clear version.
10. The Pergola with Shade Cloth Panels
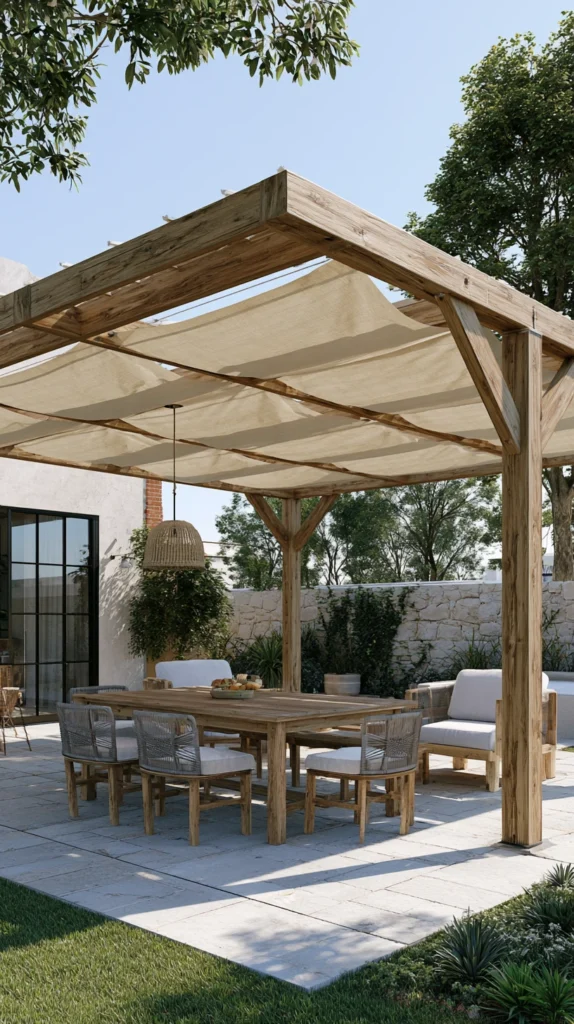
Budget: $100 – $400
Shade cloth panels — high-density woven fabric of 70–90 percent UV blockage, cut to size and fixed to the sides and overhead of a pergola or a garden frame — create a completely customisable shade environment that can be adjusted seasonally, replaced when worn, and configured to address the specific sun angles of the specific garden. The shade cloth pergola is not as visually refined as a louvred roof or as beautiful as a planted canopy, but it is the most immediately achievable and most practically flexible shade solution available to any pergola structure at any budget.
Shade cloth fabric of 90 percent UV blockage costs $8–$15 per square metre. A standard pergola of 3 by 4 metres requires 12 square metres of overhead shade cloth — $96–$180 in fabric. Fixing hardware — grommets, tensioning wire, and S-hooks — costs $20–$40. A side panel on the west-facing side of the pergola costs an additional $40–$80 in fabric and provides protection from the low western afternoon sun that an overhead cloth cannot intercept.
Style tip: Choose shade cloth in a dark colour — charcoal, forest green, or deep navy — rather than the pale beige or white that most budget shade cloth installations default to. Dark shade cloth viewed from below creates the quality of an overcast sky — a cool, neutral overhead — rather than the bright, glaring quality of pale fabric in sunlight. The colour of the shade cloth is the specification that most determines the quality of the light environment beneath it.
11. The Garden Gazebo
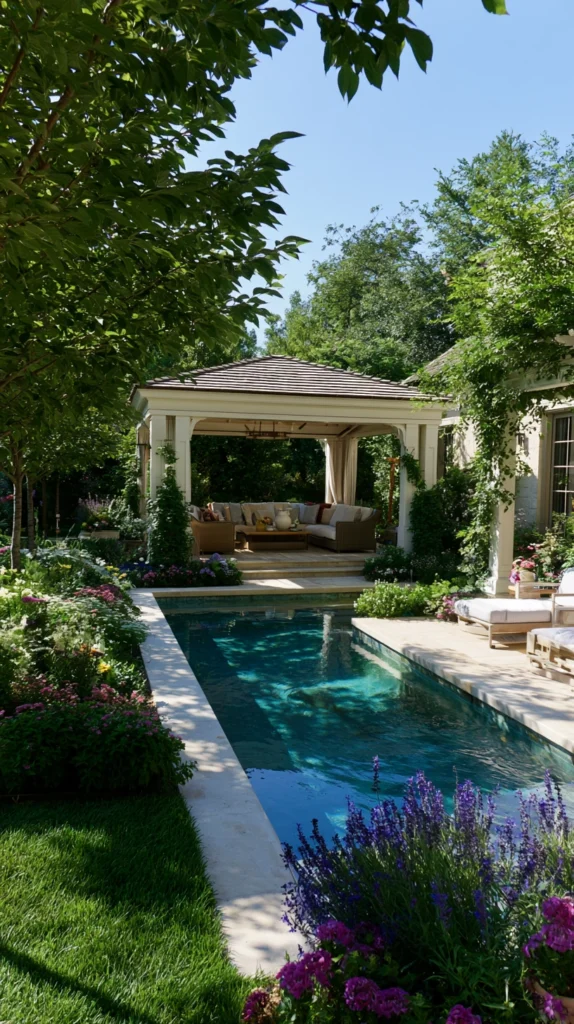
Budget: $300 – $3,000
A gazebo — a freestanding roofed structure with open sides, positioned in the garden rather than adjacent to the house — creates a shade destination in the garden that draws the person outside rather than providing shade at the point where the outdoor space begins. The gazebo’s value is its position: in the garden rather than at its edge, with the garden view from within the structure rather than the view of the garden from the house wall. The gazebo makes the garden a place to go to rather than a place to sit beside.
A timber octagonal gazebo of 3 metres in diameter costs $400–$1,200. A metal-framed gazebo with a fabric roof runs $300–$800. A custom-built stone or brick gazebo costs $2,000–$8,000. Position the gazebo at the far end of the garden or at the garden’s most interesting viewpoint rather than adjacent to the house — the gazebo at the garden’s far end creates the quality of a garden room with a view back toward the house; one beside the house is simply a covered area at the edge of the garden.
Style tip: Furnish the gazebo as a complete outdoor room rather than simply as a shade structure with chairs. A rug on the gazebo floor, a table with a surface for a drinks tray, a lighting source for evening use, and a plant or two at the posts — the furnished gazebo communicates a destination; the unfurnished one communicates a structure.
12. The Horizontal Trellis Overhead Screen
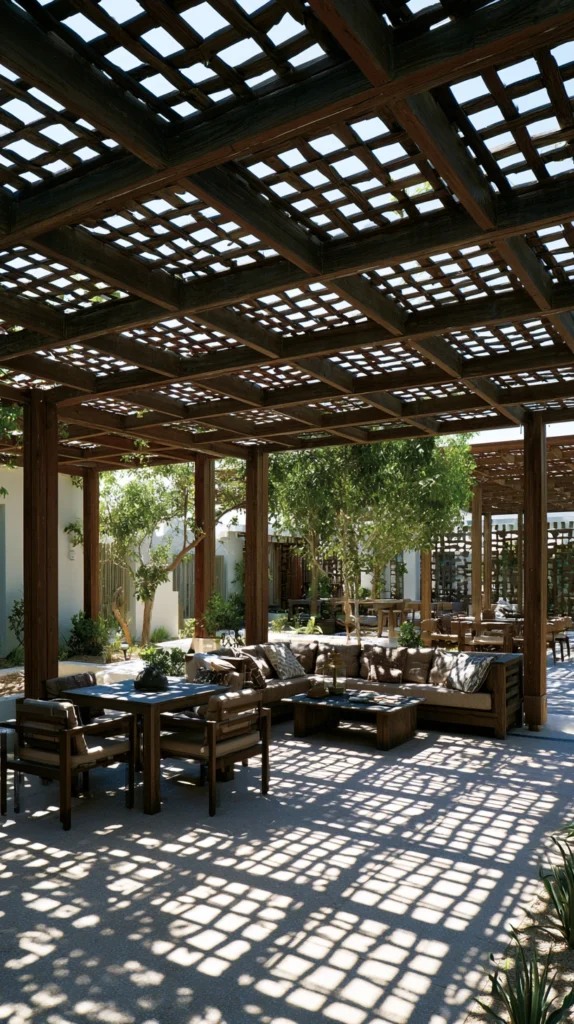
Budget: $80 – $400
A horizontal trellis fixed at height between two posts or between the house wall and an opposite post — forming an overhead lattice rather than a vertical screen — provides partial shade through the trellis openings while remaining open enough to allow air movement and light penetration that a solid roof would prevent. The horizontal trellis is the most open of all the shade structures and provides the quality of filtered shade appropriate to the outdoor space that needs sun reduction without full shade.
Timber trellis panels in a standard lattice pattern cost $15–$35 each. A horizontal overhead trellis of 3 by 4 metres requires four to six panels — $60–$210 in trellis. Timber posts to support the horizontal trellis at 220–240 centimetres height cost $20–$40 each. A climbing plant — star jasmine, ornamental vine, hop — trained across the overhead trellis provides increasing shade density as the plant establishes.
Style tip: Plant a fragrant climber on the horizontal trellis rather than a purely visual one — the fragrant plant at overhead level releases its scent directly into the air of the shaded area below, and the combination of shade and fragrance at the same position creates a sensory environment of greater quality than shade alone. Jasmine, wisteria, and climbing roses all perform on a horizontal overhead structure and all provide fragrance directly at the level of the people beneath them.
13. The Recessed Sunken Seating with Natural Shade
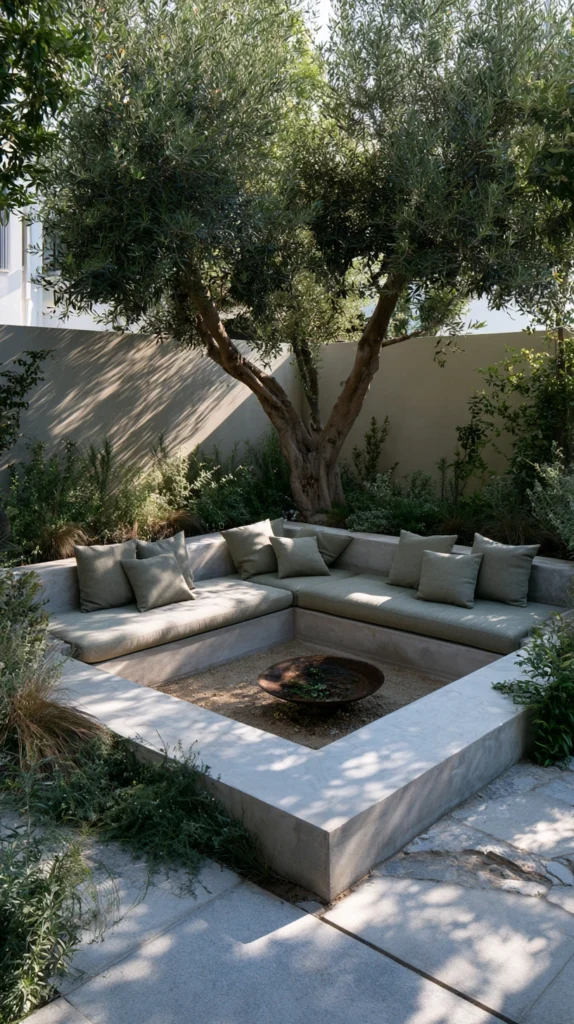
Budget: $200 – $1,500
A sunken seating area — a circular or rectangular pit of 30–45 centimetres in depth relative to the surrounding garden level — uses the garden’s own topography to create shade from the sun at the specific angles of the late afternoon when the low sun reaches the areas that overhead shade structures cannot intercept. The sunken position does not provide complete overhead shade, but it reduces the direct sun angle at the seated level by the height of the surrounding garden, which at a pit depth of 40 centimetres can intercept the low evening sun that makes upright garden seating uncomfortable.
A sunken seating area of 3 by 3 metres costs $300–$1,000 in excavation and basic lining materials. Adding planting on the sunny side of the pit — tall grasses, lavender, rosemary — at the garden level creates natural shade at the low sun angles that the sunken position intercepts. A combined approach of sunken seating with west-side planting creates the coolest afternoon seating position achievable without any manufactured shade structure.
Style tip: Orient the open side of the sunken seating area toward the garden’s primary view and the higher, planted sides toward the directions of most intense sun exposure — typically the west and southwest. The sunken position provides shade and shelter from the directions that need it while preserving the view from the open side that gives the sunken seat its quality of garden outlook.
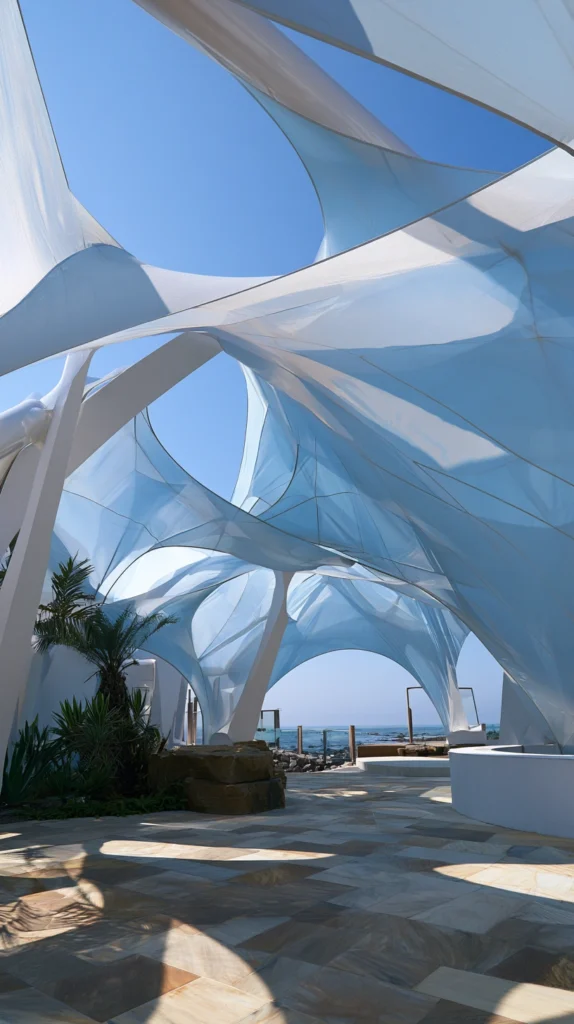
14. The Tensile Fabric Shade Structure
Budget: $500 – $5,000
A tensile fabric structure — architectural shade fabric stretched over a steel or timber frame in a curved, wave-like, or conical form — creates the most architecturally dramatic and most specifically designed of all the backyard shade solutions. A tensile shade structure is not a parasol or a pergola — it is a piece of outdoor architecture that reshapes the overhead space in the same way that a building reshapes the ground plane, and its specific quality of a curved, tensioned surface distinguishes it from every other shade form.
A custom tensile fabric structure of 4 by 4 metres costs $1,500–$5,000 in design, materials, and installation. A semi-custom tensile structure on a standard steel frame runs $800–$3,000. A DIY tensile structure on a timber post frame costs $400–$1,500 in materials. The tensile structure requires engineering design for the specific fabric tension, post loading, and wind resistance — a tensile structure specified without engineering is a tensile structure that fails under the first significant wind load.
Style tip: Choose a tensile fabric in a tone that relates to the house and garden palette rather than the most commercially available neutral. The tensile shade structure is a significant visual element of the outdoor space and its colour is as visible as the colour of the house exterior — a charcoal tensile structure relates to a dark-painted fence and dark timber furniture; a warm sand tensile structure relates to natural stone paving and warm timber. The colour relationship between the shade structure and the surrounding materials is the compositional decision that makes the tensile structure a designed element of the garden.
The backyard shade solution that works is not the most elaborate or the most expensively specified. It is the one that was positioned for the specific sun angles of the specific garden, designed for the specific activities it needs to support, and maintained with the consistency of an element that the outdoor space genuinely depends on.
The shaded outdoor space is used more than the unshaded one — on more days, in more hours, across more months of the year — and the investment in the right shade solution at the right position in the garden is the investment that earns the most daily return of anything in the outdoor space.
Begin with the sun. Observe the garden at midday, at two o’clock, and at four o’clock on a clear summer day and identify exactly where the direct sun falls on the primary seating at each of those hours. That observation determines the shade position, the shade size, and the shade direction required — and those specifications determine the shade solution.
The shade that was designed for the specific sun of the specific garden is the shade that keeps the outdoor space genuinely cool and genuinely stylish at every hour of the summer day.