How to Design a Functional Laundry Room
How to Design a Functional Laundry Room
My laundry room used to be a hallway closet with a washer, a dryer, and absolutely nothing else.
No counter to fold on. No shelf for detergent. Just a bare bulb and a laundry basket balanced on top of the dryer.
I did three loads a week in that closet for two years before I finally sat down and redesigned it properly.
It took one weekend and about $650. Now it’s the room in my house that actually saves me time instead of costing me it.
Let me walk you through exactly how I designed a laundry room that works, piece by piece, instead of just looks nice in photos.
Why Most Laundry Rooms Fail at Their Actual Job
Most laundry rooms are designed around fitting a washer and dryer into leftover space, not around how laundry actually gets done.
- There’s nowhere to sort clothes before washing, so everything piles on the floor
- There’s no counter space, so folding happens on a bed or couch instead
- Storage is an afterthought, so detergent and supplies end up on top of the machines
- Lighting is usually a single overhead bulb, which makes stain-checking nearly impossible
- Ventilation gets ignored, which leads to musty smells and slower drying over time
Fixing all five of these is what actually makes a laundry room functional, not just a nicer-looking box for your appliances.
1. Start With a Real Workflow, Not Just a Layout

Before choosing a single shelf or cabinet, map out the actual steps laundry goes through in your house.
How it comes together:
- Walk through your process: dirty clothes in, sorting, washing, drying, folding, put away
- Assign a physical zone in the room to each step, even if the room is small
- Keep the sorting zone closest to the entry point, since that’s where clothes get dropped off
- Place the folding zone near the dryer, not across the room, to avoid carrying warm clothes far
Where it matters most:
- Small laundry rooms, since a bad workflow in a tight space multiplies frustration fast
Watch out for:
- Designing around a single “ideal” workflow you saw online rather than your own household’s actual habits
Budget: $0, this step is planning only
2. Add a Counter for Folding, Even a Small One

A folding surface is the single most requested feature I hear about after the fact, because most laundry rooms are built without one.
How it comes together:
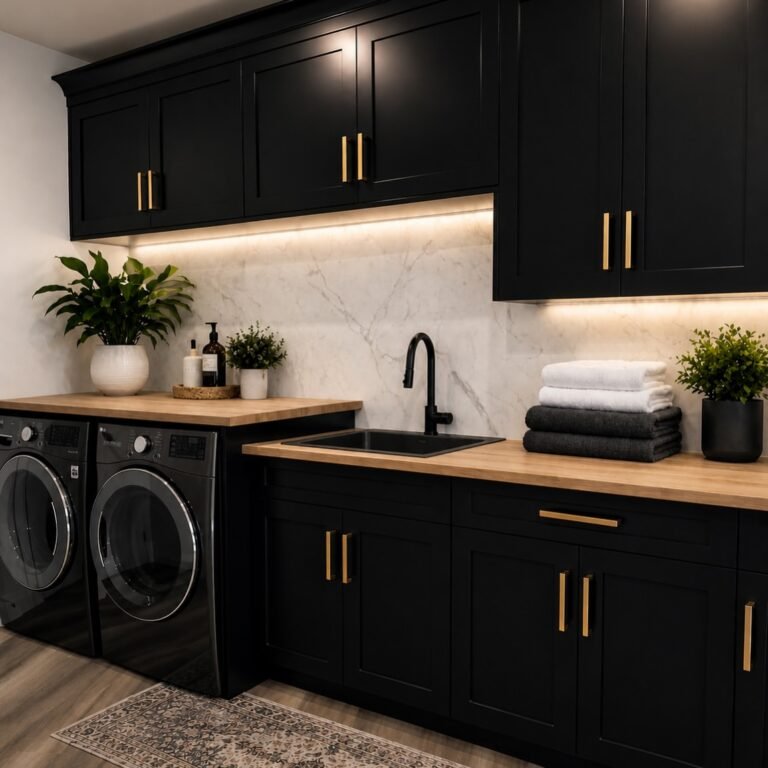
- Install a simple butcher block or laminate counter over a stacked washer and dryer if floor space is tight
- If machines sit side by side, add a floating shelf or short counter section above or beside them instead
- Choose a heat-resistant surface if the counter sits directly above a dryer vent area
- Keep at least 24 inches of counter length if possible, enough for one full folded load at a time
Where it matters most:
- Any laundry room under 50 square feet, where every surface needs to multitask
Watch out for:
- Skipping proper mounting brackets, since a folding counter takes more daily weight and pressure than people expect
Budget: $80–$220 depending on material and length
3. Build In Sorting Before It Becomes a Pile Problem
Sorting is the step almost every laundry room skips, which is exactly why clothes end up in a heap on the floor.
How it comes together:
- Use two to three labeled bins for darks, lights, and delicates, placed right at the entry point
- Choose collapsible or stackable bins if floor space is limited
- Mount bins on a slide-out frame under a counter if you want them fully hidden when not in use
- Label bins clearly if more than one household member does laundry, so sorting habits stay consistent
Where it matters most:
- Households with more than two people, where sorting mistakes multiply quickly
Watch out for:
- Overcomplicating the system with too many categories, which usually means people stop sorting altogether
Budget: $25–$70 for bins and basic mounting hardware
4. Add Closed Storage for Supplies, Not Open Shelving
Open shelving looks nice in photos, but detergent bottles, dryer sheets, and stain removers clutter fast and collect dust.
How it comes together:
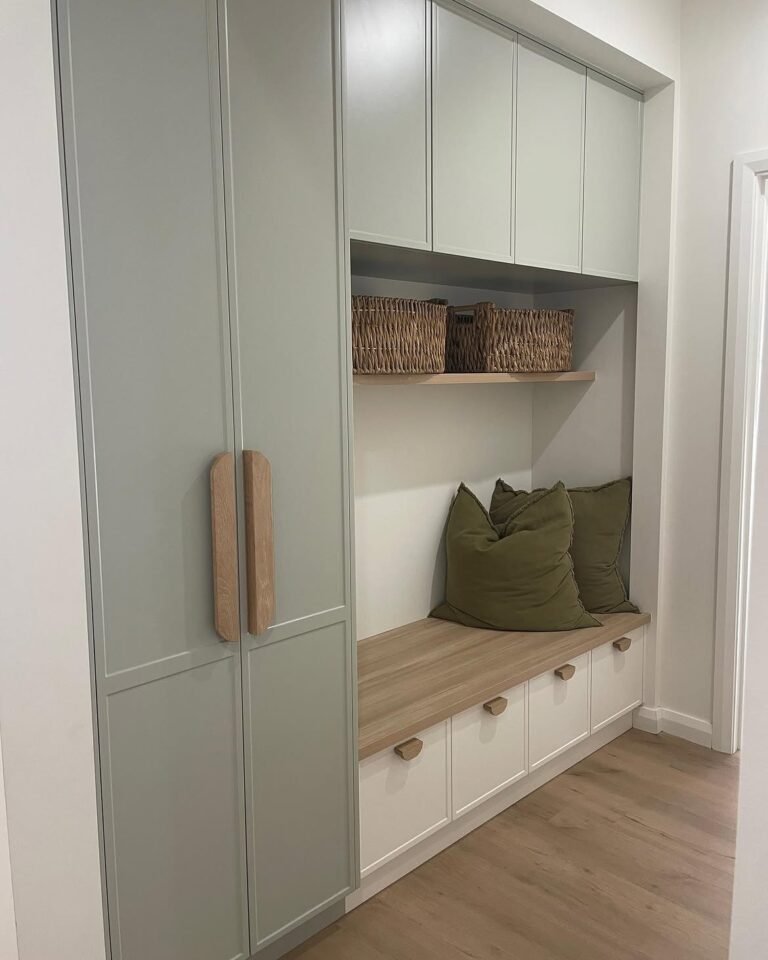
- Install upper cabinets above the machines for detergent, softener, and cleaning supplies
- Use clear bins inside cabinets to group small items like stain pens and lint rollers
- Keep frequently used items, like the detergent you use daily, at eye level rather than a high shelf
- Add a small lower cabinet or drawer for out-of-season items like ironing supplies if space allows
Where it matters most:
- Rooms that double as a mudroom or pantry overflow space, where clutter builds fastest
Watch out for:
- Choosing cabinets without moisture-resistant finishes, since laundry rooms run humid more than most other rooms in the house
Budget: $150–$450 for a basic set of stock cabinets
5. Install a Utility Sink If You Have the Space

A utility sink turns a laundry room into a room that can handle stains, hand-washing, and cleaning supplies without running to the kitchen.
How it comes together:
- Choose a freestanding basin model if you’re working with a tight footprint, since it needs no cabinet support
- Add a pull-down faucet if the sink will double for rinsing larger items like shoes or pet gear
- Position the sink near your existing plumbing lines to avoid expensive rerouting
- Add a small shelf or hook beside the sink for a scrub brush and stain treatment bottles
Where it matters most:
- Households with kids, pets, or anyone doing regular stain treatment before washing
Watch out for:
- Skipping a licensed plumber if new lines are needed, since laundry room plumbing mistakes are expensive to fix later
Budget: $200–$600 for the sink and basic installation, more if new plumbing lines are required
6. Upgrade the Lighting Beyond a Single Overhead Bulb

A single ceiling bulb makes it nearly impossible to spot stains or check fabric care tags properly.
How it comes together:
- Add a bright overhead fixture with at least 800 lumens for general room lighting
- Install a small under-cabinet light strip above the folding counter for task lighting
- Choose a daylight-toned bulb, around 5000K, rather than a warm yellow tone, since it shows true fabric colors
- Add a switch near the entry so lights turn on before you’re standing in the dark room
Where it matters most:
- Windowless laundry rooms, which rely entirely on artificial light for stain-checking
Watch out for:
- Choosing warm, cozy-toned bulbs meant for living spaces, since they distort how stains and colors actually look
Budget: $40–$120 for fixtures and bulbs
7. Add a Drying Rack or Rod That Doesn’t Eat Floor Space
Air-drying delicates and hang-dry items needs a spot that doesn’t turn into another pile of clothes on a chair.
How it comes together:
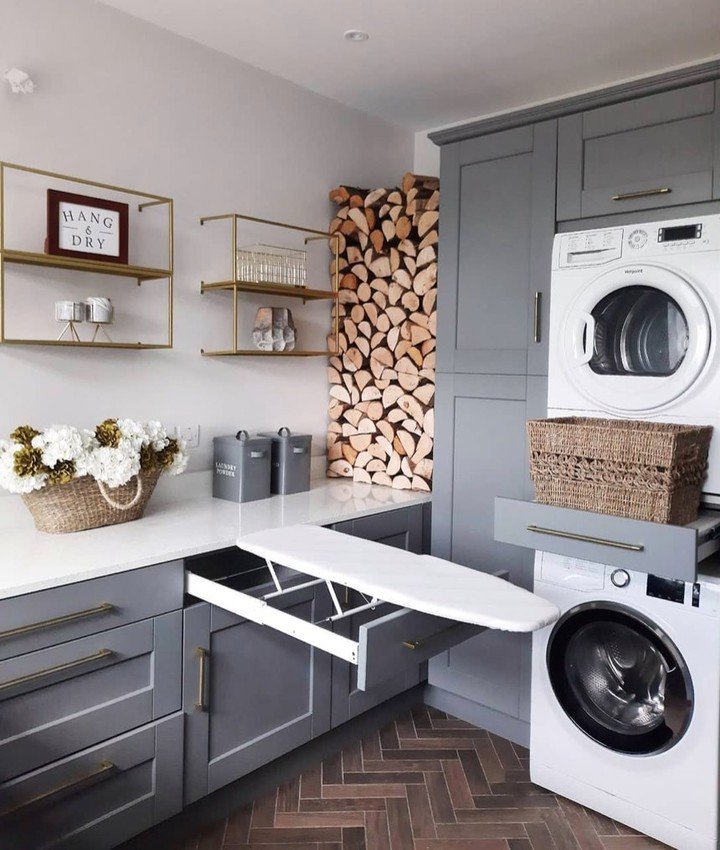
- Install a retractable wall-mounted drying rack that folds flat when not in use
- Add a short hanging rod above the dryer for clothes that come out and go straight onto a hanger
- Choose a tension rod between two walls if permanent mounting isn’t an option in a rental
- Keep the rack or rod within reach of the dryer door, so wet clothes don’t drip across the room
Where it matters most:
- Households that regularly wash activewear, delicates, or anything that can’t go in the dryer
Watch out for:
- Placing a fixed rack too close to a light fixture, since hanging fabric can create a fire hazard near heat sources
Budget: $30–$90 for a wall-mounted rack or rod system
8. Improve Ventilation to Stop Musty Smells
A laundry room without proper airflow gets humid fast, which leads to mildew smells that linger in fabric even after washing.
How it comes together:
- Confirm your dryer vent runs directly outside, not into an attic or crawlspace, which is a common and dangerous shortcut in older homes
- Add a small exhaust fan if the room has no window, set on a timer so it runs after each laundry cycle
- Clean the dryer vent line at least once a year to keep airflow and drying efficiency high
- Crack the door after a laundry session if the room tends to trap humidity
Where it matters most:
- Basement or windowless laundry rooms, where moisture has nowhere natural to escape
Watch out for:
- Ignoring a musty smell for too long, since it usually signals a vent issue rather than just needing more air freshener
Budget: $60–$180 for a basic exhaust fan and installation
9. Add a Hamper System That Actually Gets Used

The best sorting system fails if the hampers are inconvenient to use, so this step is about placement as much as the bins themselves.
How it comes together:
- Choose hampers with handles or wheels if they need to move between bedrooms and the laundry room
- Keep at least one hamper permanently in the laundry room for last-minute items, like kitchen towels
- Use mesh or breathable bins rather than solid plastic, which traps moisture and odor in damp clothes
- Set a simple household rule, like hampers get emptied every wash day, so the system doesn’t quietly break down
Where it matters most:
- Multi-story homes, where getting laundry to the laundry room is often the actual bottleneck
Watch out for:
- Buying oversized hampers that seem efficient but end up too heavy to carry once full
Budget: $20–$60 per hamper
10. Add a Message Center or Small Desk If Space Allows

Laundry rooms often double as a household’s catch-all space, and a small desk area keeps that overflow organized instead of scattered.
How it comes together:
- Add a narrow shelf or fold-down desk near the entry for mail, keys, and school papers
- Include a small corkboard or whiteboard for household reminders and schedules
- Keep this zone separate from the folding counter, so laundry tasks and household admin don’t compete for the same surface
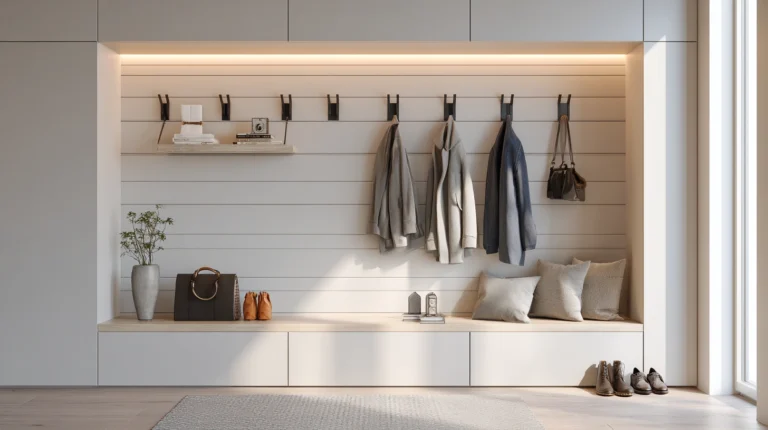
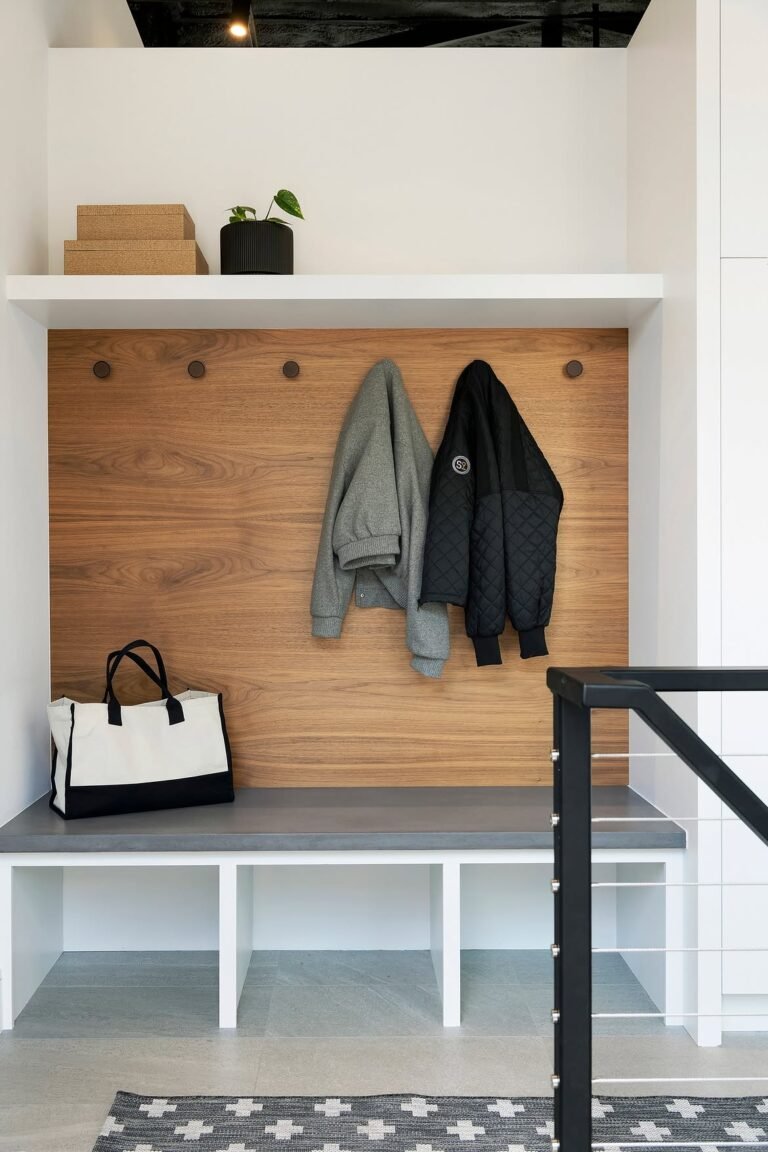
- Add a hook rail nearby for bags, umbrellas, or dog leashes if the room connects to an entry door
Where it matters most:
- Laundry rooms that double as a mudroom or back entry, which is common in many home layouts
Watch out for:
- Letting this zone creep into the folding counter space, which quietly undoes the workflow you set up in step one
Budget: $40–$150 depending on the shelf or desk chosen
Getting Started This Weekend
Walk your current laundry space and time yourself doing one full load, noting every moment you have to leave the room for something missing.
Measure your available wall and counter space before buying anything, since even small laundry rooms usually have more usable space than people assume.
Start with the folding counter and sorting bins first, since those two changes alone fix the most common daily frustrations.
The Question Before You Redesign Anything

Before you spend money on any upgrade, ask yourself what step of your laundry process actually takes the longest or annoys you the most.
Fix that bottleneck first, rather than starting with whatever looks best in a design photo.
Once that one problem is solved, add the next upgrade from this list, the same way I worked through mine over a single weekend.