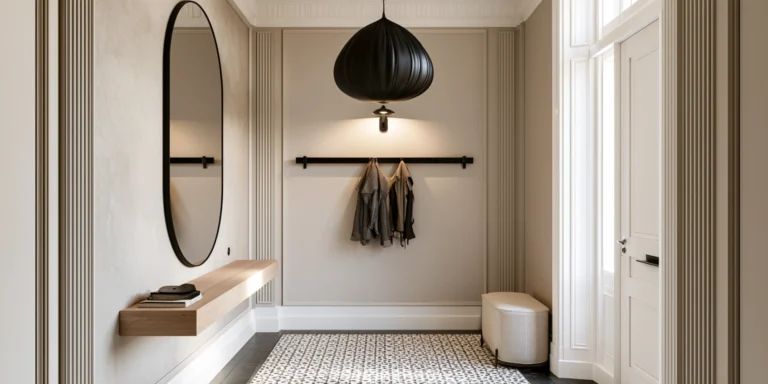
12 Minimalist Entryway Designs That Feel Calm and Clutter-Free
12 Minimalist Entryway Designs That Feel Calm and Clutter-Free
A minimalist entryway is not an empty one. It is an entryway where every object present has been chosen specifically, every surface has a defined purpose, and the household’s daily arrival ritual — keys down, shoes off, coat hung — happens through a small number of well-placed elements rather than an accumulation of furniture and storage that tries to solve every possible entry-point problem at once.

The calm comes from restraint applied with genuine functional intelligence, not from leaving the space bare and hoping the clutter sorts itself out elsewhere.
The twelve designs below are built around specific materials, exact measurements, and real cost ranges — each one is a complete functional system rather than a styling suggestion, so you can replicate the actual mechanics of why it stays calm rather than just the look of it.
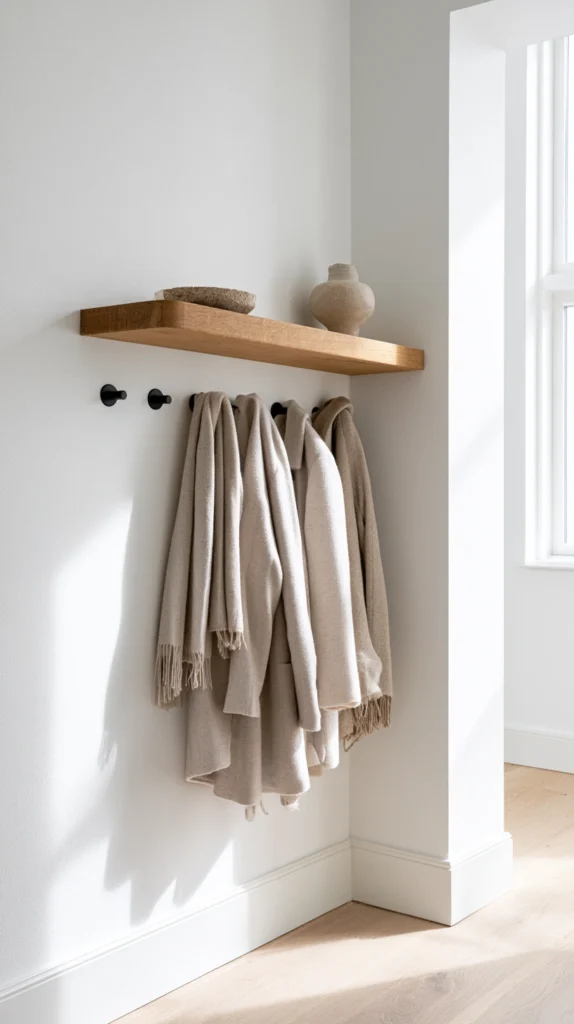
1. A Single Floating Shelf With Concealed Hooks Beneath
Budget: $60 – $150
A floating oak or walnut shelf at 30 cm depth, fixed at 105–110 cm from the floor, with three to four matte black hooks mounted on its underside rather than on the wall, creates the entryway’s entire storage system in one object.
The hooks are invisible from the front of the hallway because they sit in the shelf’s shadow line — coats hang below the shelf but the hardware itself disappears from the main sightline through the door, which is the specific detail that makes this look like one clean object rather than a shelf-plus-hooks assembly.
A solid timber floating shelf of 90×30 cm costs $40–$90 depending on wood species — oak and walnut run toward the top of that range, painted MDF toward the bottom. Concealed-fix L-bracket hardware rated for at least 25 kg costs $15–$25 and is essential at this shelf depth; lighter-rated brackets sag within months under coat weight. Four screw-in cup hooks at $2–$4 each mount to the underside with a 15 cm gap between each, positioned 5 cm back from the shelf’s front edge so hanging coats don’t brush the wall behind them.
Design tip: Limit the shelf top to exactly three objects — a tray for keys, one small plant, one object with no function at all. The “one object with no function” is the detail minimalist stylists rely on deliberately: a single stone, a small ceramic form, anything that exists purely to be looked at signals that the surface has been edited rather than simply not yet filled. A shelf with four or more items, regardless of how attractive each one is individually, starts to read as a landing zone rather than a design statement.
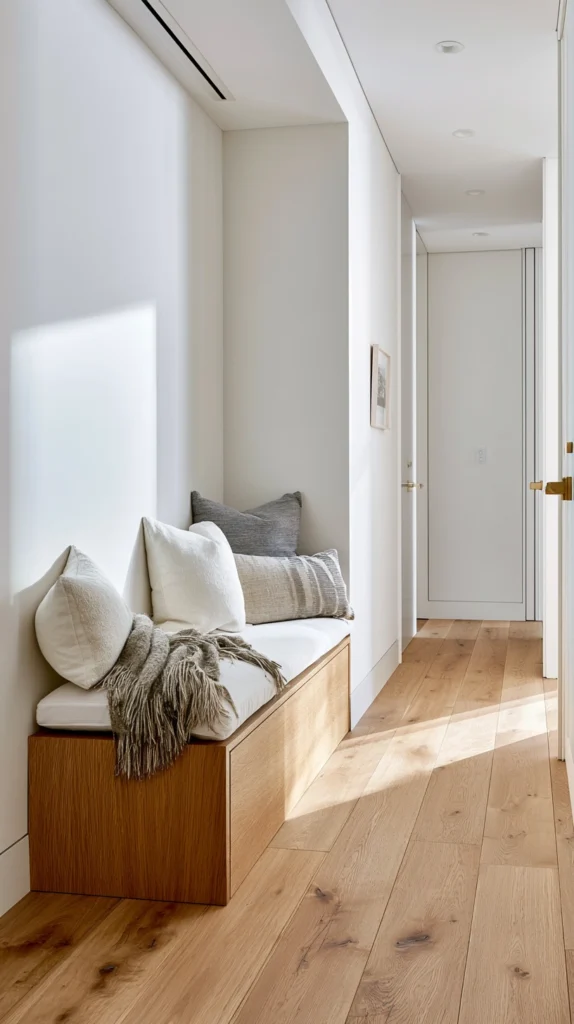
2. A Slim Built-In Bench With a Single Drawer
Budget: $300 – $700
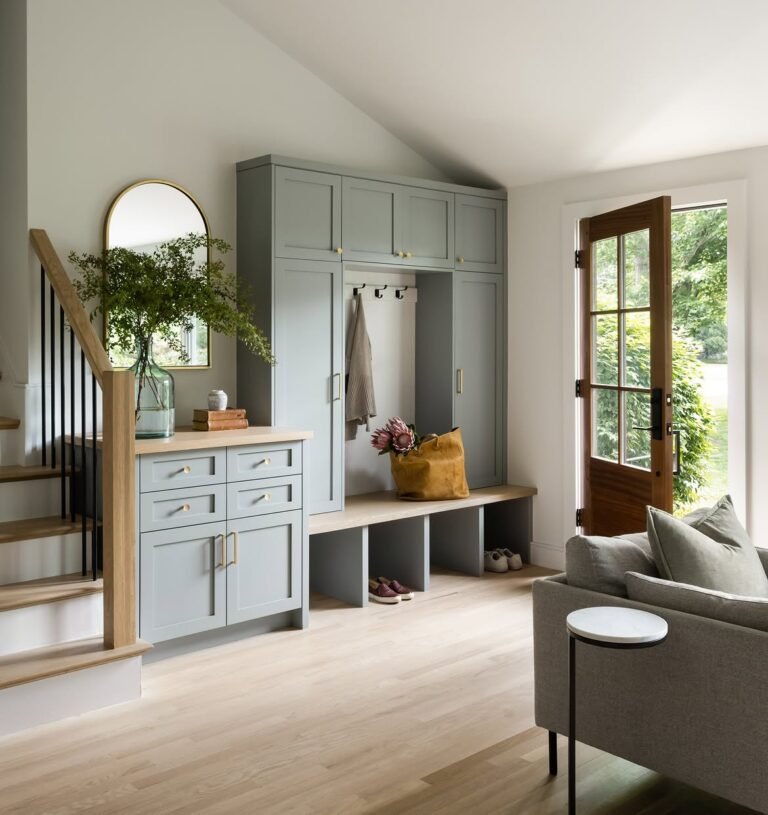
A bench of 40 cm depth and 45 cm seat height, built with one full-width drawer beneath rather than open cubbies, keeps the entryway’s most-used storage completely out of sight while providing the single most functional minimalist feature: somewhere to actually sit while removing shoes.
Open shoe cubbies are the single most common reason a minimalist entryway fails within a month — they look intentional on day one and become a visible jumble of footwear by week three. A drawer enforces the discipline that open storage cannot.
A custom-built bench in painted MDF or solid ply, sized to a standard hallway depth of 40–45 cm, costs $250–$550 from a local joiner; a flat-pack equivalent with a single drawer runs $150–$350 from furniture retailers. The drawer should be a minimum of 30 cm internal depth to fit adult shoes lying flat rather than standing on end — anything shallower forces shoes to be stacked, which defeats the quick-access purpose the drawer exists for. Budget $40–$80 for a drawer-specific soft-close runner if the flat-pack version doesn’t include one; the difference in daily noise and longevity is significant.
Design tip: Cap the drawer’s contents at one pair of shoes per household member plus one pair of weather-specific footwear (boots, wellingtons). Once the drawer requires force to close, the system has already failed — the overflow needs to go to a bedroom wardrobe or a separate boot room, not stay hidden in an overstuffed entryway drawer where it no longer functions as quick storage.
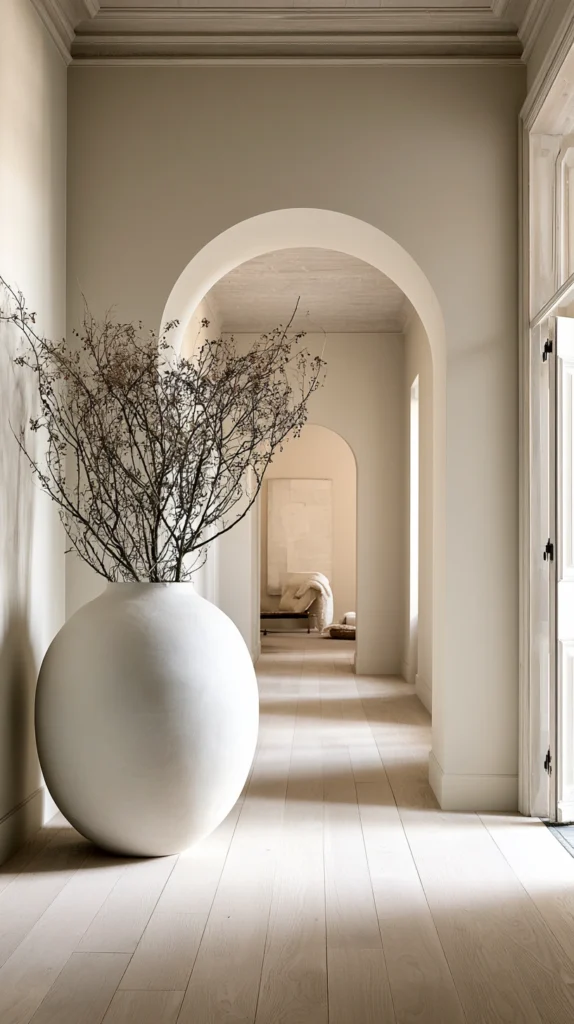
3. A Single Oversized Pot With One Structural Plant
Budget: $50 – $180
One large plant — not three small ones — in a single pot of 30–35 cm diameter is the minimalist entryway’s most reliable way of introducing life and texture without introducing visual noise. A snake plant (Sansevieria), a ZZ plant, or an olive standard all suit low-light hallway conditions and have a clean, architectural leaf form that reads as sculptural rather than decorative — which matters more in a minimalist scheme than almost any other plant quality, because soft, frilly, or multi-stemmed plants visually compete with the room’s deliberate simplicity.
A mature Sansevieria in a 21 cm nursery pot costs $25–$45; transferring it into a 32 cm ceramic or concrete pot ($25–$60) gives the visual scale the entryway needs without requiring the plant itself to be enormous. An olive standard with a 100–120 cm clear stem costs $60–$120 and tolerates the low, indirect light of most hallways better than its Mediterranean reputation suggests, provided it gets at least two hours of bright indirect light daily — check this before committing, since a hallway with no nearby window will struggle to sustain it past a few months.
Design tip: Position the pot at the end of the entryway furthest from the door rather than beside it. A plant directly beside the entrance gets knocked, brushed past, and visually competes with the coat and shoe storage happening in the same few square feet. Placed at the terminus of the hallway’s sightline, it becomes the visual destination the eye travels to on entering — which is the compositional trick that makes a single plant feel sufficient rather than sparse.
4. A Recessed Wall Niche for Keys and Post Only
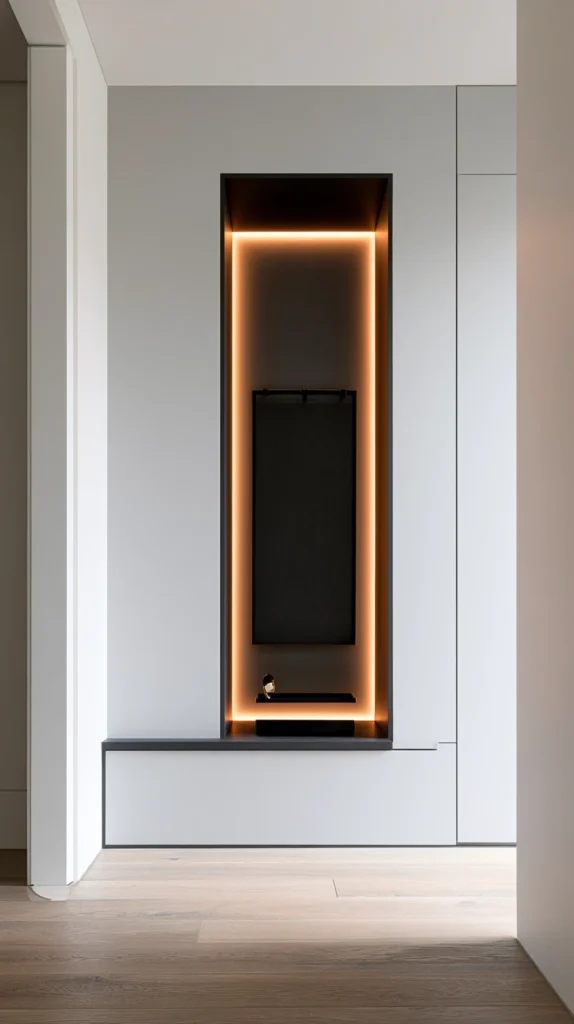
Budget: $80 – $250
A shallow recessed niche cut into the wall between studs — typically 30 cm wide, 20 cm tall, and 8–10 cm deep — creates a storage point with zero visual footprint when not in use, because there is no shelf, bracket, or surface protruding into the hallway at all. It holds exactly two categories of object: keys on small interior hooks, and a single shallow tray for post. The recess format physically prevents the space from being used for anything beyond this, which is the mechanism that keeps it permanently clutter-free rather than relying on willpower.
Cutting a niche into a standard stud wall (16″ / 40 cm centers) costs $80–$150 in materials — plasterboard offcuts, timber battens for the frame, and finishing plaster — for a confident DIYer, or $150–$250 for a handyperson to install in half a day. Check for electrical cables or pipework behind the wall with a stud/cable detector before cutting; this is the step most commonly skipped and most commonly regretted. Paint the interior of the niche in a contrasting deep tone (charcoal, forest green) against a pale hallway wall — the contrast does the work of making the niche read as a deliberate architectural feature rather than a hole that’s been patched.
Design tip: Install the niche at 130–140 cm from the floor — high enough that it’s not in the direct sightline of anyone bending to remove shoes, low enough to be reachable without stretching. A niche installed at standard shelf height (105 cm) tends to visually merge with shoe-removal activity below it; a few centimeters higher keeps it reading as its own distinct zone.
5. A Full-Height Mirror With No Frame
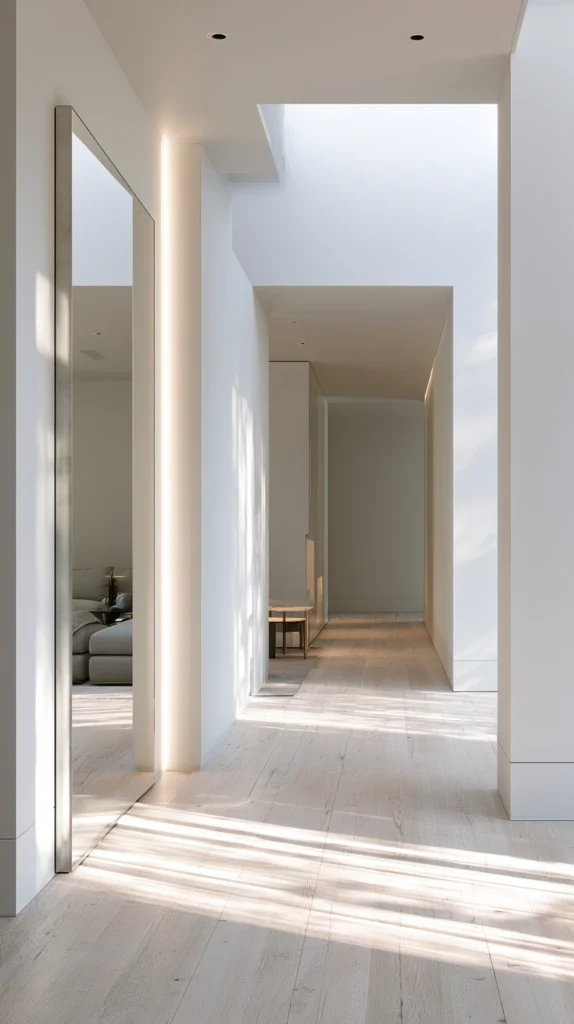
Budget: $80 – $300
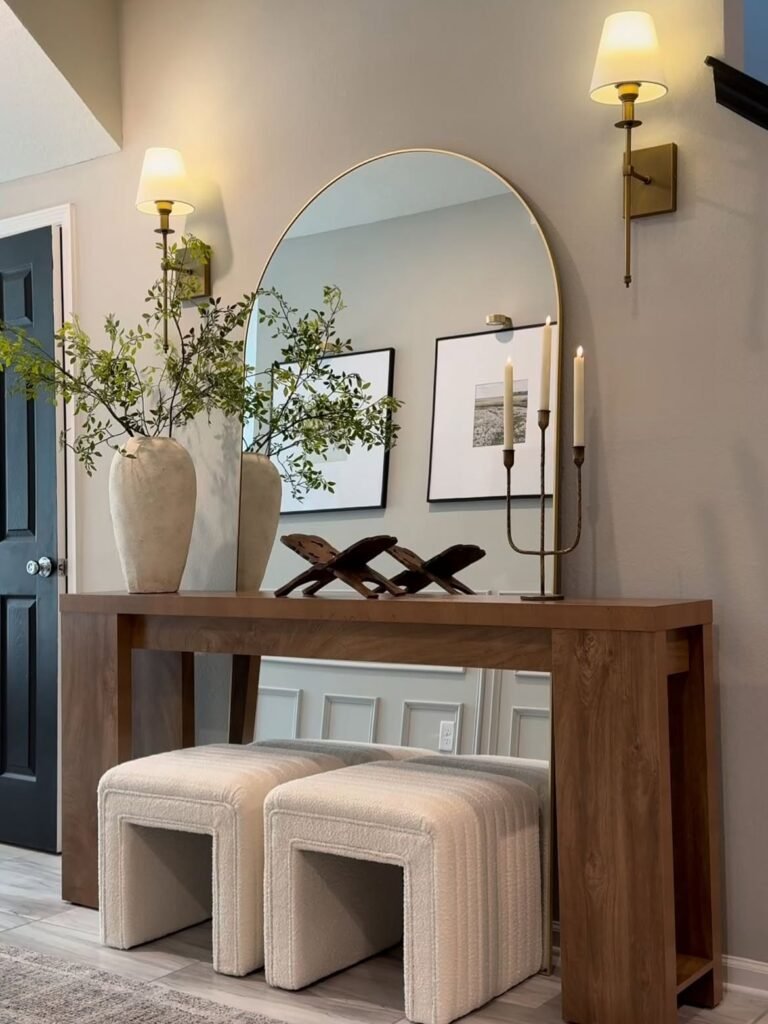
A frameless mirror of at least 150 cm height, fixed flush to the wall with clip fixings rather than hung from a visible hook, does two things simultaneously that matter specifically to a minimalist entryway: it provides the genuinely useful last-look function before leaving the house, and it doubles the apparent depth of what is usually the narrowest room in the home. The absence of a frame is the deliberate choice — a framed mirror, however simple, introduces an additional decorative object and an additional material into a space that benefits from having as few distinct elements as possible.
A frameless float-glass mirror cut to 50×160 cm costs $80–$180 from a local glazier, who can also supply and fit the required clip or adhesive mounting system; pre-made frameless mirrors in this size from homeware retailers run $100–$300. Mount with at least four mirror clips rated for the glass weight (a 50×160 cm mirror at standard 4–6mm thickness weighs roughly 8–12 kg) — adhesive-only mounting is not adequate at this size and height, and a falling mirror in a hallway is a genuine safety risk.
Design tip: Position the mirror on the wall perpendicular to the front door rather than directly facing it. A mirror facing the door reflects everyone entering directly back at themselves from the first step inside, which reads as confrontational rather than calm. A mirror on the side wall is glanced into naturally on the way past, which is the more functional and less self-conscious use pattern for an everyday entryway mirror.
6. A Single Material Palette Across Every Surface
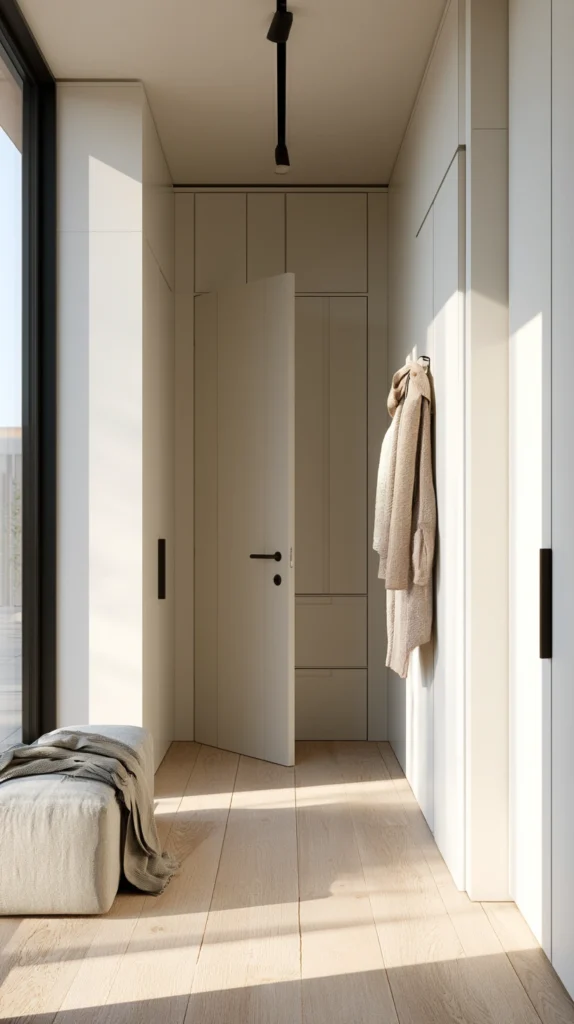
Budget: $0 – $200 (paint and finishing only)
Restricting the entryway to one wall colour, one floor tone, and one hardware finish (all brass, or all matte black, or all brushed nickel — never mixed) removes the visual decision-making that makes a small space feel busy even when it contains very few objects. This is the single highest-impact, lowest-cost idea on this list because it requires no new furniture at all — it only requires auditing what’s currently there and replacing whatever doesn’t match the chosen palette.
Repainting an entryway wall and replacing two or three pieces of mismatched hardware (a door handle, light switch plates, a hook) costs $40–$120 in paint and hardware for most standard hallways. If the floor is the inconsistent element — patterned tile against plain walls, for instance — a runner rug in a single solid tone ($60–$180) can visually unify the floor without requiring retiling. The goal is that a person standing in the doorway should not be able to identify more than two distinct colours and one metal finish anywhere in their field of view.
Design tip: Photograph the entryway from the front door before changing anything, then count the distinct colours and materials visible in the photo. Most entryways that feel cluttered despite having little furniture in them fail on this exact metric — five or six different tones and finishes competing in a 2-square-metre space — rather than on having too many objects. Fixing the palette is often more effective than removing more things.
7. A Wall-Mounted Slim Console With Nothing Beneath It
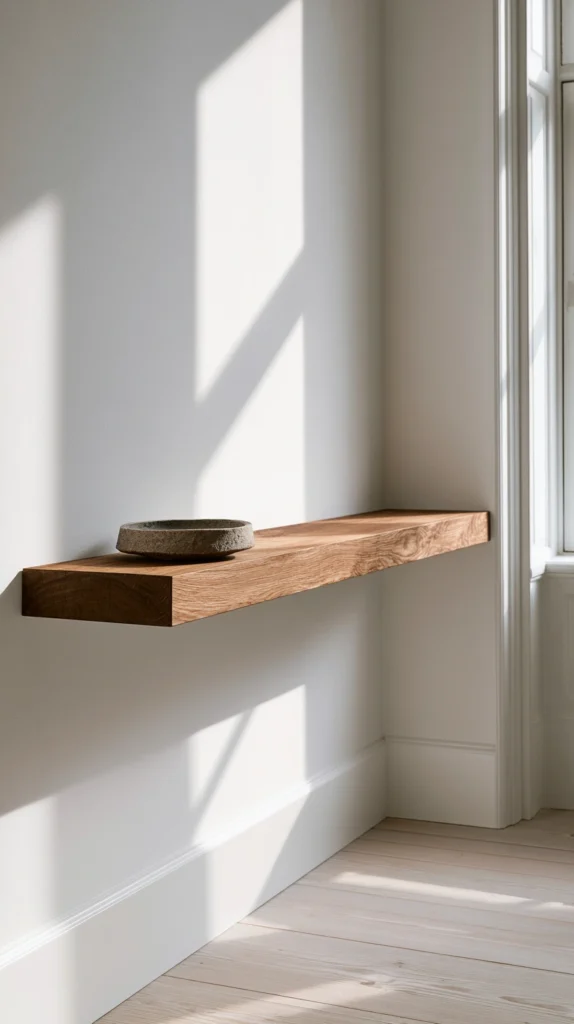
Budget: $100 – $350
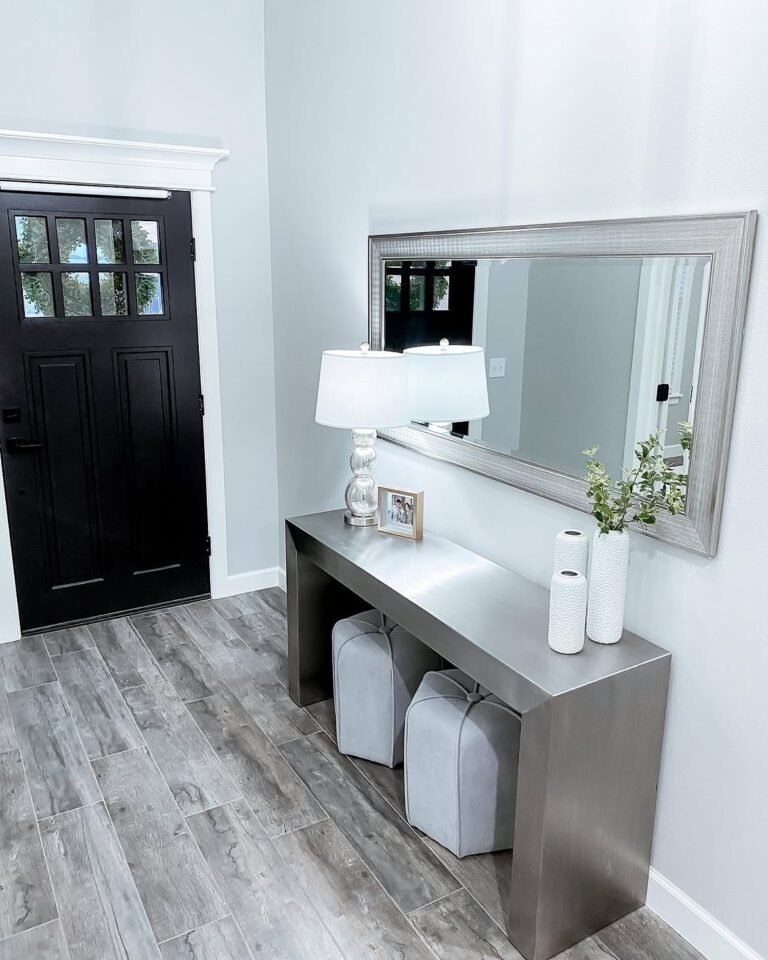
A wall-mounted console table of 20–25 cm depth, fixed at standard table height (75–80 cm) with no shelf, drawer, or storage beneath it at all, creates a surface for the single daily task of setting down keys or a bag without any additional storage commitment.
The visible floor space beneath it — left genuinely empty — is the design decision: a console with storage underneath inevitably accumulates shoes, bags, and umbrellas in that gap, while a console with open floor beneath has nothing to invite that accumulation.
A wall-mounted console in this depth range costs $100–$250 from furniture retailers, or $150–$350 custom-built in solid timber with a single floating bracket system rated for at least 20 kg of static load. Choose a console no wider than 70–80 cm in a narrow hallway (under 1.2 m wide) — wider consoles in tight hallways become an obstruction rather than a feature, and the rule of thumb is to leave at least 90 cm of clear walking width past any entryway furniture.
Design tip: Resist adding a second object to the console surface beyond a tray for keys. The temptation with any flat surface is to add “just one more thing” — a candle, a small frame, a dish — and the console that holds a tray and nothing else is the one that reads as deliberately minimal rather than simply under-decorated.
8. Vertical Slot Storage for Umbrellas Only
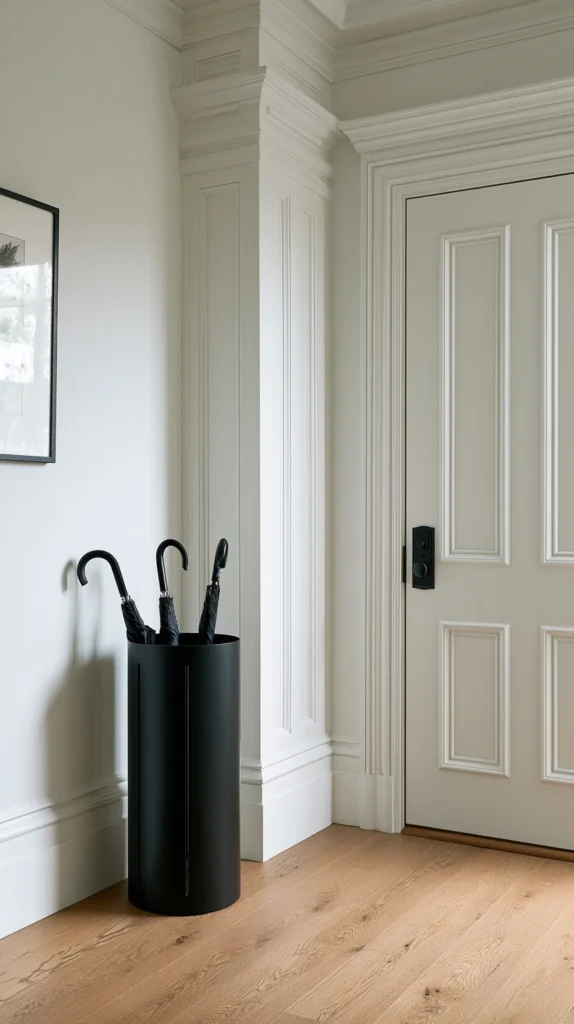
Budding: $30 – $90
A single tall, narrow vessel — a ceramic or powder-coated metal cylinder of 15–18 cm diameter and 50–60 cm height — placed in the corner of the entryway and used exclusively for umbrellas prevents the single most common minimalist entryway failure: umbrellas propped against the wall, leaning in corners, or draped over furniture because there was never a defined place for them. The defined vessel works because it is too narrow and too specific to be used for anything else, which keeps it from becoming general storage overflow.
A ceramic umbrella stand costs $25–$60; a powder-coated steel cylinder runs $30–$75. Choose one with a removable inner liner or drip tray — wet umbrellas left in an unlined ceramic vessel will eventually mark or crack glazed ceramic over repeated freeze-thaw cycles near an unheated entryway, and a $5–$10 liner addition prevents this entirely. Limit contents to a maximum of three umbrellas; beyond that the stand tips over or the umbrellas no longer dry properly between uses.
Design tip: Place the umbrella stand directly beside the door rather than in a far corner. Counterintuitively, the closer it is to the point of use, the more reliably it gets used — an umbrella stand positioned for visual balance rather than functional proximity is the one that gets bypassed in favor of just leaning the umbrella against whatever’s nearest the door.
9. A Boot Tray as the Only Floor-Level Object
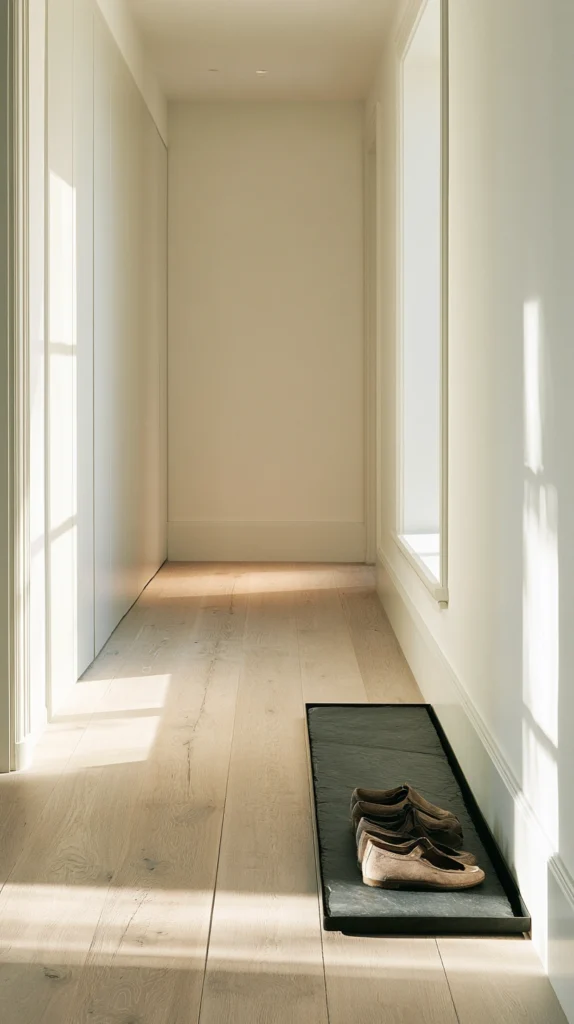
Budget: $20 – $60
A single slim boot tray in slate, rubber, or galvanized metal, sized to fit two to four pairs of shoes and positioned flush against the wall, is the minimalist alternative to a full shoe rack or cabinet. It contains the mess (mud, water, salt in winter) without introducing a large piece of furniture, and its low profile (under 5 cm height) keeps the floor reading as open rather than occupied. This suits households who genuinely don’t accumulate many shoes by the door, or who use it as a transitional catch-tray between outdoor shoes and a closet elsewhere in the home.
A galvanized steel boot tray of roughly 60×40 cm costs $20–$40; a slate or natural stone version runs $35–$60 and tolerates wet boots and salt residue without staining, unlike some painted metal trays which can chip and rust at the edges within a season or two of heavy winter use. Size the tray to the actual household — a single person needs roughly 40×30 cm, a family of four closer to 70×45 cm — rather than guessing, since an undersized tray just means shoes spill onto the floor around it.
Design tip: Empty and wipe the tray weekly rather than letting debris (leaves, grit, dried mud) accumulate inside it. A boot tray that’s visibly dirty undermines the entire minimalist effect more than almost any other single maintenance lapse in the entryway, because it’s at floor level and directly in the sightline of anyone entering.
10. A Single Pendant Light Instead of a Flush Ceiling Fitting
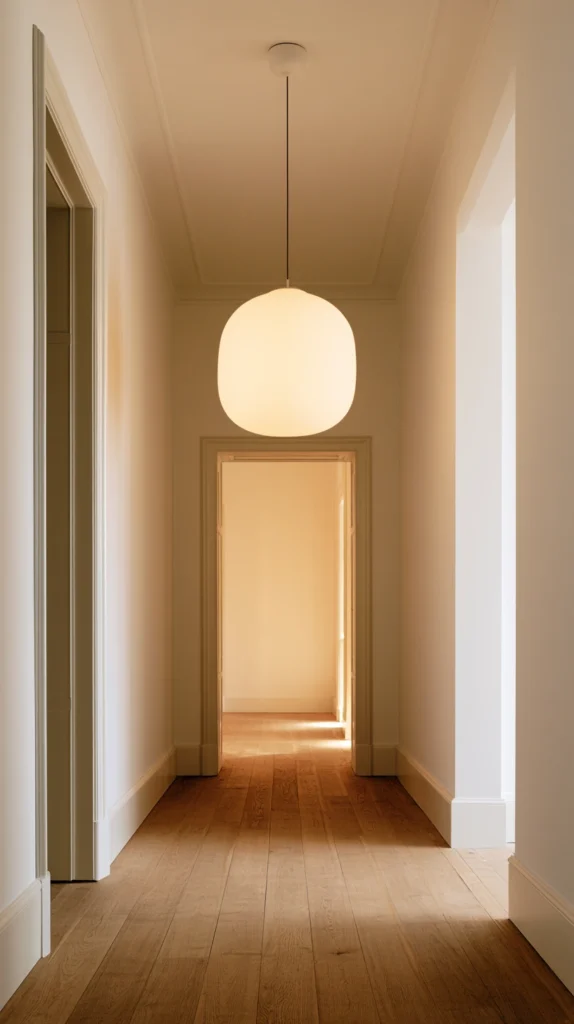
Budget: $60 – $250
Replacing a standard flush ceiling light with a single pendant — in glass, paper, or a simple metal dome — hung at 190–200 cm from the floor (low enough to register as a design object, high enough not to be brushed by a tall adult) gives the entryway a clear focal point overhead, which matters because a minimalist room with very few floor-level objects needs somewhere else for the eye to land. A bare flush fitting, by contrast, reads as utilitarian and slightly unfinished no matter how well-edited everything below it is.
A simple glass globe or paper pendant costs $40–$120; a sculptural ceramic or metal dome pendant runs $100–$250. Installation requires only swapping the existing ceiling rose connection, which is a 20–30 minute job for most UK and US standard fittings, or $60–$100 for an electrician if the household isn’t comfortable doing it themselves. Use a single warm-white bulb (2700K) rather than a cool or daylight-toned one — cool light in a small enclosed entryway reads as clinical rather than calm, undermining the entire intent of the redesign.
Design tip: Choose a pendant with a shade that’s at least 70% opaque rather than fully open or wire-frame. A fully exposed bulb at eye-adjacent height in a narrow hallway is visually harsh every time someone looks toward it, while a substantially shaded pendant diffuses the light downward and keeps the fitting itself looking calm rather than glaring.
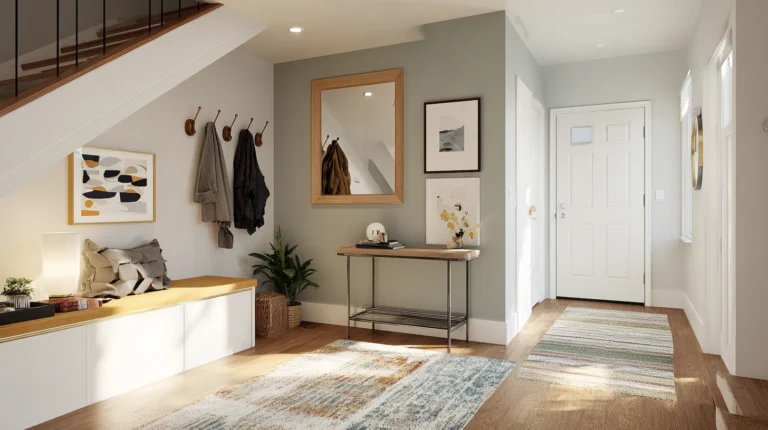
11. A Single Long Wall Hook Rail With Exactly One Hook Per Person
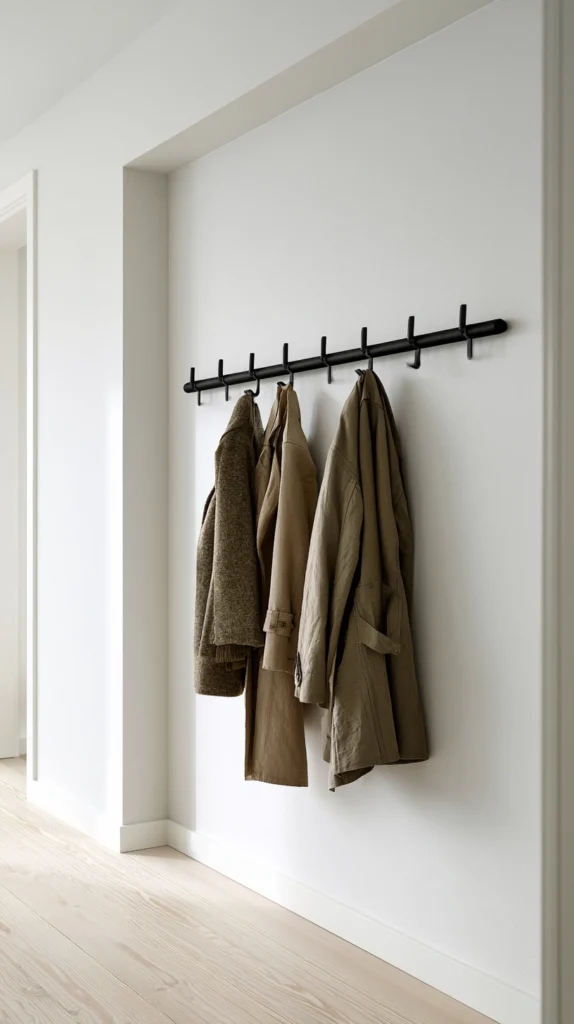
Budget: $25 – $90
A timber or matte black steel rail with hooks spaced at exactly 30–35 cm intervals, with one hook allocated permanently to each household member by unspoken (or labeled) agreement, prevents the over-hanging that turns a hook rail into a wall of tangled coats. The discipline is structural: with only as many hooks as people, there’s no surplus capacity for the seasonal coats, spare bags, and miscellaneous jackets that otherwise accumulate on a rail with six or eight hooks for a household of three.
A simple timber rail with four hooks costs $25–$50; a powder-coated steel version with integrated shelf above costs $60–$90. Mount at 145–150 cm from the floor for adult use — lower (110–120 cm) if children’s coats need their own dedicated hook within easy reach, in which case a second short rail at child height is more effective than trying to serve both heights from a single rail.
Design tip: Store off-season coats elsewhere in the home rather than adding extra hooks to accommodate them. A heavy winter coat hanging on the entryway rail in July is occupying space that the rail’s entire minimalist function depends on staying clear — the rail works because it only ever holds what’s currently being worn, not the household’s full coat inventory.
12. An Empty Wall Left Deliberately Bare
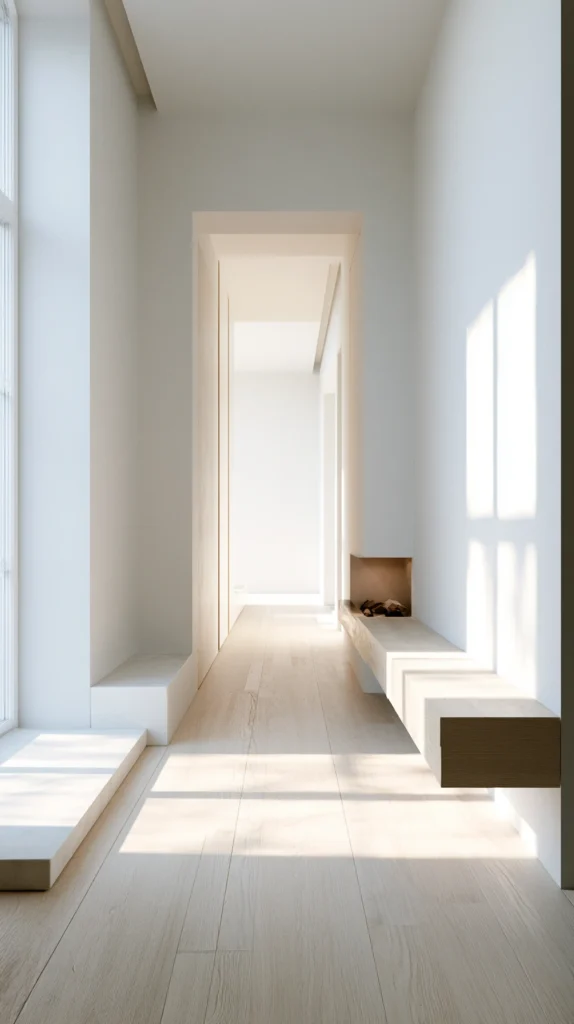
Budget: $0
The most genuinely minimalist entryway decision is also the only one with no cost: leaving one full wall completely bare, with no shelf, hook, art, or mirror on it at all. In a small entryway, having even one wall with nothing on it gives the eye a place to rest that no amount of careful object-editing on the other walls can substitute for — it’s the negative space equivalent of the “one object with no function” principle, scaled up to an entire surface.
This requires no purchase, only restraint, and it is frequently the hardest idea on this list to actually execute, because an empty wall in a hallway attracts suggestions from every well-meaning visitor and every home-decor algorithm simultaneously. The wall should be painted in the same single tone established for the rest of the space (see idea #6) so that it doesn’t read as unfinished — a bare wall in a mismatched or patchy paint finish looks neglected, while a bare wall in a clean, consistent finish looks intentional.
Design tip: If the temptation to fill the wall is strong, commit to checking back in three months before adding anything. Most people who leave a wall bare for a genuine trial period report that the entryway feels more spacious for the absence than it would have felt better for whatever they were originally planning to put there — but the only way to know that for a specific space is to actually live with the emptiness rather than pre-empting it.
Every idea on this list works through the same mechanism: a defined, deliberately limited container for one category of object, sized and placed so that overflow has nowhere obvious to go. The calm isn’t achieved by having an empty entryway — it’s achieved by having an entryway where keys, shoes, coats, post, and umbrellas each have exactly one correct place, no more storage capacity than the household actually needs, and at least one surface or wall left completely alone.
Start with whichever single idea addresses your household’s actual daily friction point — the umbrellas that are always on the floor, the post that’s always on the console, the shoes that never make it into anything. Fix that one specific failure with the right-sized, single-purpose solution before adding anything else. The entryway that tries to solve every possible storage problem at once is the one that ends up looking like none of them are solved.