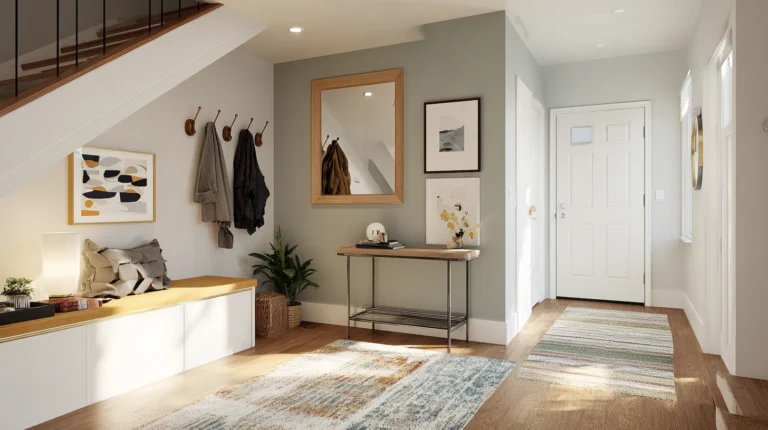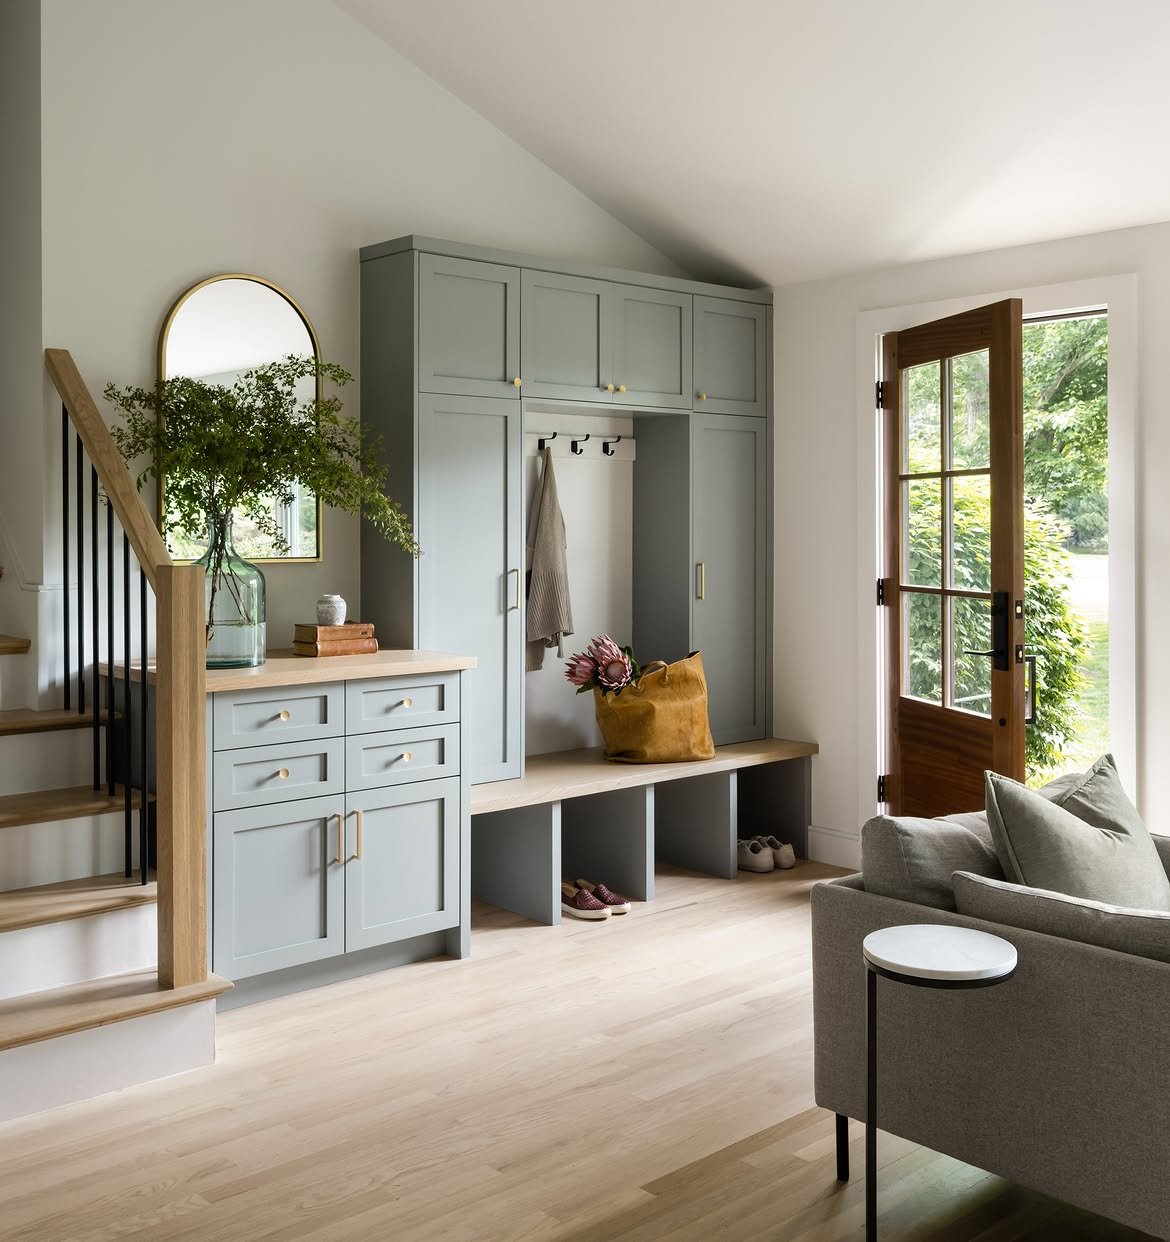
13 Entryway Mudroom Combo Ideas That Keep Chaos Away
13 Entryway Mudroom Combo Ideas That Keep Chaos Away
An entryway and a mudroom do two genuinely different jobs — the entryway handles keys, post, and the last-look-in-the-mirror moment before leaving; the mudroom handles wet boots, dropped coats, and muddy gear arriving from outside.
Most homes only have room for one zone to do both, and the chaos usually starts when those two jobs get mixed together in the same pile rather than separated within the same footprint. The thirteen ideas below aren’t about adding more storage — they’re about splitting one space into two functional sub-zones and designing the order in which things happen as someone moves through it.
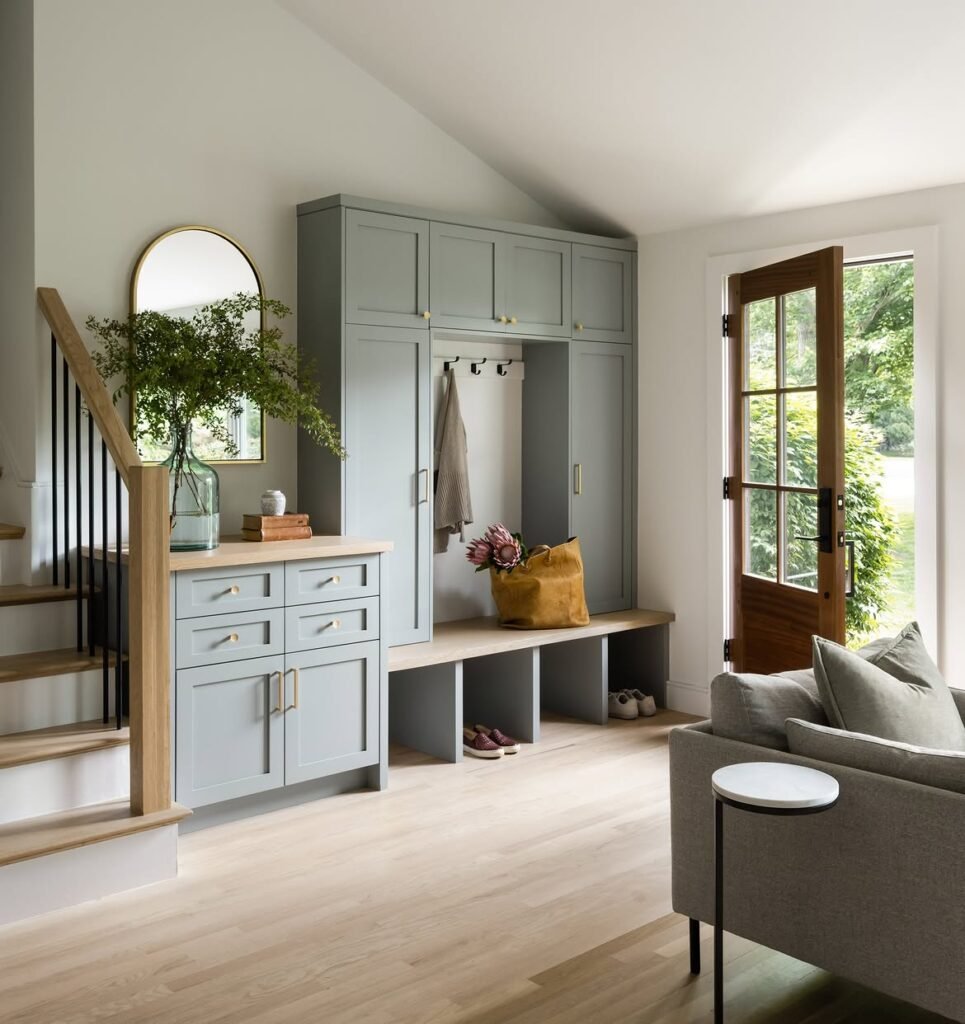
Each idea includes the actual zone dimensions, sequencing logic, and real costs needed to apply it to a genuine combo space rather than a dedicated room of either type.
1. Split the Floor Into a “Wet Zone” and a “Clean Zone” With a Physical Boundary
Budget: $30 – $150
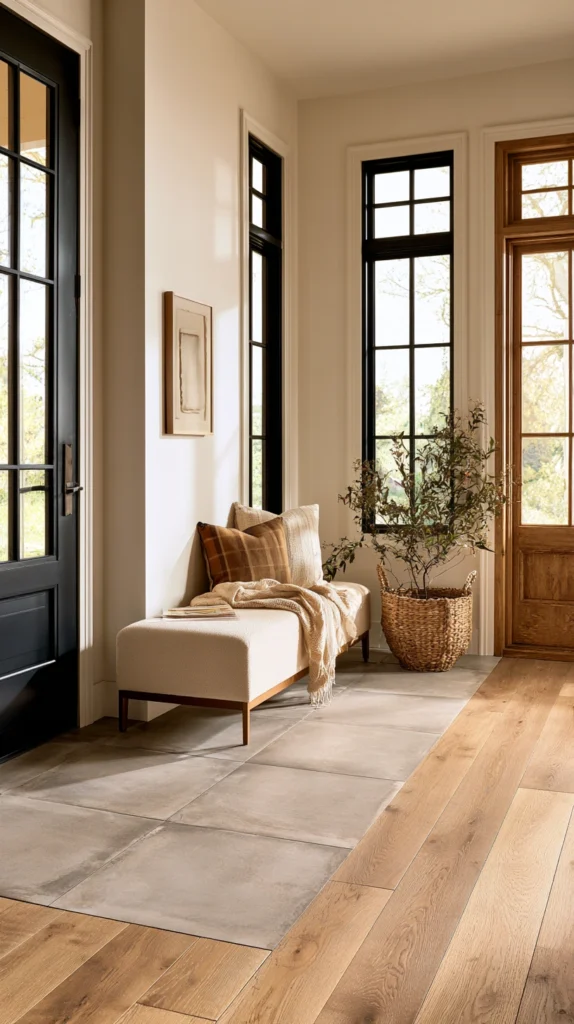
The single most useful zoning decision in any combo space is deciding exactly where wet, muddy footwear stops and the rest of the house begins — and marking that line with something physical, not just an unspoken understanding. A change of flooring material (tile or rubber matting for the first 60–90 cm from the door, then carpet or wood beyond it) gives everyone in the household, including guests, an instant visual cue for where boots come off.
A rubber-backed entrance mat sized to the full width of the doorway and 60–90 cm deep costs $25–$70; a more permanent solution — laying a porcelain or slate tile inset into an existing timber floor at that same depth — costs $100–$250 in materials and labor for a small area. The wet zone depth should match your actual entry conditions: 60 cm is enough for a household that mostly deals with light rain, but a household with regular heavy mud or snow needs closer to 90–100 cm to catch the full stride length of someone stepping in from outside.
Zoning tip: Place the boot bench (idea 2) with its front edge exactly at the wet-zone boundary, not inside or beyond it. Sitting to remove boots should happen at the edge of the wet zone, so the person doing it has both feet still in the zone where mud is expected, rather than tracking it a step further in before sitting down.
2. Position the Bench to Face the Door, Not the Wall
Budget: $100 – $400
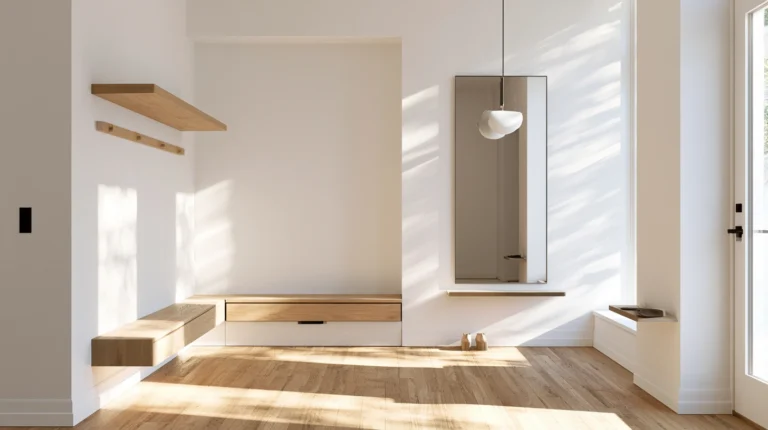
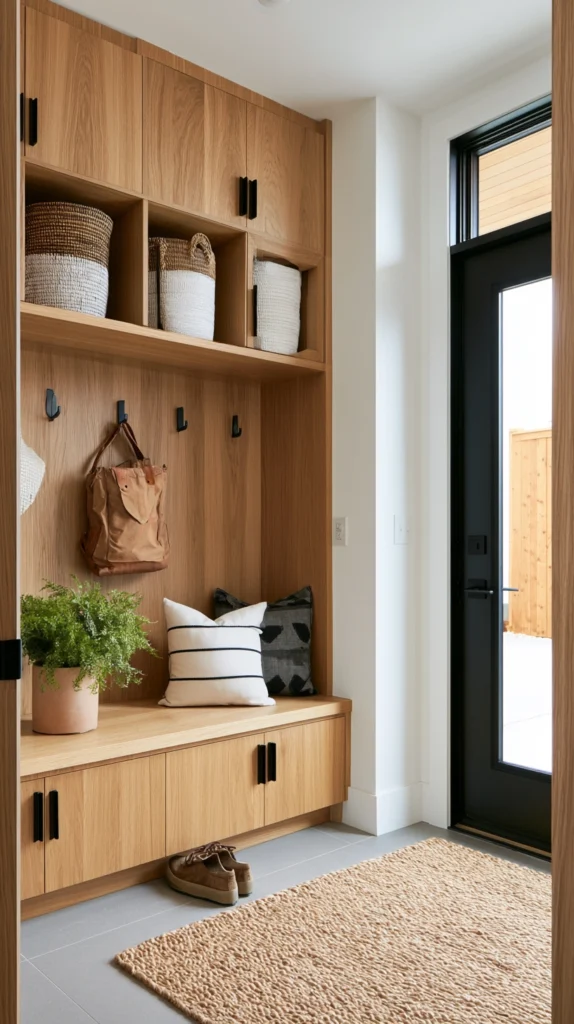
A bench facing the wall (the default in most narrow hallway setups) means whoever’s sitting to remove shoes has their back to the door and can’t see who else is coming in or what’s happening at the entry zone behind them. A bench angled to face the door — even at 90 degrees rather than directly opposite it — keeps the boot-removal moment connected to the entryway’s arrival sequence instead of treating it as a separate, disconnected task.
A bench of 90–120 cm width and 40–45 cm depth, positioned along the side wall at a right angle to the door’s swing path rather than against the back wall, costs the same $100–$350 as any standard entryway bench — the cost difference here is entirely in the layout decision, not the furniture itself. Where space doesn’t allow a 90-degree angle, even a bench set 15–20 cm away from a back wall and angled slightly toward the door achieves much of the same effect.
Sequencing tip: Test the actual sightline by sitting on the bench in its proposed position and checking whether you can see the door and at least part of the key/post zone (idea 4) without turning your head more than 45 degrees. If you can’t, the bench is positioned for the wrong job — it’s been placed as if the space were a pure mudroom rather than a combo space that also needs entryway visibility.
3. Build the Shoe Storage Below Seat Height, Never Above It
Budget: $80 – $300
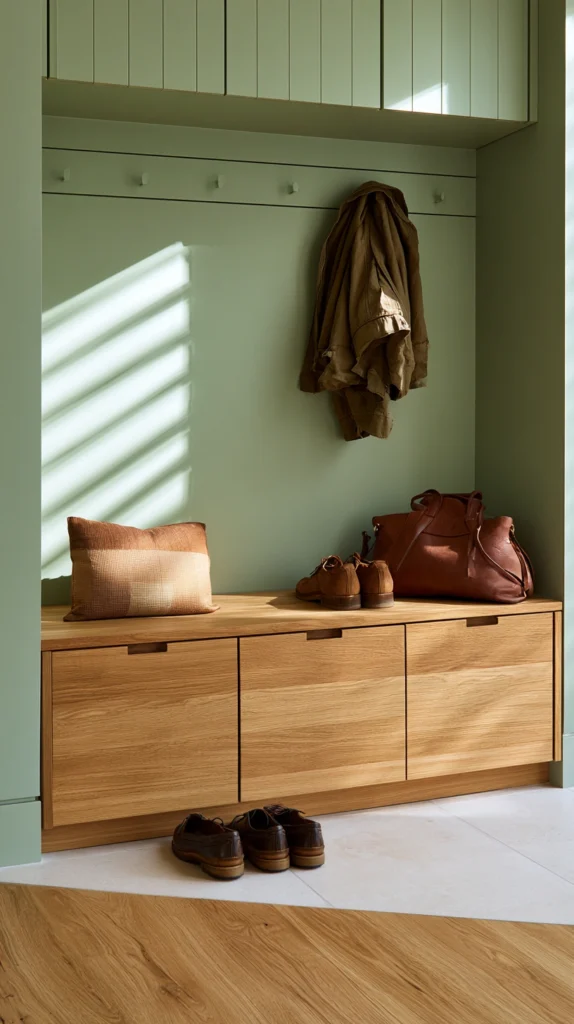
In a combo space, storage positioned above the bench at eye or shoulder height gets used for coats, bags, and entryway items — the “clean” category — almost automatically, because that’s the natural reach height for things being carried in by hand. Shoe and boot storage needs to live below seat height (under 45 cm) specifically so the zoning stays consistent with how people’s bodies actually move through the space: bend down for wet footwear, reach up for dry items.
A shoe storage cubby or drawer unit built into the base of the bench, sized to the bench’s own footprint, costs $80–$250 depending on whether it’s open cubbies or closed drawers (closed drawers, discussed in more depth elsewhere, control smell and visible mess better); a freestanding low shoe rack tucked beneath an existing bench costs $40–$100 as a retrofit rather than a built-in solution.
Zoning tip: Never let shoe storage exceed bench height even when there’s spare wall space above it — the temptation to stack shoe storage upward to save floor space breaks the single rule this idea depends on, and once shoes start appearing above the bench line, coats and bags start migrating downward to compete with them, collapsing the two zones back into one disorganized pile.
4. Create a Dedicated Key-and-Post Zone at Standing Height, Separate From Anything Boot-Related
Budget: $40 – $120
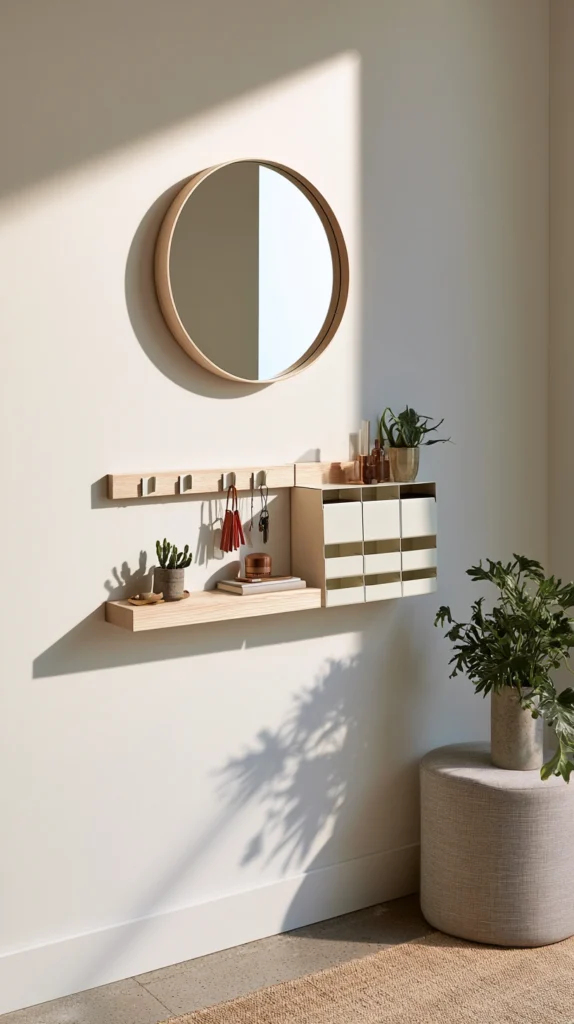
Keys, post, sunglasses, and wallets are entryway-job items — things picked up and put down standing, on the way in or out — and they need their own surface, positioned at 100–120 cm height, that never touches the bench or the boot zone. The most common chaos failure in a combo space isn’t lack of storage; it’s a single shared surface where keys, muddy gloves, and unopened mail all land in the same pile because there was only ever one flat surface available.
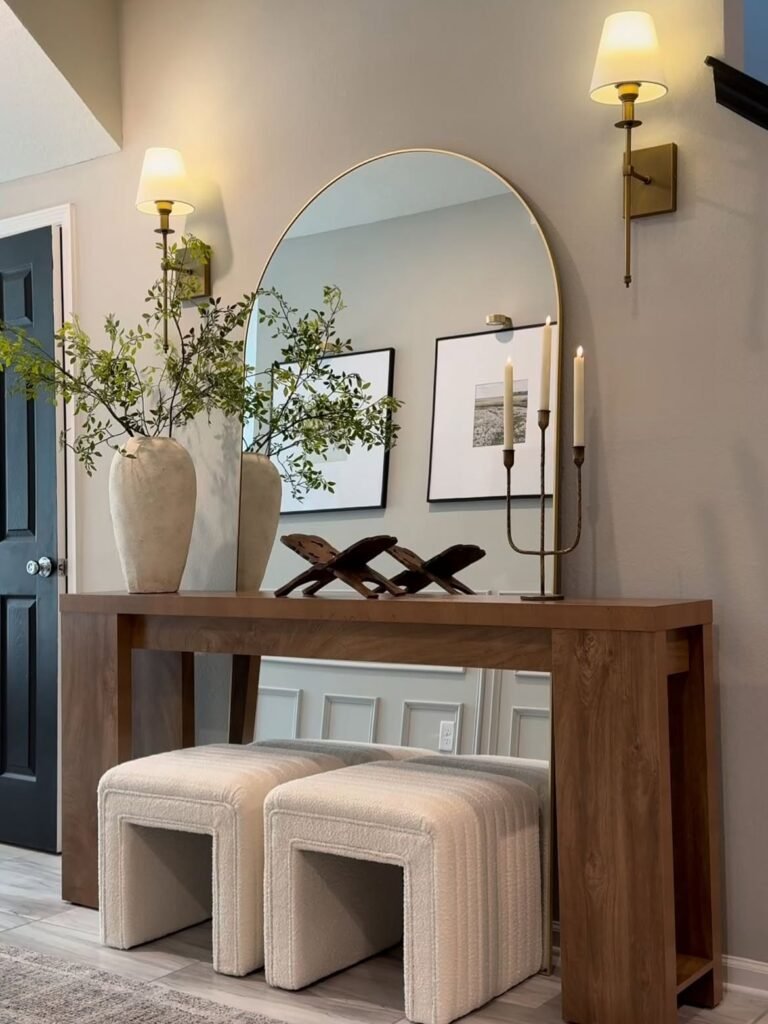
A small wall-mounted shelf or shallow console of 20–25 cm depth, fitted with a tray for keys and a slim letter rack, costs $40–$90 in materials; mounting height should sit at 105–115 cm — high enough to be clearly a “standing task” surface, separate from the seated bench zone 60 cm below it. Where wall space is genuinely too tight for a shelf, a single floating key hook plus a small wall-mounted letter rack achieves the same separation for $15–$40.
Sequencing tip: Position this zone on the wall section closest to the door itself, even if that means the bench and boot storage end up slightly further down the hallway. Keys and post are handled in the first and last three seconds of using the space — they need the shortest possible path from hand to storage, while boots and coats can tolerate a few extra steps since removing them is already a slower, seated task.
5. Sequence Hooks in the Actual Order Outerwear Comes Off
Budget: $25 – $80
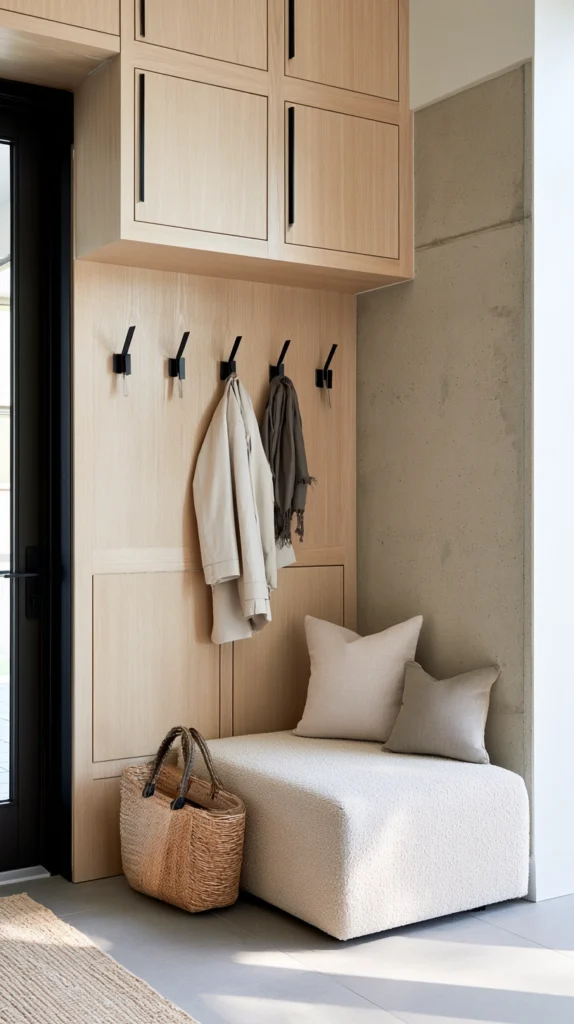
Most people remove outerwear in a fairly consistent order — bag or backpack first (often slung off while still walking), then coat, then scarf or hat last as they reach the door. A hook rail that places hooks in that same left-to-right or door-to-bench sequence (bag hook closest to the door, coat hook in the middle, scarf/hat hook closest to the bench where boots come off last) matches the rail to the body’s actual unloading motion instead of just installing evenly spaced identical hooks.
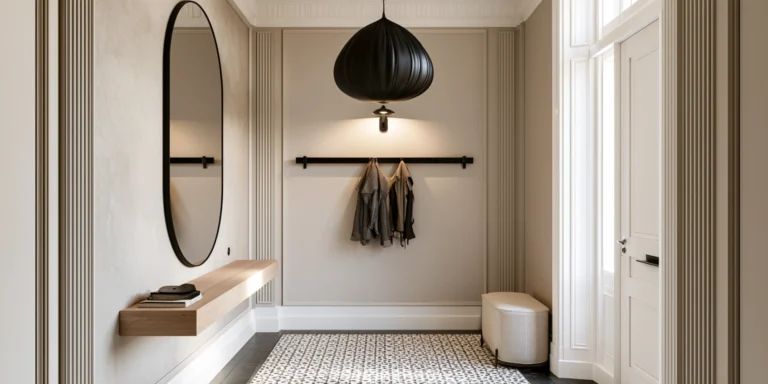
A simple rail with three to four differentiated hook types — a wider, lower hook for bags (rated for heavier static load, supporting 5–8 kg), a standard coat hook in the middle, and a smaller hook for scarves or hats — costs $25–$60 in mixed hardware; mounting at a single consistent height of 145–150 cm keeps the sequence reading clearly left to right rather than getting confused by height changes as well as position changes.
Sequencing tip: Mount the bag hook 8–10 cm lower than the coat and scarf hooks specifically, even though the overall rail sits at one height. A bag hung at the same height as a coat tends to swing into the coat below it during the door’s regular use, while a slightly lower-mounted bag hook keeps the two from tangling without disrupting the left-to-right unloading sequence.
6. Use a Single Drawer, Not a Basket, for Anything That Needs to Stay Out of Sight Between the Two Zones
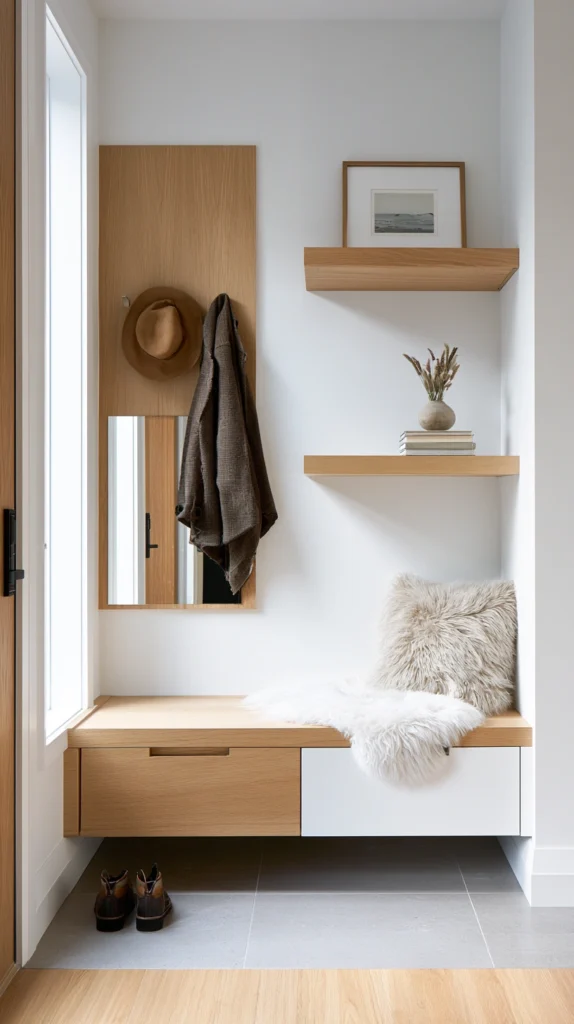
Budget: $60 – $200
Every combo space accumulates a small category of items that don’t belong cleanly to either zone — dog leads, an umbrella, a spare set of gloves — and these are exactly the items that end up loose on the bench or floor because there’s no obvious zone for them. A single closed drawer, positioned at the boundary between the boot zone and the key zone rather than inside either one, gives these items a specific home without expanding either zone’s storage and blurring its purpose.
A single drawer unit of 30×40 cm internal dimensions, fitted into the gap between the bench and the key console, costs $60–$150 for a retrofit unit or $150–$200 built into existing furniture by a carpenter. Keep this drawer’s contents to a maximum of six to eight items — beyond that, the drawer itself becomes the new junk pile, just a hidden one.
Zoning tip: Physically label the drawer’s contents on a small card inside the lid or front edge — “leads / gloves / spare keys” — so every household member treats it as a defined micro-zone with specific contents rather than a general catch-all. The label is what keeps a single shared drawer from becoming the third disorganized pile in a space that was supposed to have eliminated piles entirely.
7. Install a Boot Tray That’s Sized to the Bench, Not the Doorway
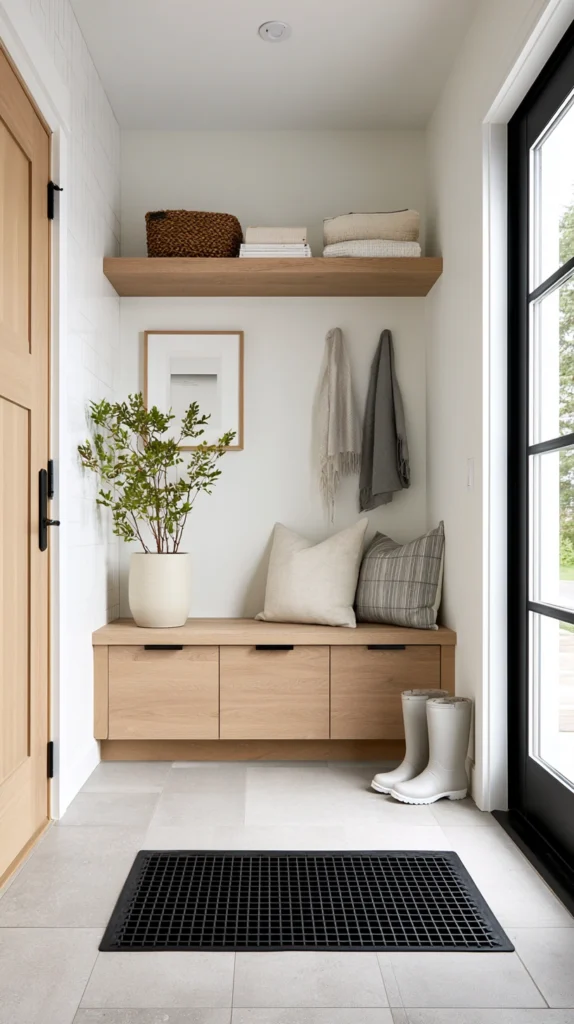
Budget: $25 – $70
A boot tray sized to the width of the doorway (the usual default) often ends up positioned slightly wrong relative to where people actually sit, because the doorway and the bench rarely line up exactly. Sizing the tray instead to match the bench’s own width — and positioning it directly in front of the bench rather than centered on the door — keeps the sitting-and-removing motion and the tray’s catch area perfectly aligned, which is what actually determines whether wet boots land on the tray or beside it.
A slate, rubber, or galvanized tray cut or selected to match the bench’s width (commonly 90–120 cm) costs $25–$60; oversized custom trays beyond standard retail sizes run slightly more at $50–$70. Measure the bench width first, then shop for a tray, rather than the reverse — this single ordering change is what prevents the mismatch that makes boot trays underperform in combo spaces specifically.
Sequencing tip: Leave a 10–15 cm gap between the tray’s front edge and the bench’s front edge, not flush against it. This gap is where feet actually land mid-motion while someone is bent over removing a boot — without it, the boot tray gets stepped on and shifted out of position constantly, which is the most common reason boot trays in combo spaces end up pushed against a wall instead of where they’re needed.
8. Reserve the Wall Directly Behind the Bench for Coats Only — Never Bags
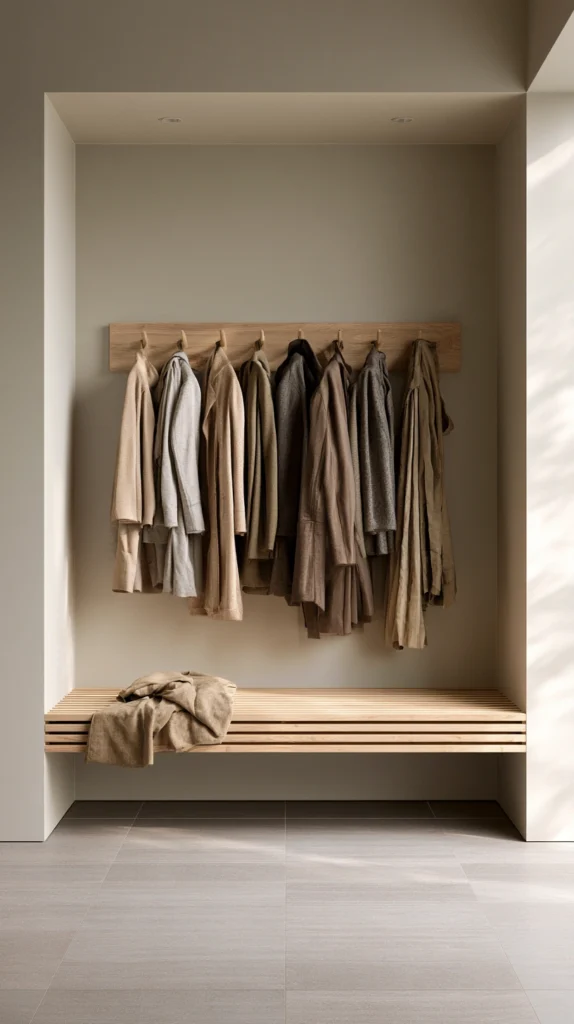
Budget: $0 — rule only, hardware costs as per existing hooks
Bags hung directly behind a seated bench position swing forward into the back of whoever’s sitting down to remove boots, which is both annoying and the specific mechanism that causes people to start dropping bags on the floor instead of hanging them at all. Reserving the wall space directly behind and above the bench exclusively for coats (which hang flatter against the wall and don’t swing into the seated zone) and routing bags to a hook further along the rail, closer to the door, removes this specific point of friction.
This costs nothing beyond hardware already covered in idea 5 — it’s a rule about which hook gets used for what, not a new purchase. If retrofitting an existing rail that currently has bags mixed in directly behind the bench, the only cost is the time to physically relocate which item goes on which hook.
Zoning tip: If a household member consistently ignores the bag/coat hook division, consider whether the bag hook is actually closer and more convenient than the behind-bench position — sequencing rules only work if the “correct” hook is also the easiest one to reach in the actual order of motion, not just the theoretically correct one on a diagram.
9. Add a Second, Shorter Hook Rail at Child Height Within the Same Zone Logic
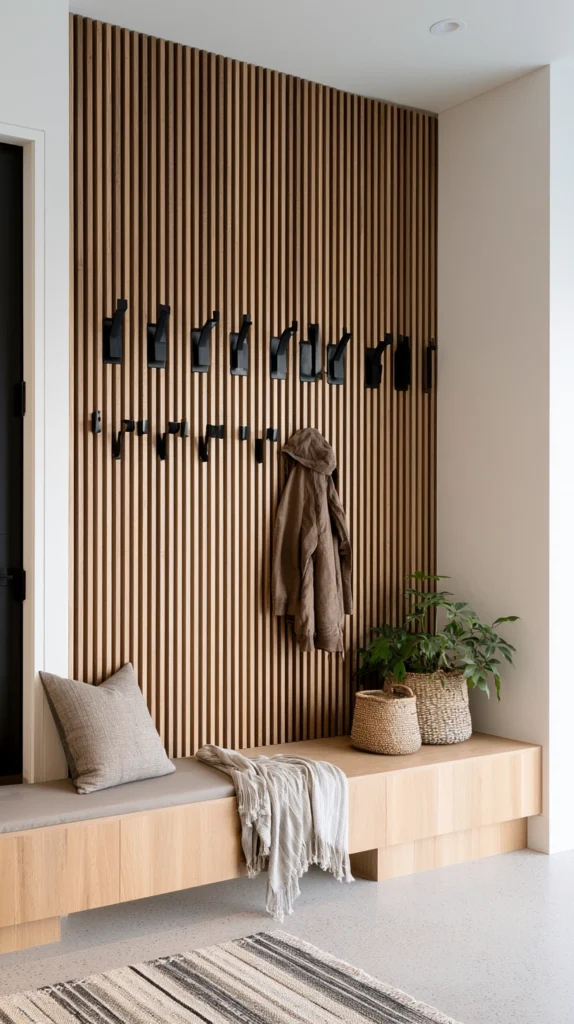
Budget: $20 – $60
Children’s gear follows the exact same arrival-to-storage sequence as an adult’s — bag, then coat, then hat — but at a height adults often forget to plan for, which means kids’ items either get hung on adult hooks they can’t reach (so an adult does it for them) or dropped on the floor. A second short rail mounted at 95–110 cm height, positioned in the same door-to-bench sequence logic as the main adult rail, lets a child complete the entire same sequence independently.
A short two- to three-hook rail at child height costs $15–$40 in hardware; positioning it directly below or immediately beside the adult rail (rather than in a separate area of the wall) keeps both rails reading as one sequenced system rather than two disconnected installations.
Sequencing tip: Mount the child rail’s hooks in the same left-to-right bag/coat/hat order as the adult rail above it, not in a random arrangement. Consistency between the two heights is what makes the sequence intuitive enough for a child to use without being told each time — matching positions reinforces the same muscle memory at both heights.
10. Use a Closed Cabinet, Not Open Shelving, for the Boundary Between the Two Zones
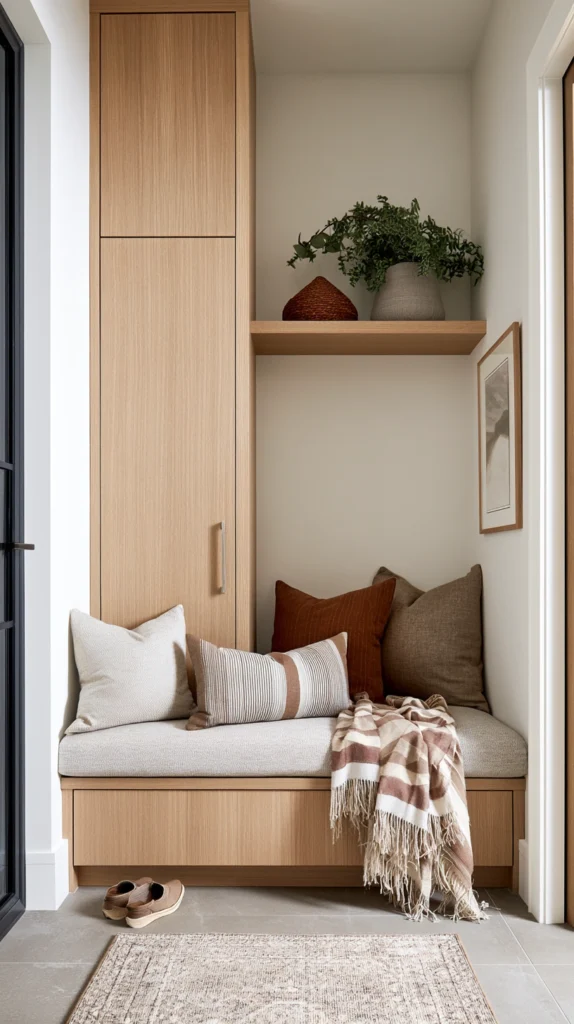
Budget: $150 – $450
Open shelving positioned at the zone boundary — the point where boot-zone items and entryway-zone items are most likely to get mixed — tends to accumulate whatever’s nearest at the moment someone’s hands are full, regardless of which zone the item actually belongs to. A closed cabinet at that same boundary point forces a brief decision (open the right door, put the item in the right section) that open shelving doesn’t, which is a small extra second of friction that turns out to matter for keeping the two zones distinct over months of daily use, not just on a tidy first day.
A closed cabinet sized to the boundary gap, with one section sized for boot-zone items (lower, larger compartment) and one for entryway items (upper, smaller compartment), costs $150–$350 from furniture retailers or $300–$450 custom-built to an irregular boundary gap. The internal division between the two compartments matters more than the cabinet’s overall style — confirm it has a genuine physical divider, not just one large open interior with a single door.
Zoning tip: Use a different door pull or handle finish for the boot-zone compartment versus the entryway-zone compartment if the cabinet has two separate doors. This is a small visual cue, but it reinforces the zone division every time someone reaches for the cabinet, the same way a different floor material does at ground level.
11. Map the Lighting to the Sequence, Not Just the Room
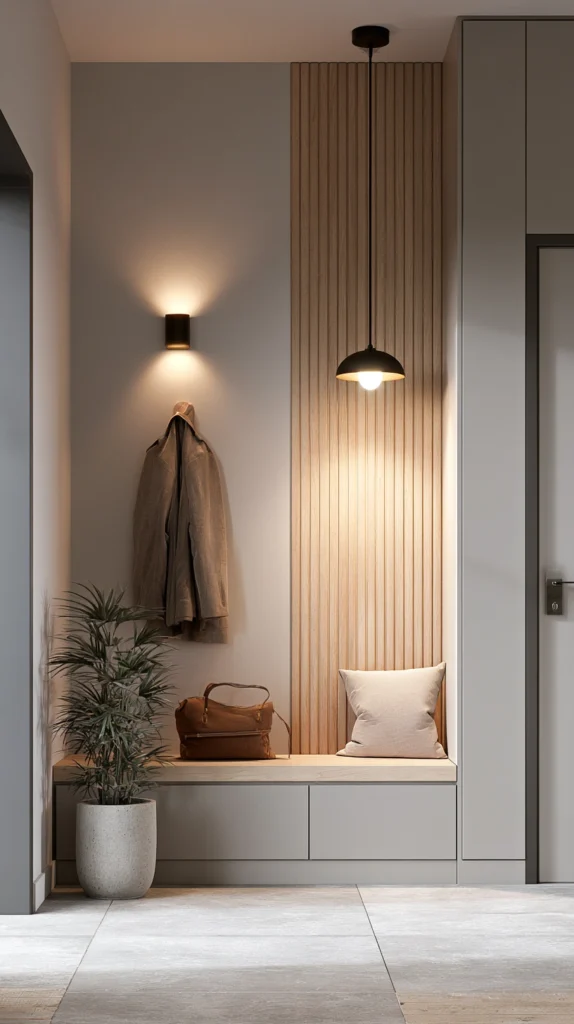
Budget: $40 – $150
A single overhead light treats the combo space as one undifferentiated room, but the two zones are used differently — the boot zone needs enough light to actually see mud and wet patches at floor level, while the key-and-mirror zone needs light angled to be useful for a face-level glance rather than a floor-level one. Two distinct light sources, each aimed at its own zone’s actual task, outperforms one central fitting trying to serve both.
A wall-mounted sconce or small pendant positioned over the bench and boot zone, angled to throw light downward onto the floor and tray, costs $30–$80; a second fitting near the key console — ideally one that also illuminates a mirror if one’s present — costs $30–$70. Use warm white (2700–3000K) for both to keep the two zones visually consistent in tone even though they’re lit by separate fittings doing separate jobs.
Sequencing tip: Put the boot-zone light on its own switch, separate from the key-zone light, if the wiring allows it ($20–$50 extra for a second switch run during installation). A household member just grabbing keys on the way out at night doesn’t need the boot-zone light on, and separating the switches reinforces that these are genuinely two different functional areas, not one room that happens to need two bulbs.
12. Place a Full-Length Mirror at the Exit Point of the Sequence, Not the Entry Point
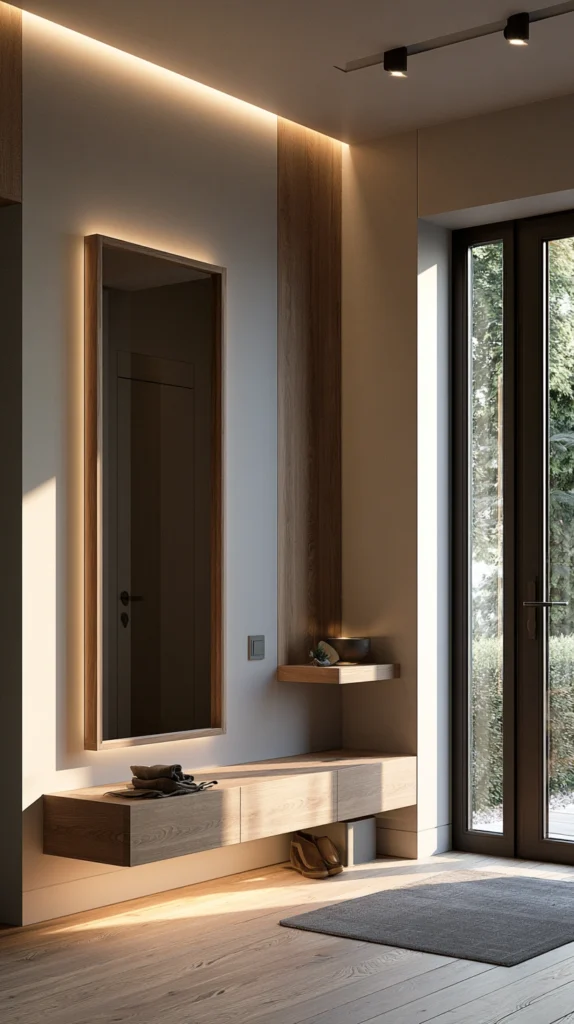
Budget: $60 – $200
A mirror positioned right by the door, where it’s the first thing seen on arriving home, gets used at exactly the wrong moment in the sequence — when someone’s about to take their coat and boots off, not when they’re about to leave. Positioning the mirror instead at the point in the layout where someone pauses just before opening the door to leave (often beside or just past the key console) aligns it with the actual moment in the sequence it’s useful for: the last-look check before stepping outside.
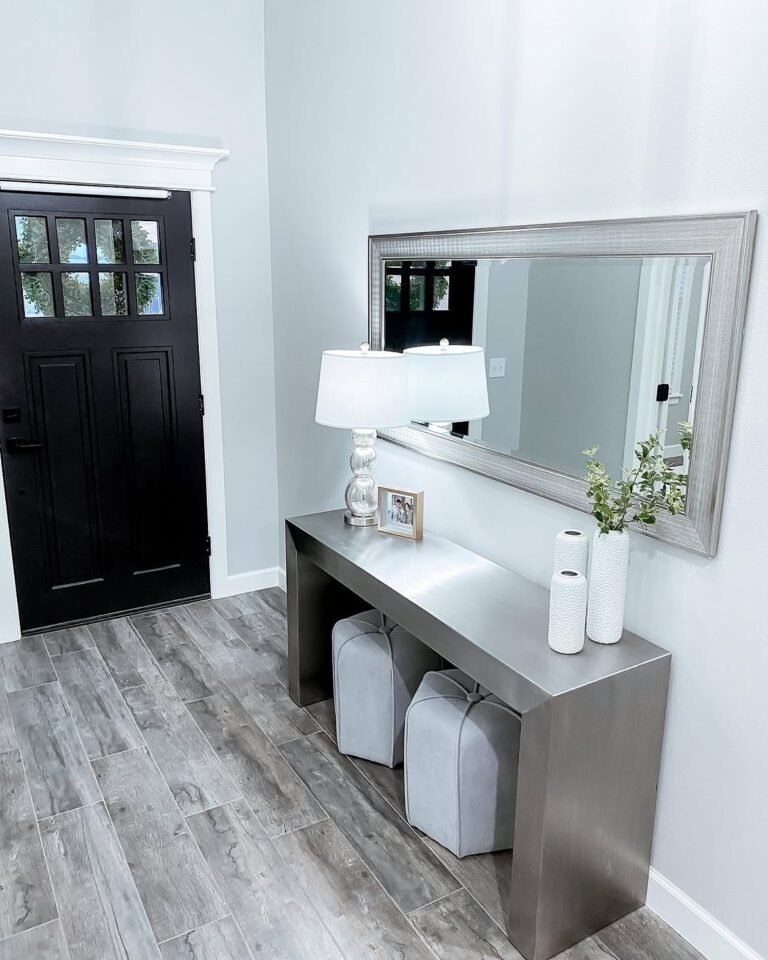
A full-length frameless or simply framed mirror of at least 140 cm height costs $60–$180 depending on frame style; mounting position should be on the wall section closest to the door’s interior side, ideally within the same glance as the key hook so picking up keys and checking appearance happen as one combined motion rather than two separate stops.
Sequencing tip: Stand at the door as if about to leave and check whether you can see the mirror without turning more than a quarter turn from facing the door. If the mirror requires turning fully around or walking back into the boot zone to use, it’s positioned for the wrong half of the sequence — move it, even if the new position has slightly less ideal lighting, since alignment with the actual moment of use matters more than the mirror’s individual placement quality.
13. Run a Five-Minute Nightly Reset That Follows the Same Sequence in Reverse
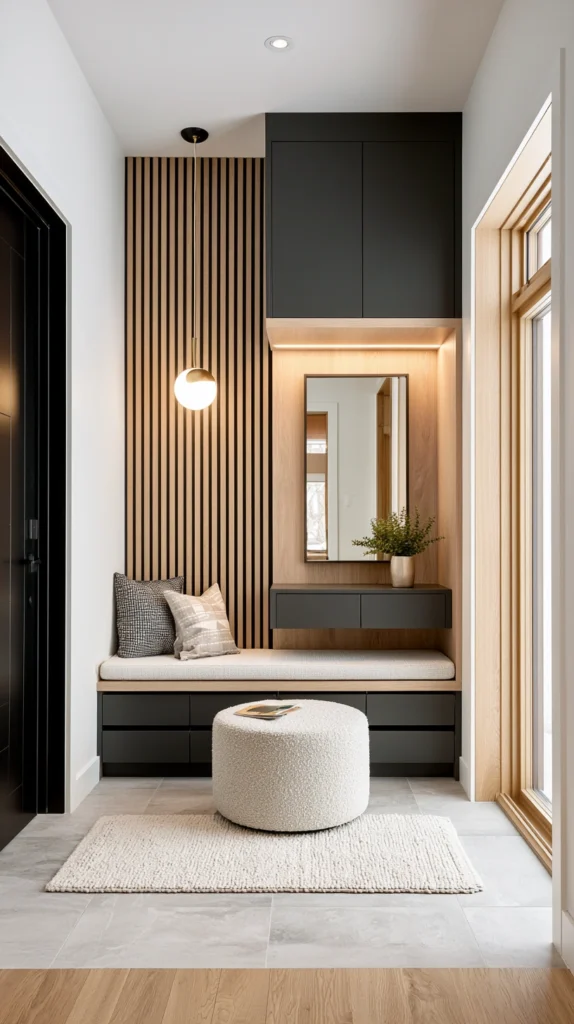
Budget: $0
Every zoning and sequencing decision above only holds up if the space gets reset regularly — and the most effective reset routine follows the same order the morning departure sequence used, just backward: hang up anything left on the bench, return the boot tray to its position if it’s been kicked aside, clear the key console of anything that’s accumulated beyond keys and post, and close the boundary drawer or cabinet if anything’s been left open. This costs nothing and takes under five minutes once the zones are actually defined, because there are only ever a small number of specific places each item could be out of position from.
Doing this once daily, ideally at the same time each evening (last thing before bed, or right after the final household member is home for the night), prevents the gradual one-item-at-a-time drift that turns a well-zoned combo space back into an undifferentiated pile within two or three weeks of the initial setup.
Zoning tip: Do the reset by zone, not by object type — fully reset the boot zone first, then the bench, then the key console, rather than wandering between all three picking up whatever catches your eye. Resetting zone by zone reinforces the same boundaries the layout is built around, rather than treating the whole space as one undifferentiated tidy-up task each night.
A combo entryway-mudroom doesn’t fail because it lacks storage — most chaotic versions of this space have plenty of hooks, baskets, and shelves that simply aren’t doing distinct jobs. It fails because the entryway’s standing, quick-task function and the mudroom’s seated, slower-task function are competing for the same surfaces and the same few square meters without any deliberate boundary between them.
Zoning and sequencing don’t require more space or more furniture — they require deciding, in advance, exactly where one job ends and the other begins, and designing the layout so that the boundary is physically obvious rather than something everyone has to remember.
Start by walking through your own actual arrival routine, step by step, rather than designing from a blank layout — note exactly where you currently set down keys, where boots come off, and where the pile starts forming when it does. That real sequence, not a generic mudroom diagram, is what tells you where each of these thirteen zoning ideas actually needs to go in your specific space.