14 Cozy Camper Lighting Ideas for Autumn Nights
14 Cozy Camper Lighting Ideas for Autumn Nights
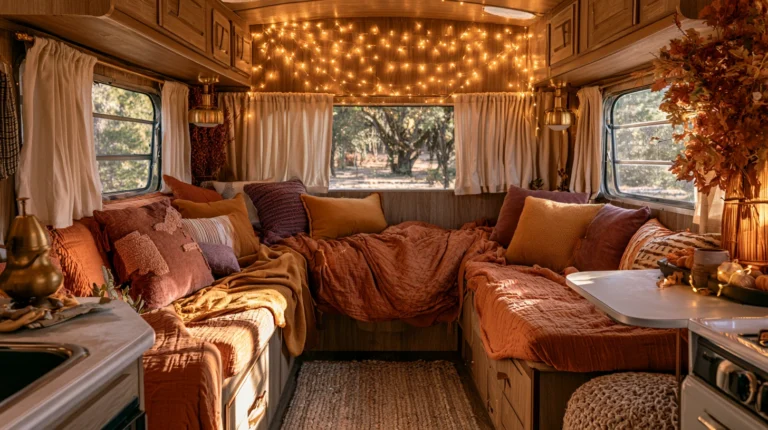
Most campers run on the same lighting setup they shipped with — a couple of cool white overhead fixtures, bright enough to find a dropped fork, not much else. It works fine in July, when the evenings are mild and most of the trip happens outside anyway.
That setup starts to feel wrong the moment fall arrives. Once the sun is down by six and the evenings are spent inside rather than around a fire, the same flat, clinical light that barely registered in summer becomes the entire mood of the trip, for hours at a stretch.

A camper’s lighting is not a fixed feature decided once at the factory. It’s a small, layered system that has to do more work, for more hours, once the season turns — and it has to do that work on a battery budget a house never has to think about. Get the layers and the power right, and even the smallest camper can feel like the warmest room on the whole trip.
Here are 14 ideas for lighting a camper specifically for the cozy, early-dark stretch of fall.
Why Autumn Camper Lighting Plays by Different Rules Than Summer
The rules are not the same for every season inside a camper:
Summer Camper Lighting Advantages:
- Long daylight hours, with most evenings spent outside rather than in
- Windows and screens open for much of the day, letting natural light do most of the work
- Less reliance on the camper’s interior lighting, since it only needs to cover a short stretch after dark
The summer camper comparison: interior light as a brief afterthought
Autumn Camper Lighting Advantages and Realities:
- Interior lighting becomes the primary light source for most of a long evening
- Windows closed against the cold mean less natural light leaking in, even in the late afternoon
- Shorter daylight means less time to recharge a solar setup, putting real pressure on how lighting draws power
The key insight:
- Summer camper lighting rewards simplicity, since it’s rarely asked to do much
- Autumn camper lighting rewards layering and power-consciousness, since it’s carrying the entire evening
- These are different lighting problems, not the same fixtures simply left on longer
The Power Budget Reality
The most important number in camper lighting:
The amp draw:
- Every light pulls power from a finite battery, unlike a house plugged permanently into the grid
- LED fixtures draw a fraction of what older incandescent bulbs do, but draw still adds up across multiple lights left on for hours
- Know this — it governs every light choice before style does
The “fewer, warmer, dimmable” calculation:
- Several small, low-draw warm lights almost always beat one bright, power-hungry overhead fixture
- A dimmable light extends battery life by making it easy to use less than full output most of the time
- Work backward from the battery’s actual capacity, not from how bright a fixture looks on the shelf
Most camper lighting upgrades happen in layers, not all at once:
- The existing factory lights get re-lamped first, since it’s the cheapest change that touches every fixture already installed
- Battery-friendly accent layers come next, filling in where the factory lighting alone falls short
- The smallest finishing touches — string lights, candles, a lantern — come last, once the functional layers are already working
1. The Warm LED Bulb Swap (The Single Change With the Biggest Payoff)
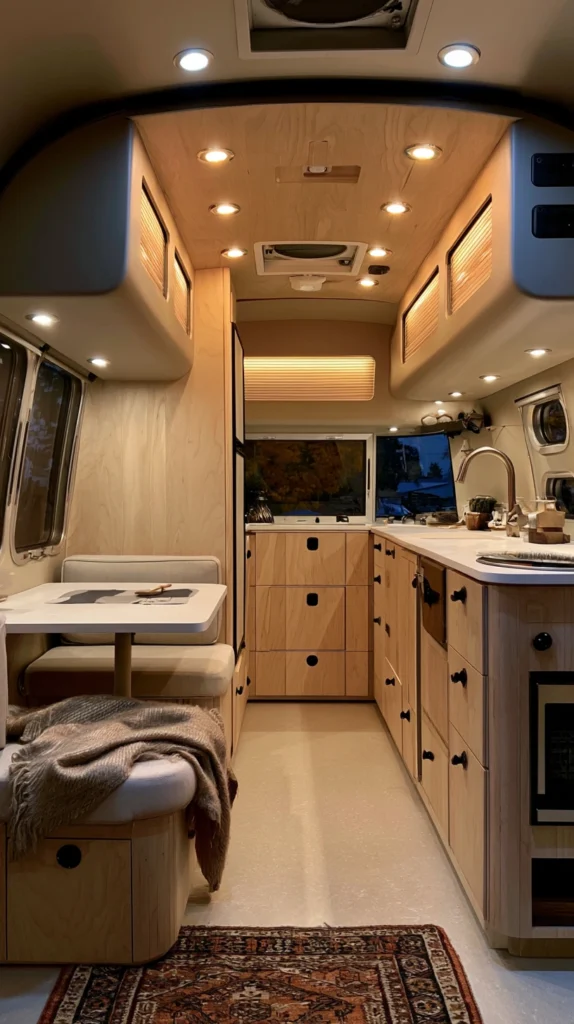
Replacing the camper’s factory-installed cool white LED bulbs with warm white versions — the fastest, least expensive way to change how the entire interior feels after dark.
Why this is the highest-leverage change on the list
- The factory-default problem: most campers ship with cool white (4000–5000K) LEDs chosen for visibility and efficiency, not warmth or atmosphere
- The autumn-specific case: with more hours spent inside after an early sunset, the difference between a clinical white glow and a warm amber one gets felt for far more of the evening
- The no-new-fixture advantage: this is the only idea on the list that requires no new hardware, just a bulb change in fixtures already installed
The options
- 2700K warm white LED replacements, the warmest standard option for most camper fixture sizes
- 12V-specific LED bulbs, matched to the camper’s existing DC electrical system rather than a household AC bulb
- Dimmable 12V LEDs, which pair naturally with Idea #3
- Bulbs with a higher CRI rating, making the camper’s interior fabrics and finishes look more natural under warm light
The practical execution
- Confirm the existing fixture’s base and voltage before ordering replacements — most campers run on 12V DC, not the 120V AC bulbs found in a house
- Replace bulbs in the most-used fixtures first, like the main living area and the galley, before tackling decorative or rarely used lights
- Keep one or two spare bulbs on hand, since 12V LED options aren’t always available at a typical roadside stop
Cost breakdown
- 12V warm LED replacement bulb, each: $4–10
- A full camper re-lamp (6–10 bulbs): $25–80
- Total: $25–80 — the lowest-cost, highest-impact idea on this entire list
The bulb swap that happens before anything else: the change every other idea on this list ends up looking better next to.
2. The Battery-Powered String Light Loop (Turning the Ceiling Into Something Warmer)
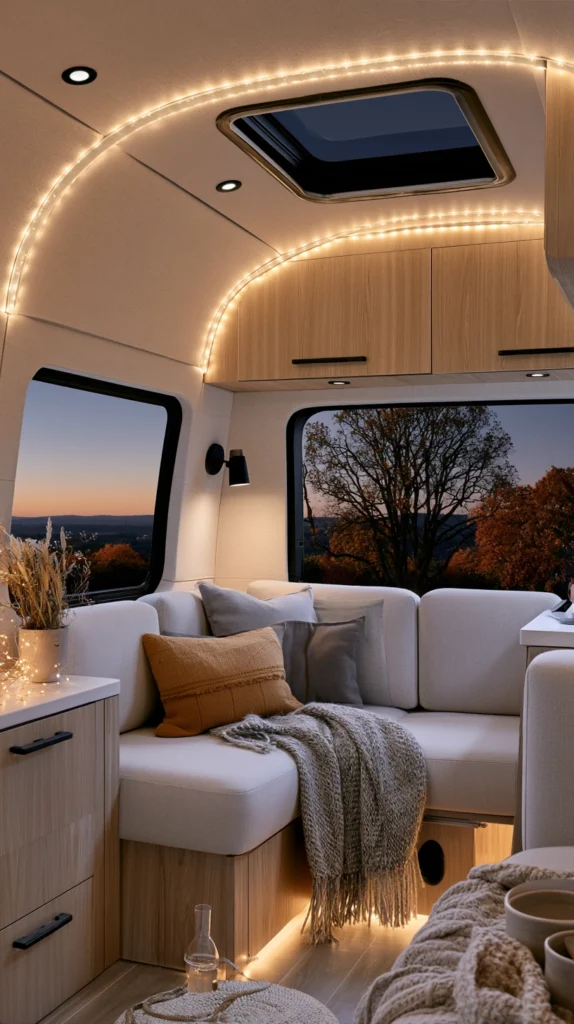
A loop of warm white battery or USB-powered string lights run along the camper’s interior ceiling track or window trim — the layer that softens a small space’s hardest, most reflective surfaces.
Why a string of small lights beats one bright fixture
- The reflective-surface problem: camper interiors are full of laminate, vinyl, and glass, all of which bounce a single bright overhead light back harshly; a string of small, distributed points does the opposite
- The low-draw advantage: a string of small LEDs pulls a fraction of the power a single overhead fixture does, which matters in a space often running on battery power
- The flexible installation: string lights can be looped along existing trim or a curtain track without any drilling, which matters in a space that’s harder to patch than a house wall
The options
- Battery-powered LED string lights, the simplest option, no wiring into the camper’s existing system required
- USB-powered string lights, plugged into an existing 12V-to-USB outlet, avoiding a separate battery to manage
- Warm white micro LED strings, small enough to tuck along trim without looking bulky in a tight space
- A mix of string lights and small clips, for repositioning the loop seasonally or for different trips
The practical execution
- Run the string along an existing curtain track, window trim, or ceiling seam rather than drilling new mounting points
- Test the full loop before a trip, since a string light failure is harder to troubleshoot once it’s tucked into trim on the road
- Keep spare batteries or a charged USB battery bank on hand for multi-day trips without shore power
Cost breakdown
- Battery-powered LED string lights, one set: $12–25
- USB-powered string lights: $10–20
- Total: $10–25
3. The Dimmer Retrofit for the Main Cabin Light (Control Without Drilling a New Hole)
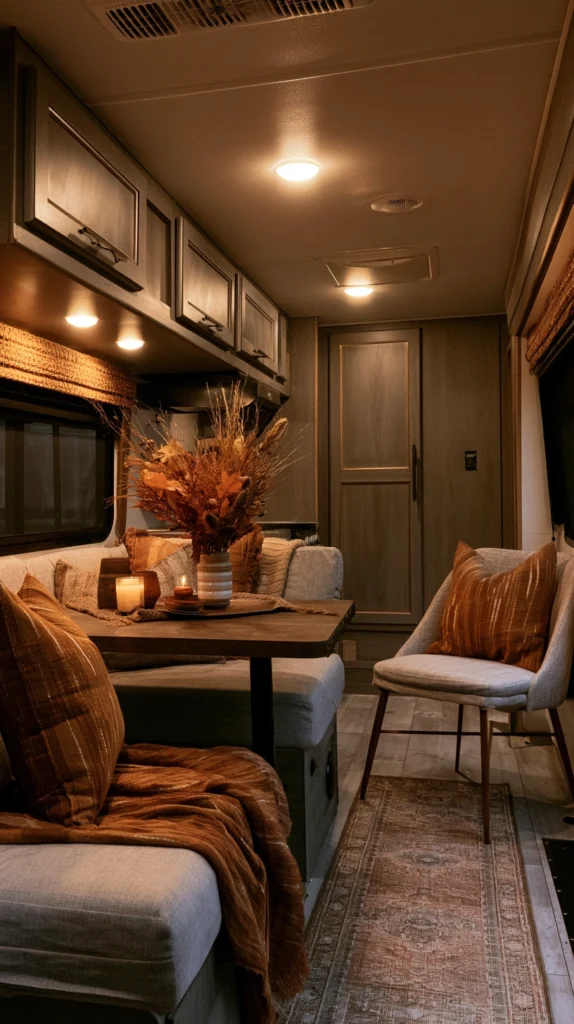
A dimmer switch added to the camper’s primary overhead light, either by replacing the existing switch or adding an inline dimmer module — the upgrade that turns one fixture into both a daytime work light and an evening mood light.
Why one switch setting is rarely enough
- The single-brightness problem: most camper overhead lights have one setting, on, which means the same fixture lighting a 2pm lunch also has to light an 8pm wind-down with nothing in between
- The battery-conscious case: dimming a light reduces its draw, which matters more in a camper running on a finite battery than in a house plugged into the grid
- The mood-setting value: a dimmed light does more to make a small space feel cozy after dark than almost any decorative object could
The options
- A 12V-compatible rotary or slide dimmer, replacing the existing on/off switch
- An inline dimmer module, wired between the fixture and its existing switch without replacing the switch itself
- A dimmable LED fixture upgrade, replacing the entire light rather than retrofitting the existing one
- A remote or app-controlled dimmer, for fixtures with the wiring to support it
The practical execution
- Confirm the existing fixture and bulbs are dimmable before installing any dimmer — not every 12V LED dims smoothly, and the wrong pairing can cause flickering
- Basic electrical comfort is enough for most inline dimmer installs, but anyone uncertain about working with the camper’s 12V system should have it done professionally
- Test the dimmer at both very low and very high settings before relying on it for a full trip
Cost breakdown
- 12V dimmer switch or inline module: $15–35
- Dimmable LED fixture replacement: $25–60
- Professional installation, if needed: $50–120
- Total: $15–155
4. The Battery Puck Lights (Accent Glow Without Touching the Wiring)
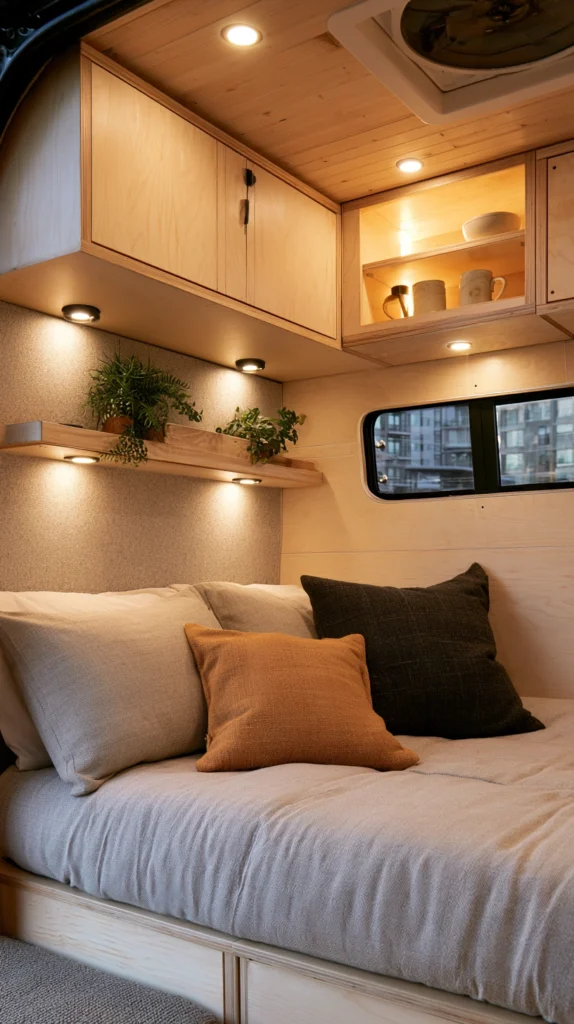
Small battery-powered LED puck lights stuck or mounted inside cabinets, under a shelf, or along a step — the lowest-commitment way to add a warm accent glow anywhere in the camper without running a single new wire.
Why this earns a spot even alongside hardwired upgrades
- The no-wiring advantage: unlike the dimmer or string light loop, puck lights require zero connection to the camper’s existing electrical system, making them the easiest upgrade on this entire list to install and remove
- The targeted-glow function: a single puck light can highlight a specific spot — inside a cabinet, under a step, along a shelf — without lighting the whole room
- The repositioning flexibility: most puck lights use adhesive mounts or magnets, both of which can be repositioned as the camper’s layout or use changes trip to trip
The options
- Adhesive battery puck lights, stuck directly to a surface, the simplest version
- Magnetic puck lights, for mounting to a metal surface without any adhesive at all
- Motion-activated puck lights, switching on automatically when a cabinet door opens or someone steps nearby
- Remote-controlled puck lights, for adjusting brightness or turning a cluster on and off without reaching each one individually
The practical execution
- Position lights to wash light downward or across a surface, rather than aiming directly outward where they can glare
- Use warm white versions consistently with the rest of the camper’s lighting (see Idea #1) rather than mixing temperatures
- Check batteries before each trip, since these are easy to forget until the moment they’re actually needed
Cost breakdown
- Battery puck light, single: $4–10
- A set of 4–6: $20–45
- Total: $20–45
5. The Berth Reading Light (A Light That Belongs to One Person, Not the Whole Room)
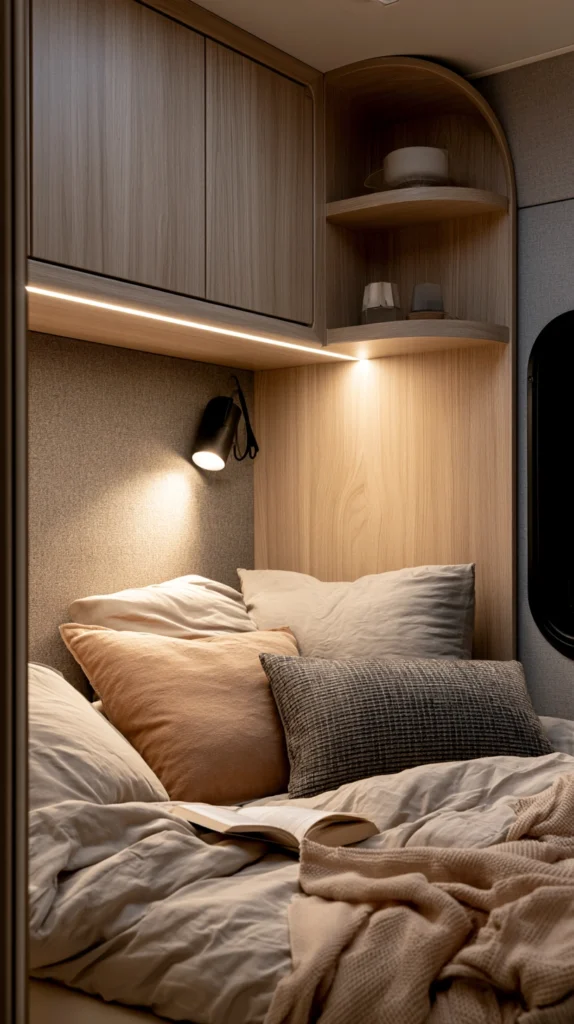
A small, individually controlled reading light mounted at each sleeping spot — the light that lets one person read or wind down without lighting up the whole camper for everyone else.
Why a shared space needs an unshared light
- The shared-space problem it solves: in a camper, one overhead light usually serves the entire living and sleeping area, which means one person reading late keeps everyone else lit up too
- The autumn-specific timing: longer evenings inside mean more time spent reading, on a phone, or winding down before sleep, all of which benefit from focused, individual light
- The low-draw, high-comfort trade: a small reading light pulls far less power than the main cabin light, while doing a more specific job
The options
- A clip-on LED reading light, attached to a shelf edge or curtain rod above the berth
- A gooseneck-style mounted light, fixed to the wall near the head of the bed, adjustable in direction
- A battery-powered book light, the lowest-commitment option, requiring no mounting at all
- A small wall sconce wired into the existing 12V system, for a more permanent installation
The practical execution
- Position the light close enough to actually illuminate a book or phone screen without requiring an awkward angle to use it
- Choose a warm, low-glare bulb, since this light sits close to the eyes for extended periods right before sleep
- If wiring a permanent fixture, put it on its own switch so it doesn’t depend on the main cabin light being on at all
Cost breakdown
- Clip-on or battery-powered reading light: $10–25
- Wall-mounted gooseneck light, wired: $20–50
- Total: $10–50
6. The Rechargeable Lantern (The Light That Goes Wherever the Evening Goes)
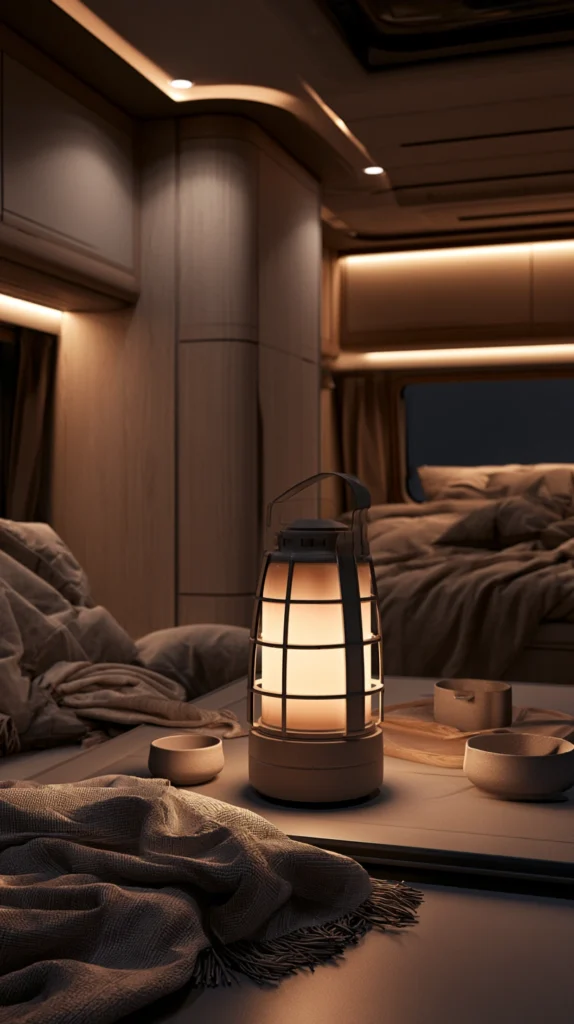
A rechargeable LED lantern, charged during the day and used wherever it’s needed in the evening — the one light source on this list that isn’t fixed to a single spot in the camper.
Why a light that moves earns its own place on this list
- The mobility advantage: every other light on this list is mounted somewhere; a lantern moves to the table for dinner, the counter for cleanup, and the bedside for the rest of the night
- The power-outage backup function: a charged lantern is also the most reliable light source if the camper’s main battery runs low or a fixture fails partway through a trip
- The warm, diffused output most lanterns are built for: unlike a direct-beam flashlight, a lantern is designed to fill a small space with soft light rather than aim at one point
The options
- A USB-rechargeable LED lantern, charged from a power bank, the camper’s 12V system, or shore power when available
- A collapsible lantern, packing down flat for storage between trips
- A lantern with multiple brightness settings, useful for matching the light to the task, from full task brightness to a dim overnight setting
- A lantern with a warm-white-only setting, avoiding the harsher cool white mode many multi-setting lanterns default to
The practical execution
- Charge the lantern fully before every trip, treating it the same as any other piece of essential gear rather than an afterthought
- Keep it in a consistent, known spot when not in use, so it’s findable in the dark if the main lighting fails
- Use the lowest brightness setting that still does the job, both to extend battery life and to keep the light feeling cozy rather than clinical
Cost breakdown
- Budget rechargeable LED lantern: $15–30
- Mid-range lantern with multiple brightness settings: $30–60
- Total: $15–60
7. The Curtain and Window Light Layering (Softening Daylight Before It Even Needs a Bulb)
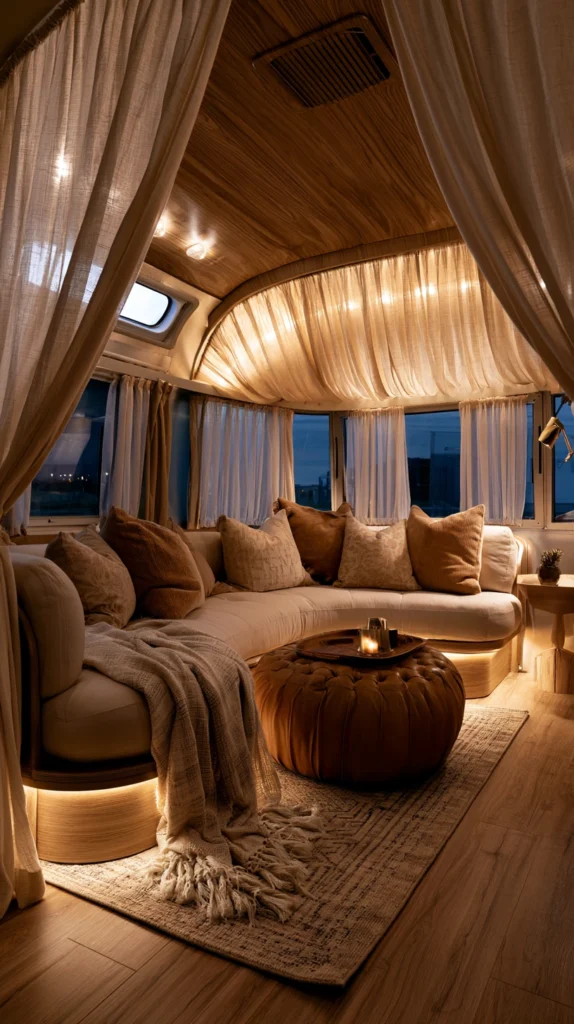
A layered window treatment — a sheer panel paired with a heavier blackout curtain — that controls how much daylight enters during the day and how much interior light leaks out at night.
Why windows do double duty in a space this small
- The dual-direction function: this is the only idea on the list that manages light coming in and light going out at the same time, which matters in a space with windows close to every seating and sleeping area
- The privacy and coziness overlap: a closed blackout curtain at night does double duty, keeping interior light from broadcasting outward and making the small space feel more enclosed and warm
- The morning-light softening: a sheer panel diffuses harsh direct morning sun into something gentler, useful in a camper where the bed is often close to a window
The options
- A sheer curtain alone, diffusing light without blocking it entirely
- A blackout curtain alone, for full light control at the cost of any daytime diffusion
- A layered pair, sheer and blackout together on the same track, switched depending on the time of day
- Magnetic or snap-in insulated window covers, for the coldest nights, doing double duty as both light control and a small amount of insulation
The practical execution
- Use a tension rod or the camper’s existing curtain track rather than drilling new mounting points into thin interior paneling
- Choose fabric weights appropriate to a small space — heavy curtains can make a tight camper interior feel more closed-in than intended
- Close blackout layers before turning on interior lights in the evening, both for privacy and to keep the cozy effect contained rather than leaking outward
Cost breakdown
- Sheer curtain panel: $15–30
- Blackout curtain panel: $20–45
- Tension rod or track hardware, if needed: $10–25
- Total: $15–75
8. The Galley Task Light (The Cooking Corner’s Most Overlooked Upgrade)
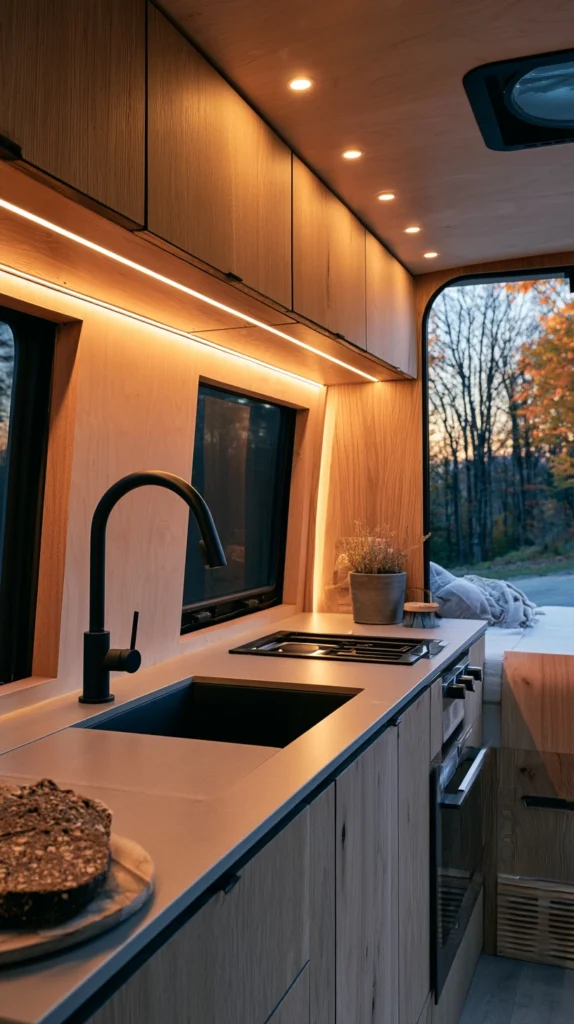
A small LED strip or puck light installed under the galley’s upper cabinet, directly over the counter and stove — the task light most camper kitchens never got in the first place.
Why the smallest kitchen in the trip needs the best light
- The shadow problem it solves: a single overhead light in a galley casts the cook’s own shadow directly onto the counter, exactly where the work happens
- The compact-kitchen case: camper galleys are smaller and more cramped than a home kitchen, which makes good task lighting even more valuable for safely handling a knife or a hot pan in a tight space
- The autumn cooking case: more meals get prepared and cleaned up after dark once daylight shortens, putting more pressure on whatever light is actually over the counter
The options
- A battery-powered LED strip, the easiest no-wiring option for most galley layouts
- A hardwired 12V LED strip, tapped into the existing electrical system for a more permanent, no-battery-maintenance solution
- Puck lights, for a galley too narrow for a full strip to fit cleanly
- A small clip-on task light, mounted temporarily and removed when not needed
The practical execution
- Mount as close to the front edge of the cabinet as possible, lighting the counter rather than the backsplash
- Match the bulb’s color temperature to the rest of the camper’s warm lighting for consistency
- Choose a battery-powered option if the camper’s 12V wiring is difficult to access, rather than forcing a hardwired install into a tight cabinet space
Cost breakdown
- Battery-powered LED strip kit: $15–30
- Hardwired 12V LED strip, materials: $25–50
- Total: $15–50
9. The Awning String Light (Extending the Glow Just Outside the Door)
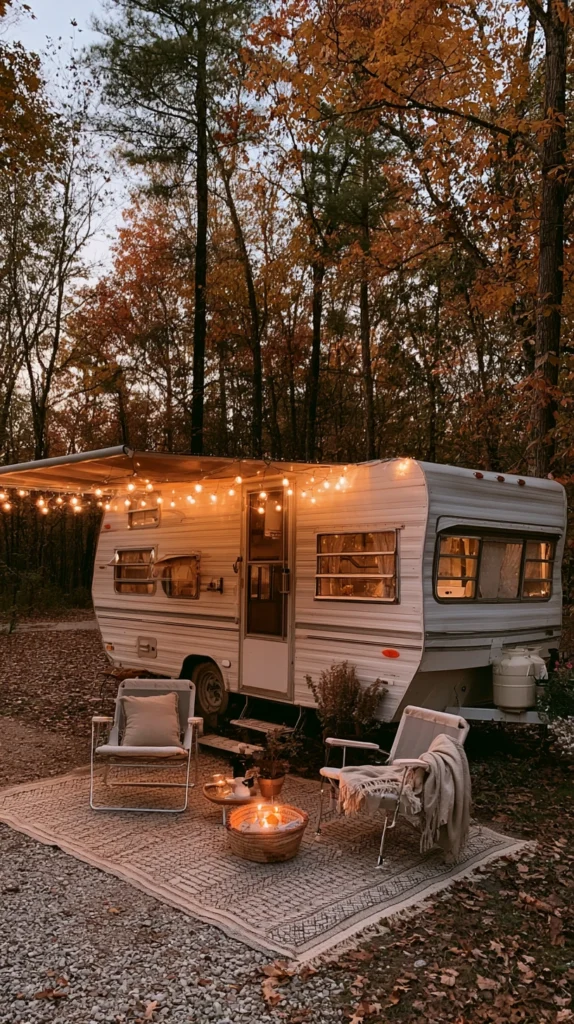
Warm white string lights hung along the camper’s awning or roofline — the one exterior idea on this list, extending the camper’s cozy interior glow to the small outdoor space right outside the door.
Why the space just outside the door deserves its own light
- The threshold effect: the space just outside a camper door often gets used as much as the interior itself, and an unlit awning area feels disconnected from the warmth inside
- The early-darkness case: fall’s earlier sunset means the awning area needs its own light source sooner in the evening than it would in summer
- The low-power, low-installation option: most awning string lights run on battery or a low-draw 12V connection, making them a reasonable addition even for a camper already managing its power carefully
The options
- Battery-powered LED string lights, clipped or hung along the awning’s edge, no wiring required
- 12V string lights, wired into the camper’s existing exterior power if available
- Solar-powered string lights, useful for a multi-day stay without needing to manage batteries
- A mix of string lights and a single lantern, for a layered look matching the interior’s lighting approach
The practical execution
- Hang along the awning’s roller bar or edge, using clips rather than anything that could damage the awning fabric
- Take the lights down before retracting the awning, since most aren’t designed to be rolled up inside it
- Use the same warm color temperature as the interior lighting, so the glow feels continuous from inside to out
Cost breakdown
- Battery-powered awning string lights: $15–35
- Solar-powered awning string lights: $20–45
- Total: $15–45
10. The Flameless Candle Layer (Flicker Without the Open-Flame Risk)
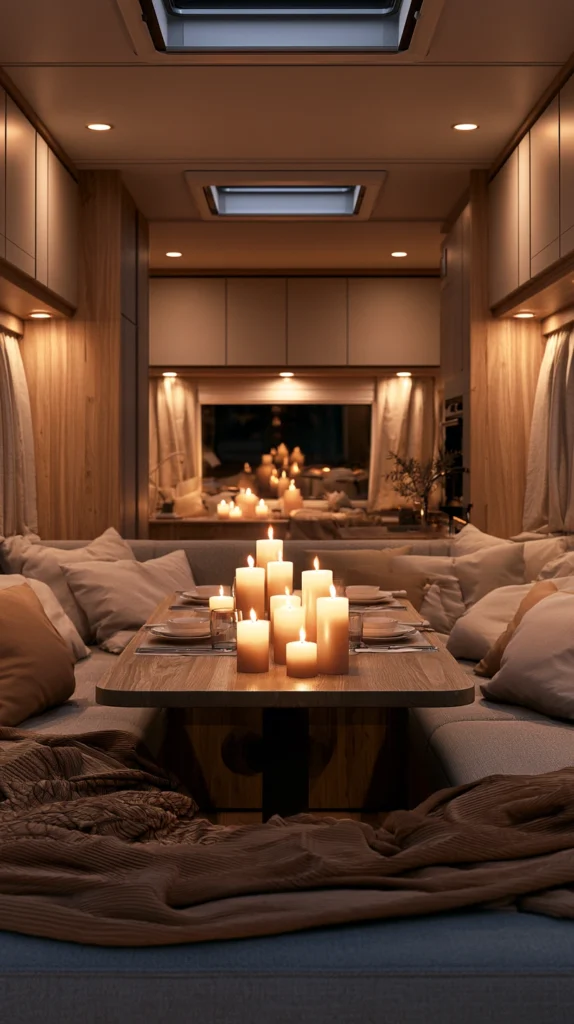
Flameless LED candles placed on the table, in a window, or along a shelf — the only light source on this list that mimics real flame without the fire risk an open flame poses in a small, enclosed space.
Why a fake flame still does real work here
- The flicker effect: nothing else on this list moves and shifts light the way even a flameless LED candle does, adding a sense of warmth string lights and puck lights can’t fully replicate
- The small-space safety case: a real flame in a camper, with its tight quarters, soft furnishings, and limited ventilation, carries more risk than the same flame in a house, making the flameless version the more sensible choice here specifically
- The battery-friendly option: most flameless candles run on small batteries with a long life, adding negligible draw to the camper’s overall power budget
The options
- Wax-shell LED candles, designed to look and feel like real wax from a few feet away
- Plastic battery candles, less realistic but typically cheaper and more durable for repeated trips
- Candles with a timer function, switching on automatically at the same time each evening
- Lantern-style flameless candle holders, combining the candle with a small glass or metal enclosure for a more finished look
The practical execution
- Choose battery-operated candles with a realistic flicker setting rather than a static glow, for the most convincing effect
- Group two or three together rather than relying on a single candle, for a fuller pool of light
- Replace batteries proactively before a trip rather than discovering a dead candle once it’s already dark
Cost breakdown
- Flameless LED candles, a set of 3: $15–30
- Lantern-style flameless holders: $20–40
- Total: $15–40
11. The Open Shelf Accent Light (Small Glow for the Things Already on Display)
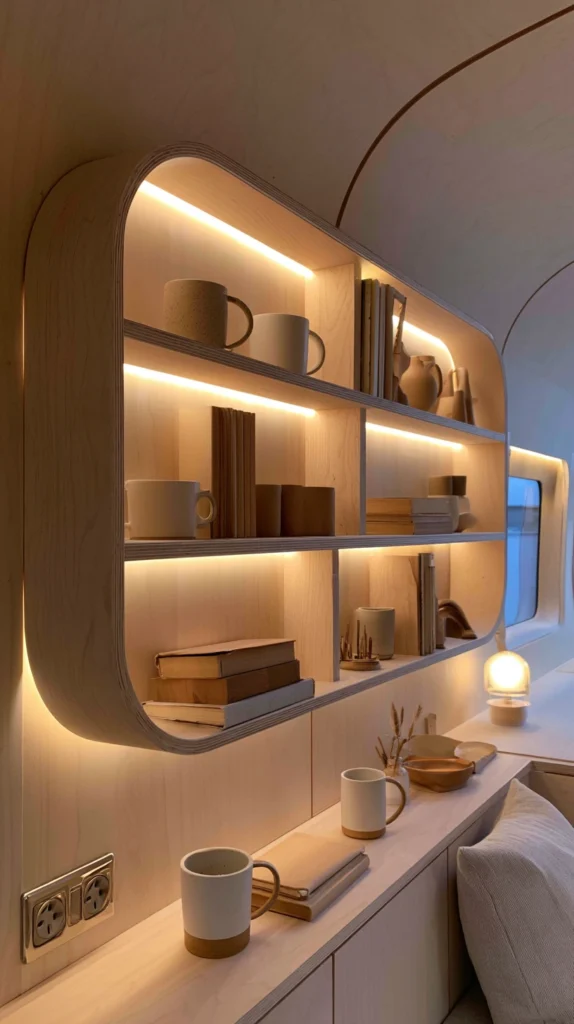
A small LED strip or clip light aimed at open shelving inside the camper, highlighting whatever’s already stored or displayed there — the accent layer that makes a few books or mugs look intentional rather than incidental.
Why a small accent light earns its place in such a tight space
- The display logic: open shelving in a camper is often a packing necessity as much as a styling choice, and a small accent light makes that necessity look more deliberate
- The texture and shadow benefit: directional accent light creates a small amount of shadow and depth that a single flat overhead light flattens out
- The low-power cost: this is one of the smallest light sources on the list, drawing very little even when left on for an extended evening
The options
- A battery-powered LED strip, run along the underside of a shelf
- A small clip light, aimed at the shelf from an adjacent point rather than mounted directly to it
- Warm white fairy lights, tucked along the shelf’s edge for a softer, less directional glow
- A single small battery lantern, set directly on the shelf among the displayed items
The practical execution
- Aim the light source at the displayed items rather than out into the room, to avoid glare in a small space
- Use the same warm color temperature as the rest of the camper’s lighting for consistency
- Keep this light on its own switch or battery pack, since it’s meant to be optional ambiance, not a load-bearing light source
Cost breakdown
- Battery LED strip or clip light: $10–20
- Warm white fairy lights: $8–15
- Total: $8–20
12. The Solar-Charged Backup Light (Power That Doesn’t Depend on the Battery Bank)
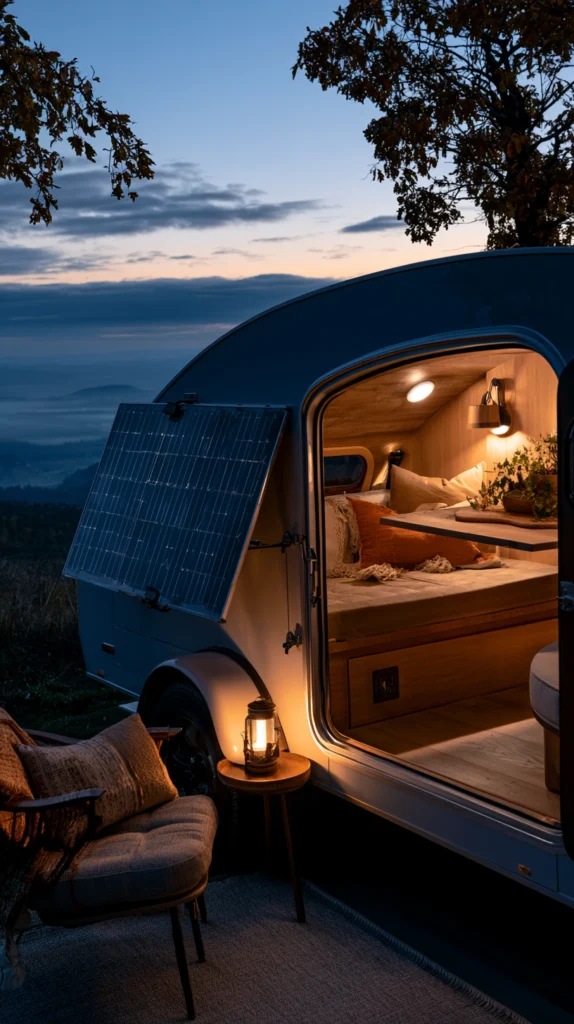
A small solar panel paired with a rechargeable light or power bank, charged independently of the camper’s main battery system — the backup layer that keeps at least one light working even if the main power runs low.
Why independence from the main system matters in fall specifically
- The single-point-of-failure problem it solves: most camper lighting depends on one central battery bank, and if that bank runs low on a cloudy, low-solar autumn day, every light tied to it goes with it
- The shorter-daylight challenge fall specifically creates: with fewer daylight hours to recharge a camper’s main solar setup, a dedicated backup light with its own small panel adds redundancy exactly when the main system is most stressed
- The peace-of-mind value: knowing one light source is independent of the camper’s main electrical system matters more on a remote or multi-day trip than it does on a quick overnight close to home
The options
- A small solar panel with an integrated rechargeable light, an all-in-one unit requiring no separate wiring
- A standalone solar panel paired with a USB power bank, charging the bank during the day for use with any USB-powered light at night
- A solar-charged lantern, similar to Idea #6 but charged independently via its own panel rather than a USB cord
- A window-mounted solar charger, taking advantage of whatever daylight reaches the camper’s interior even when parked in shade outside
The practical execution
- Position the solar panel where it gets real, unobstructed sun for at least part of the day, rather than in the shade of an awning or nearby trees
- Test the backup system’s charge level periodically through a multi-day trip, rather than assuming it’s topped up
- Keep this light reserved specifically as backup, rather than using it as a primary light source that depletes its own charge before it’s actually needed
Cost breakdown
- All-in-one solar light unit: $20–45
- Standalone solar panel and USB power bank: $30–70
- Total: $20–70
13. The Hands-Free Headlamp Station (Light for the Jobs That Need Both Hands)
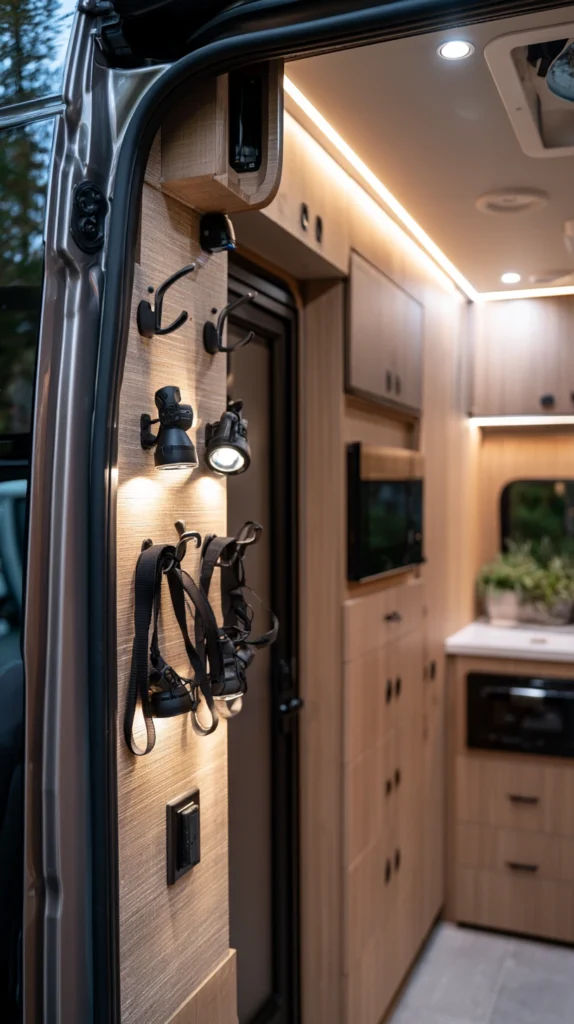
A small designated spot — a hook or shelf near the door — holding a headlamp for each person on the trip, ready to grab for any task that needs two free hands in the dark.
Why a headlamp solves what a flashlight can’t
- The two-hands problem: setting up a tent extension, hooking up at a site, or finding something in an exterior storage bin in the dark are all jobs a handheld flashlight makes harder than it needs to be
- The early-darkness case: fall’s earlier sunset means more of these outdoor tasks happen after dark than they would on a summer trip with daylight lasting into the evening
- The low cost of solving a recurring frustration: a headlamp costs little relative to how often it ends up being the most useful light on the entire trip
The options
- A basic single-mode LED headlamp, the simplest and least expensive option
- A headlamp with both white and red light modes, useful for preserving night vision around a campsite or inside the camper without waking others
- A rechargeable headlamp, avoiding the need to pack spare batteries separately
- A headlamp with an adjustable beam angle, for switching between a wide flood and a focused spot
The practical execution
- Keep headlamps in a single designated spot, like a hook by the door, rather than scattered through different bags or drawers
- Assign one headlamp per person rather than sharing a single unit, to avoid the inevitable search for it mid-task
- Check batteries or charge levels before departure, the same way the lantern in Idea #6 gets checked
Cost breakdown
- Basic LED headlamp, each: $10–20
- Rechargeable headlamp with multiple modes, each: $20–40
- Total: $10–40 per person
14. The Nightlight and Motion Path Light (The Quiet Glow for the Walk to the Bathroom)
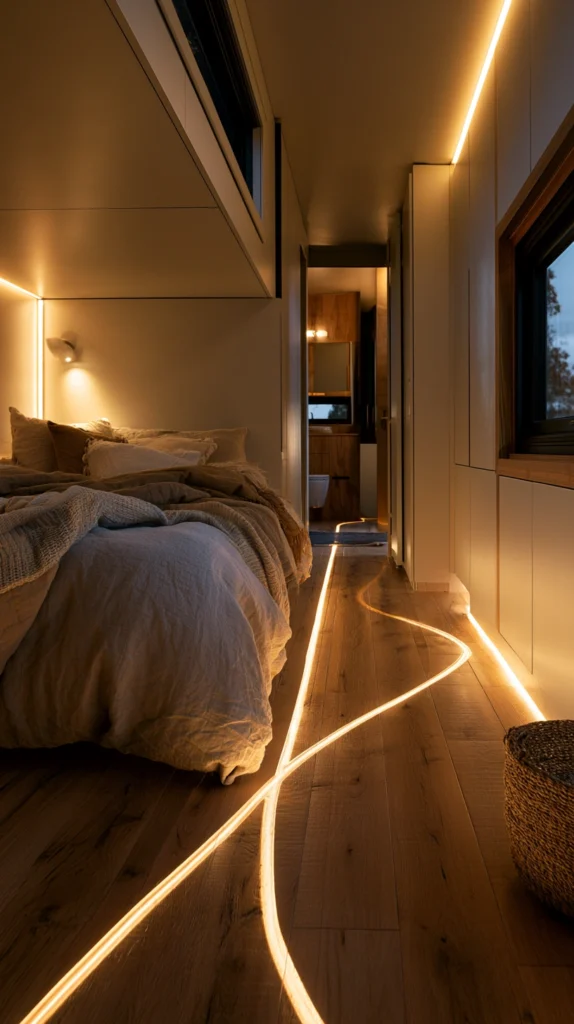
A small plug-in or battery nightlight, or a motion-activated strip along the floor, marking the path between the bed and the bathroom — the lowest-key light on this entire list, and one of the most genuinely useful.
Why the smallest light on the list might matter the most
- The middle-of-the-night problem it solves: a camper’s interior is dark and often unfamiliar enough, especially on an early trip of the season, that a midnight trip to the bathroom risks a stumble without some guidance
- The sleep-protection benefit: a soft, low nightlight means the person getting up doesn’t have to flip on the main cabin light and wake everyone else in the process
- The low, low cost relative to its usefulness: this is one of the cheapest, smallest lights on the entire list and arguably solves the most universally relatable problem
The options
- A small plug-in nightlight, for campers with a 12V or USB outlet near the bathroom or hallway
- A battery-powered motion-activated strip, lighting up briefly only when someone walks past
- A simple stick-on LED puck, left on dim through the night near the bathroom door
- A red-light nightlight, preserving night vision and minimizing sleep disruption more than a white light would
The practical execution
- Position the light along the actual path walked at night, not just generally near the bathroom
- Choose the dimmest setting that still provides enough guidance, since the goal is just enough light to avoid a stumble, not full illumination
- Test the light’s brightness with the rest of the camper fully dark, since a nightlight that seems dim with other lights on can feel surprisingly bright once everything else is off
Cost breakdown
- Battery-powered motion nightlight: $10–20
- Plug-in nightlight: $8–15
- Total: $8–20
The nightlight by the bathroom door: the smallest, cheapest light on this entire list, and very possibly the one that gets used the most.
The Cozy Camper Lighting Roadmap
The work, sequenced:
Phase One (the foundation):
- The warm LED bulb swap (#1)
- The dimmer retrofit for the main cabin light (#3)
Phase Two (the ambient layers):
- The battery-powered string light loop (#2)
- The curtain and window light layering (#7)
- The awning string light (#9)
Phase Three (the task and personal lights):
- The berth reading light (#5)
- The galley task light (#8)
- The rechargeable lantern (#6)
Phase Four (the finishing and backup layers):
- The battery puck lights (#4)
- The flameless candle layer (#10)
- The open shelf accent light (#11)
- The solar-charged backup light (#12)
- The hands-free headlamp station (#13)
- The nightlight and motion path light (#14)
Getting Started This Weekend
The immediate-impact lighting refresh:
One afternoon, three changes:
- Swap the most-used fixtures to warm 2700K bulbs (Idea #1)
- Loop a battery string light along the ceiling track (Idea #2)
- Set out a few flameless candles on the table (Idea #10)
Total cost: $50–95. Time: about half an hour. The camper will feel different by the first evening of the next trip, without touching a single wire.
The structural investment (the next big project):
The dimmer retrofit for the main cabin light (Idea #3) is the single most useful upgrade on this list. Once it’s in place, the same overhead fixture that lights a midday lunch can drop down to a warm, low glow for the evening, with every other light on this list layering in around it rather than competing with it.
What cozy camper lighting provides that a single overhead bulb can’t:
The warmth that makes a tiny space feel intentional, not just lit:
- A bulb temperature that reads as inviting from the moment the lights go on
- A string light loop that softens every reflective surface a single fixture would otherwise bounce off of
- Flameless candlelight doing work no LED strip alone can fully replicate
The control that matches the light to the hour, not just the switch position:
- A dimmer that drops the cabin from task-bright to evening-soft in one motion
- An individual berth light that lets one person read without lighting the whole room
- A galley task light that keeps dinner prep easy long after the sun is down
The independence from a single point of failure, even on a remote trip:
- A rechargeable lantern that still works if the main fixture doesn’t
- A solar-charged backup that doesn’t depend on the same battery bank as everything else
- A headlamp station that means no outdoor task in the dark requires a free hand it doesn’t have
A camper’s lighting doesn’t need to do less just because the space is small. It needs to do more, more carefully, on a fraction of the power a house never has to think about. The bulb swapped out before the first fall trip is still doing its job on the last cold night of the season. The lantern charged before leaving the driveway is the one light, out of everything on this list, that’s guaranteed to still be working no matter what else runs out of power first.