14 Small Mudroom Ideas for Homes Without a Dedicated Space
14 Small Mudroom Ideas for Homes Without a Dedicated Space
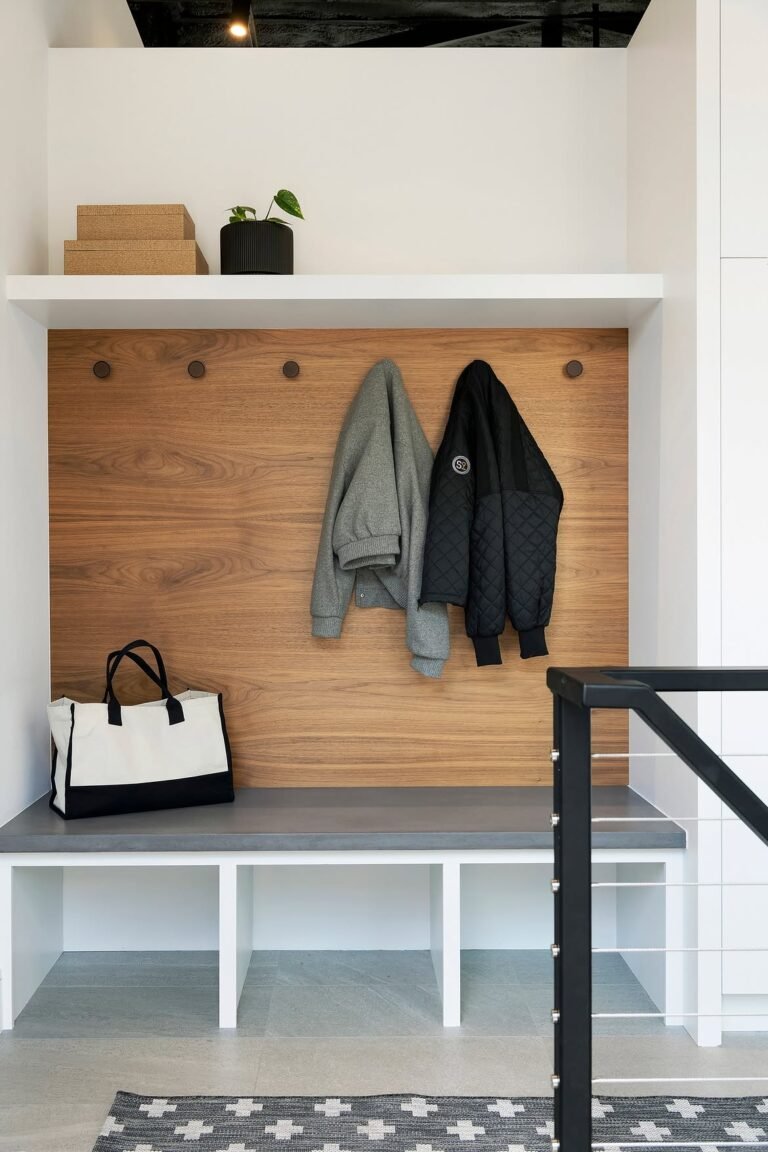
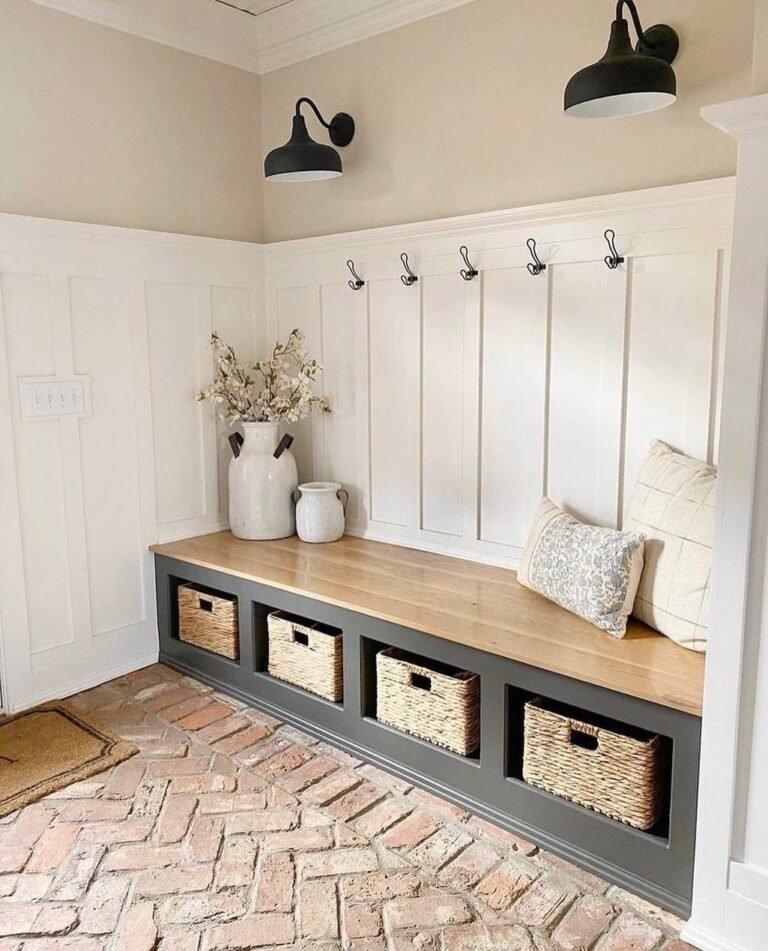
Most homes built without a mudroom still have somewhere that’s functioning as one by default — the strip of floor inside the back door, the end of a narrow hallway, the gap beside the washing machine. The problem isn’t usually a lack of space; it’s that nobody has ever treated that incidental strip of floor as a room with a job to do.
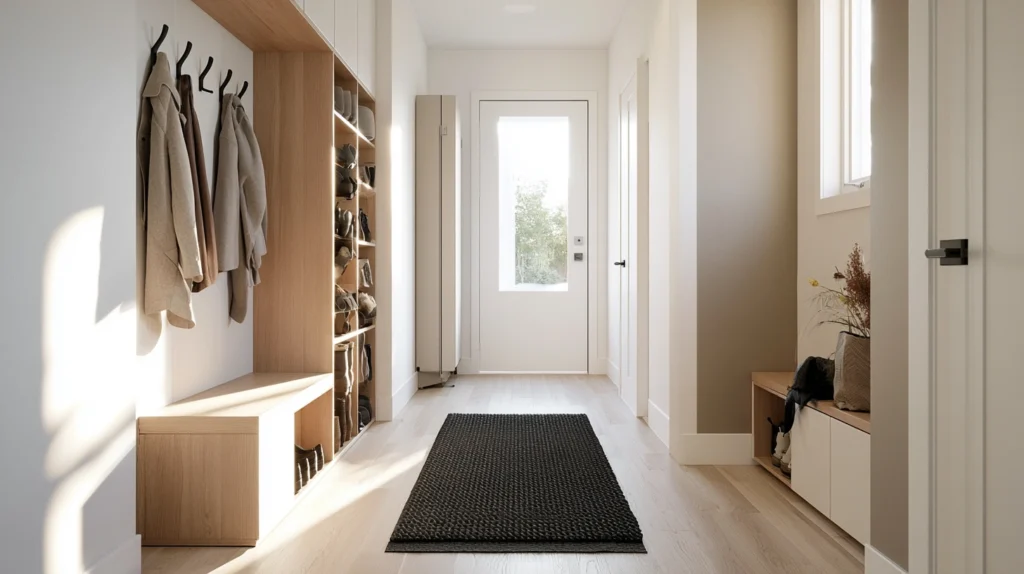
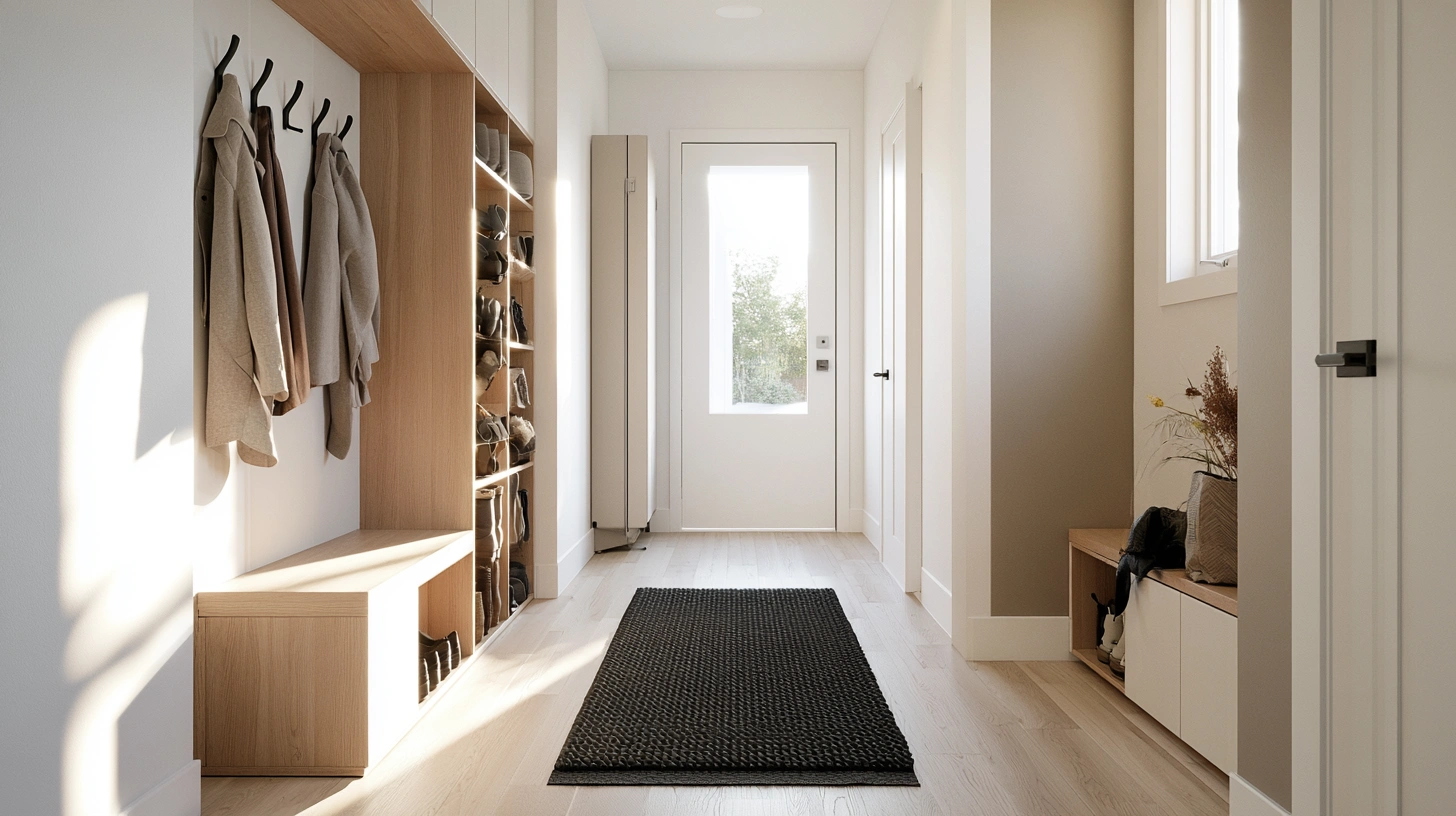
A true mudroom needs roughly 90×120 cm of floor space at minimum to function — enough for one person to sit and remove boots without blocking the door — and the fourteen ideas below are built around finding and fitting that footprint into spaces that were never designed to hold it.
Each idea includes the actual dimensions required, real cost ranges, and the specific technique that makes a borrowed corner function like a dedicated room rather than just looking like one.
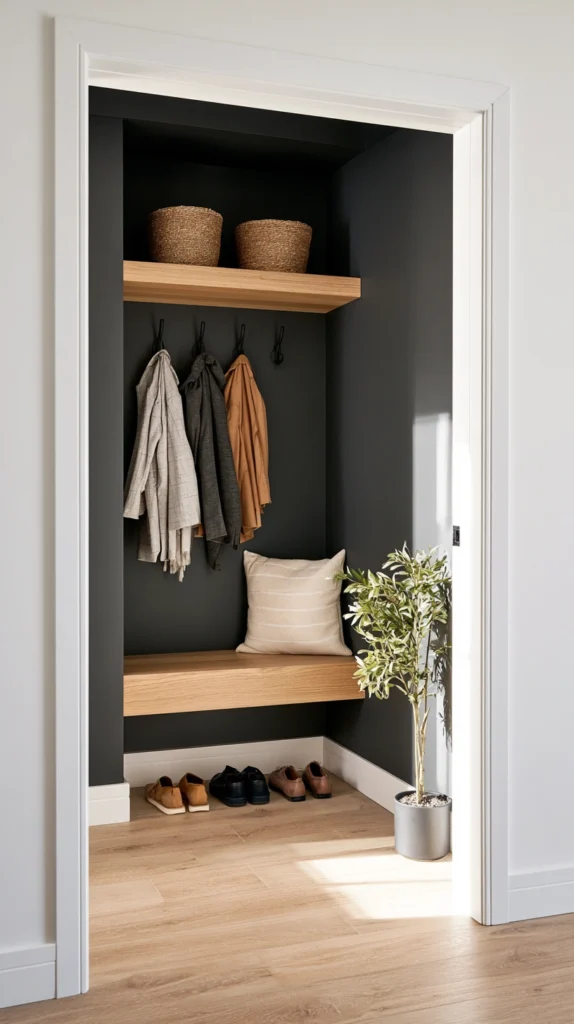
1. A Closet Conversion With the Doors Removed
Budget: $150 – $500
A coat closet near the back or side door — typically 60–90 cm wide and 60 cm deep — converted into an open mudroom nook by removing the doors entirely and fitting a bench, hooks, and a shoe shelf gives a household genuine mudroom function in a footprint that’s already built into the house.
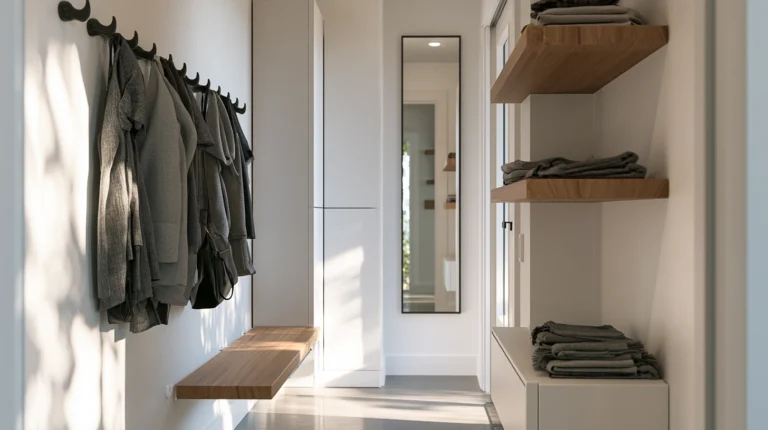
Removing the doors matters specifically because a mudroom used daily, often with wet or muddy gear, needs to be grabbed at and used quickly; a door that has to be opened and held adds friction that leads to coats getting dropped on the floor in front of the closet instead.
Removing bifold or hinged doors and patching the hinge holes costs $0–$40 in filler and paint for a DIY job. Fitting a bench seat across the closet’s width (cut to size from a single board) costs $40–$100; a hook rail at 145 cm height costs $20–$50; a slatted shoe shelf at the base, raised 8–10 cm off the floor for airflow and drip-drying, costs $30–$80. Total conversion typically runs $150–$350 for materials, or up to $500 if hiring a carpenter for the bench and shelf cuts.
Mudroom tip: Paint the closet’s interior in a deeper, more saturated tone than the surrounding hallway walls. Because the doors are gone, the closet interior is now permanently visible — treating it as a distinct, intentionally colored nook rather than leaving it in builder-grade white makes the conversion read as a designed feature rather than a closet that’s missing its doors.
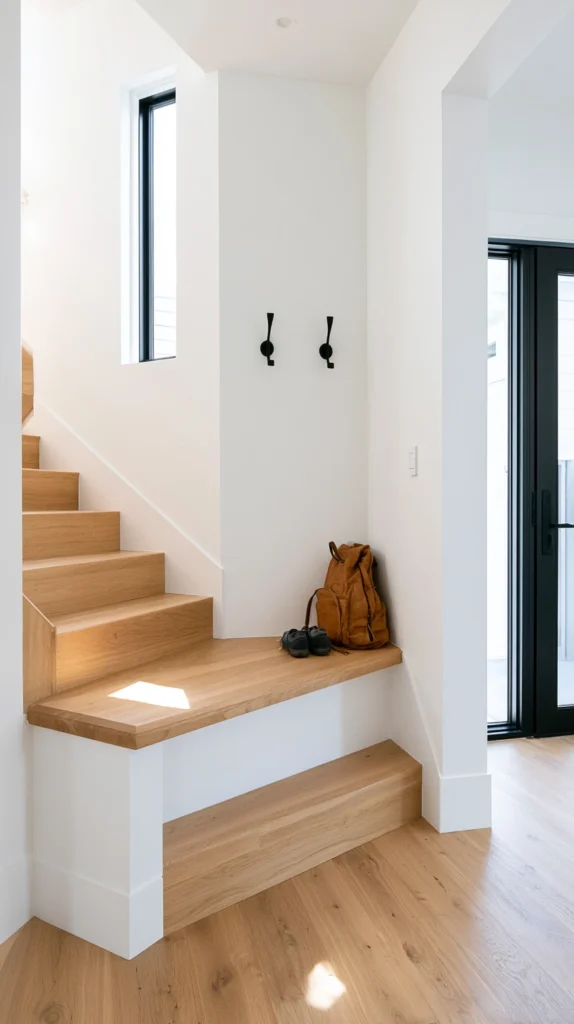
2. A Bench Built Into the Stair Landing
Budget: $200 – $600
If the back door opens onto a small stair landing or half-landing — common in split-level and older terraced homes — building a fitted bench into that landing, sized to the available width (often as narrow as 70–80 cm), creates seating exactly at the point of entry without consuming any floor space elsewhere in the house. This works because a stair landing is already a transitional, low-traffic-through space rather than a room people walk across to get elsewhere, which is exactly the quality a mudroom function needs.
A custom-built bench scaled to an irregular landing shape costs $250–$500 from a local joiner, since the cuts are rarely simple rectangles once stair geometry is involved; a simpler version using a single cut board on two support legs or brackets runs $80–$200 as a DIY project. Seat height should match the landing’s relationship to the stairs — typically 42–45 cm — and the bench depth needs a minimum of 30 cm to be usable for sitting rather than purely decorative.
Mudroom tip: Add a single coat hook directly above each end of the landing bench rather than a full rail. A stair landing rarely has enough flat wall space for a multi-hook rail, but two single hooks — one per person typically passing through that specific door — fits the available wall area without requiring any structural change to the landing itself.
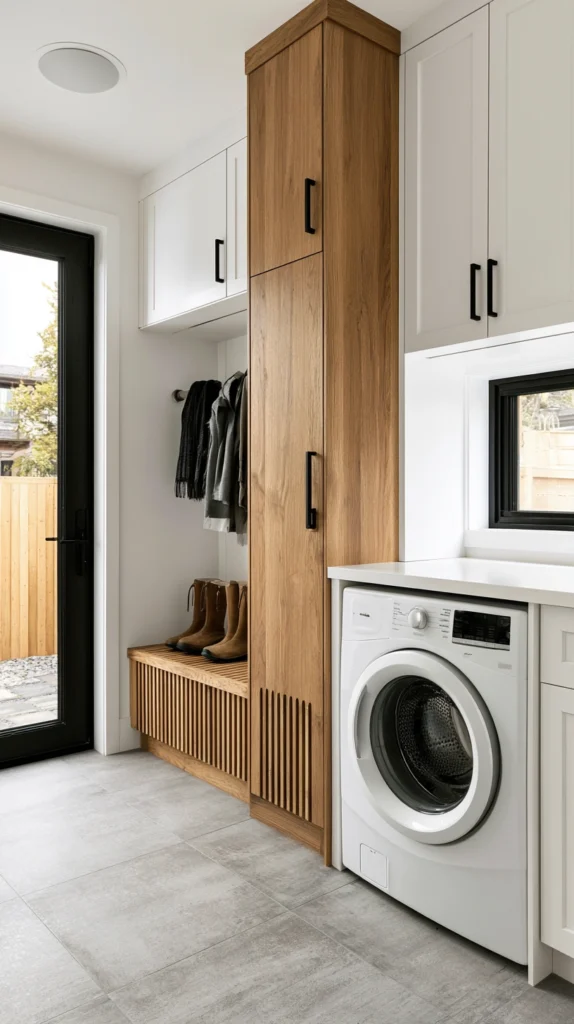
3. A Slim Vertical Locker Beside the Washing Machine
Budget: $150 – $400
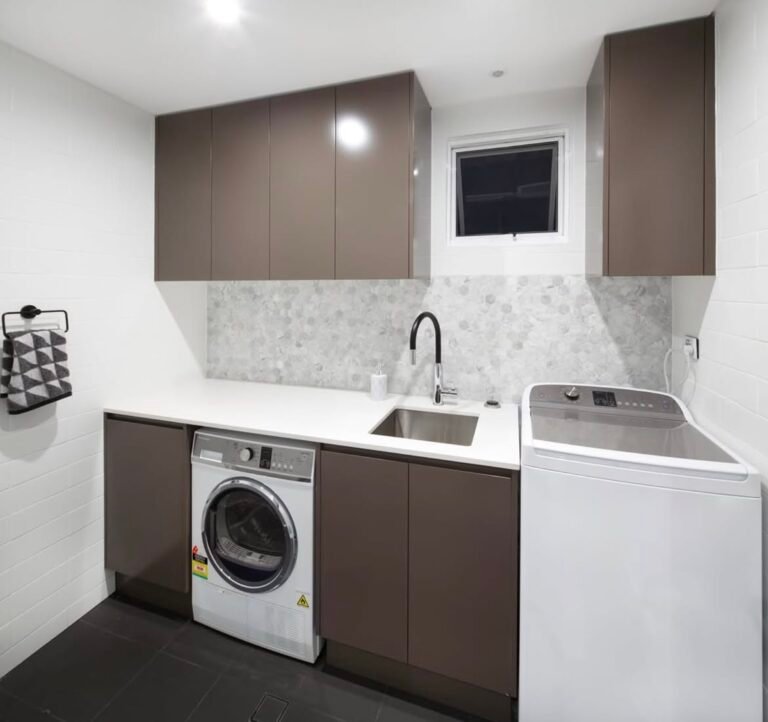
A single narrow locker unit — 35–45 cm wide and full height — installed in the gap beside a washing machine or in a utility room corner gives a dedicated coat-and-bag storage point in a room that already handles wet and dirty items by default. This works particularly well because a utility room’s flooring and ventilation are already suited to damp items, which means the locker doesn’t need any additional water-resistant treatment the way a hallway installation might.
A single-door locker unit of this width costs $120–$300 from flat-pack furniture retailers, or $200–$400 custom-built to fit an irregular gap exactly. Measure the available gap before ordering — utility room layouts often have only 35–40 cm of clearance beside a washing machine, and a locker even 5 cm too wide won’t fit, while a custom build can use every available centimeter including awkward 32 or 38 cm gaps that standard flat-pack sizing doesn’t cover.
Mudroom tip: Fit a small grate or slatted base inside the locker rather than a solid floor panel. Wet boots and shoes stored in an enclosed locker without ventilation develop a damp, musty smell within a couple of weeks — a slatted or perforated base ($10–$25 as an add-on) allows air to circulate underneath and dramatically extends how long the locker stays usable before needing a deep clean.
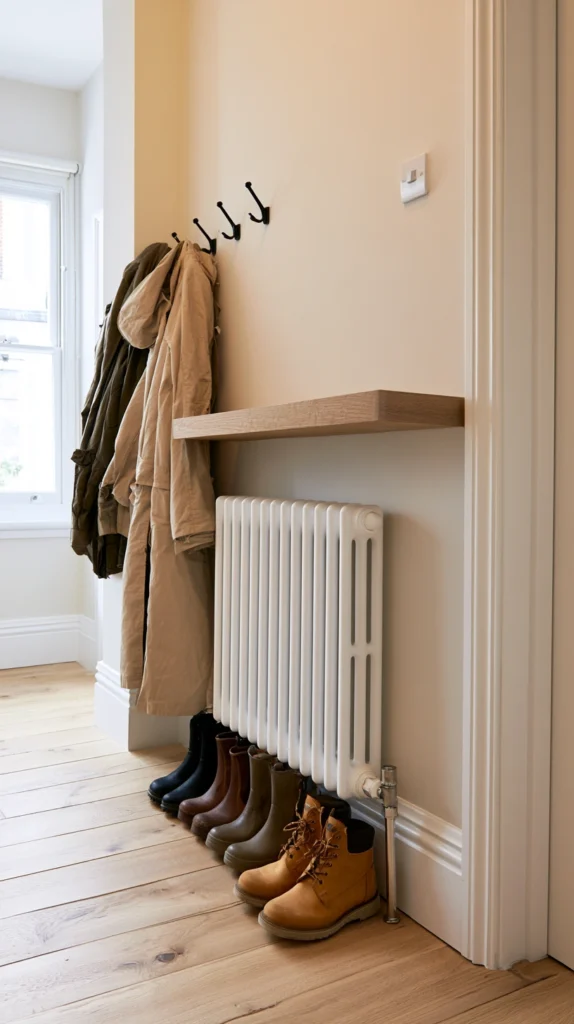
4. A Drop Zone Built Around an Existing Radiator
Budget: $80 – $250
If the back entry has a wall-mounted radiator — common in older homes where the entry was never designed as a mudroom — building a simple shelf or rack above and around it rather than ignoring it turns a fixture most households work around into the room’s most useful feature, since the radiator’s heat actively dries wet coats and boots faster than any unheated storage spot in the house.
A floating shelf fitted 8–10 cm above the radiator’s top edge (enough clearance for heat to escape upward without scorching the shelf underside) costs $30–$70 in materials; pair it with a heat-safe drying rack hung from hooks on the wall beside the radiator for wet items, at $20–$50. Check the radiator’s output isn’t being significantly restricted by anything placed directly above it — a shelf positioned too close (under 8 cm) traps heat against the radiator and reduces the room’s heating efficiency, which defeats the purpose and may violate manufacturer clearance guidelines.
Mudroom tip: Use the shelf above the radiator specifically for gloves, hats, and small items that benefit from quick drying, rather than as general storage. A radiator shelf loaded with books or decorative objects wastes the one functional advantage this particular spot has over every other storage location in the house.
5. An Under-Stairs Triangle Fitted With a Bench and Hooks
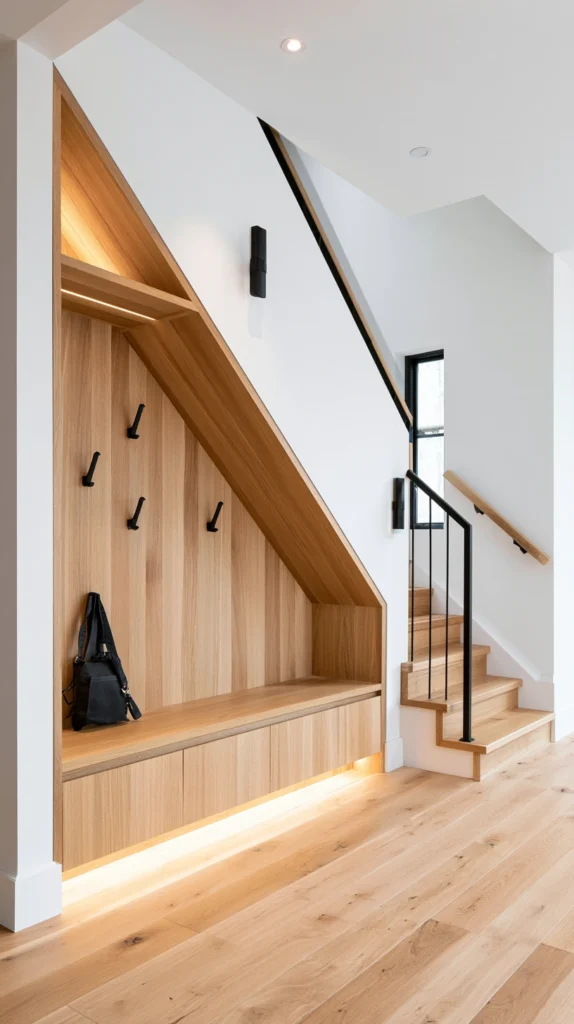
Budget: $300 – $900
The triangular void under a staircase — often unused or filled with random storage — can be fitted with a bench seat at the tallest end (where ceiling height allows comfortable sitting, typically where the space is at least 90 cm tall) and a sloped run of hooks following the underside of the stairs. This converts what’s frequently the most awkward unused space in a house into a complete mudroom setup, because the triangular shape naturally creates a sense of enclosure that an open hallway corner doesn’t offer.
A fitted bench and shelving unit custom-built to the exact triangular dimensions costs $500–$900 from a carpenter, since no two understair spaces are identical; a simpler DIY version using a single bench board and surface-mounted hooks rather than built-in joinery runs $150–$350. Measure the ceiling height at 60 cm intervals along the understair slope before planning hook placement — hooks need at least 35–40 cm of clearance above them for a coat to hang without dragging on the floor, which limits how far into the lowest part of the triangle the hook rail can usefully extend.
Mudroom tip: Install a motion-sensor LED puck light inside the understair space rather than relying on the hallway’s main light. Understair spaces are typically the dimmest corner of any hallway, and a $15–$30 battery or hardwired motion light makes the difference between a nook that’s actually used daily and one that gets avoided simply because finding things inside it is annoying in poor light.
6. A Pull-Out Bench That Tucks Away When Not in Use
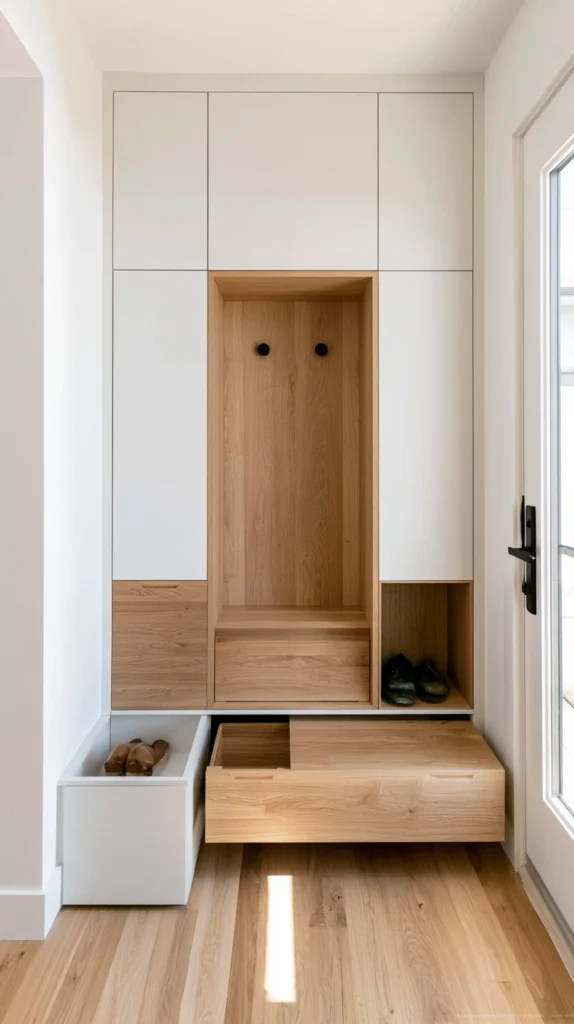
Budget: $150 – $400
For an entry too narrow to fit a fixed bench without blocking the door swing — common in homes with under 100 cm of width at the back entry — a bench on a sliding or pull-out mechanism that tucks flush against the wall when not in use solves the space conflict directly. This works because the bench only needs its full depth (30–35 cm) for the few seconds someone is actually sitting down to remove boots, and can otherwise occupy almost no floor depth at all.
A pull-out bench mechanism (drawer slides rated for static plus seated load, minimum 100 kg capacity) costs $40–$80; the bench seat itself in solid timber or ply costs $60–$150, and professional installation to ensure the slides are properly load-rated and securely fixed runs $50–$170 if not doing it as a confident DIY project. This is one of the more mechanically involved ideas on this list and benefits from a tradesperson’s input even if the carpentry itself is straightforward.
Mudroom tip: Test the pulled-out bench’s full depth against the door’s swing arc before finalizing the design. The entire point of this idea is solving a door-clearance problem, so confirming the door can still open and close fully with the bench extended — not just when it’s tucked away — is the step that determines whether the mechanism actually solves the original problem.
7. A Slim Console With Baskets Instead of Drawers
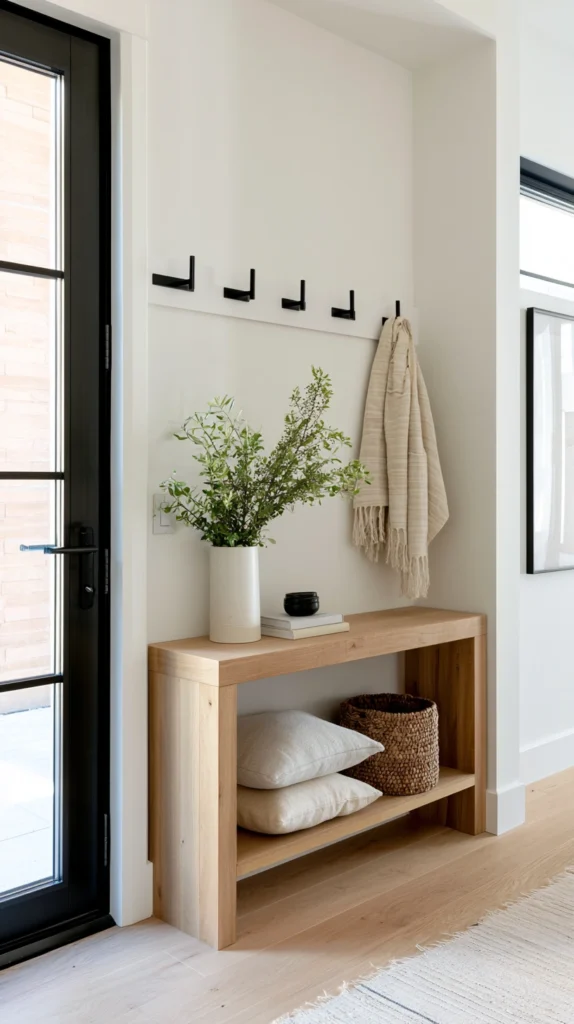
Budget: $80 – $250
A narrow console table (20–25 cm deep) fitted with woven baskets on open shelving beneath, rather than closed drawers, gives quick-grab storage for gloves, dog leads, and small outdoor items in an entry too tight for full mudroom furniture. Open baskets work better than drawers in this specific narrow format because a 20 cm deep drawer has very little usable internal capacity once you account for the runner mechanism, while the same depth in an open basket loses nothing to hardware.
A slim console with two open shelves costs $60–$150 from furniture retailers; a set of three to four woven baskets sized to fit the shelves costs $8–$20 each, totaling $24–$80. Measure the shelf’s internal height before buying baskets — many slim consoles have only 18–22 cm of clearance per shelf, which rules out taller decorative baskets that look right in a showroom but won’t actually slide onto the shelf at home.
Mudroom tip: Assign one basket per category (gloves and hats, dog gear, sports equipment) rather than one basket per person. In a small entry being used as a makeshift mudroom, category-based baskets tend to stay organized longer than person-based ones, since most small households grab items by type (“where are the dog leads”) more often than by owner.
8. A Fold-Down Bench Mounted Directly to the Wall
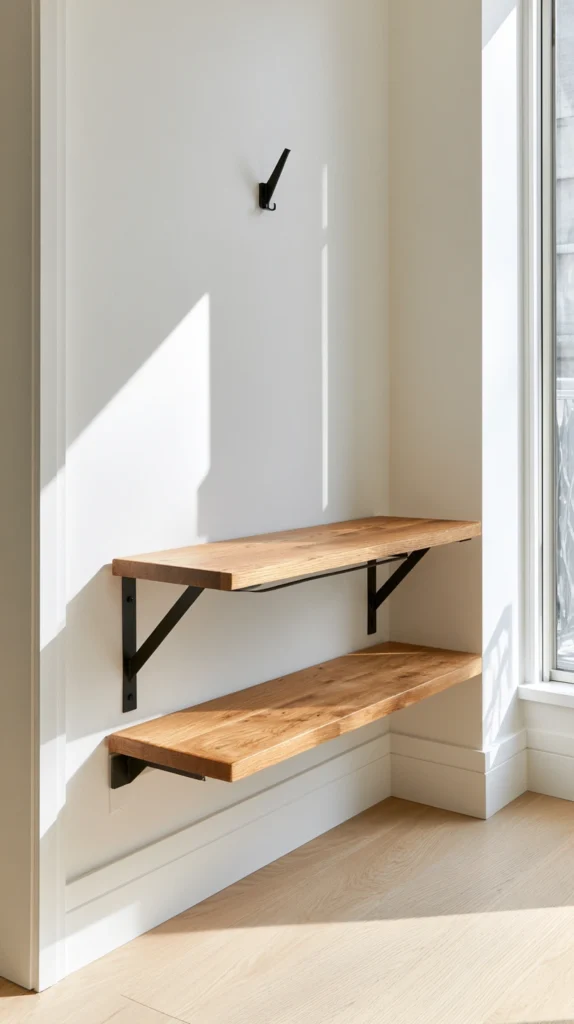
Budget: $60 – $200
A wall-mounted fold-down bench — hinged at the back and supported by a folding leg or bracket at the front — provides seating only when needed and folds flat against the wall (occupying roughly 8–12 cm of depth when stowed) the rest of the time. This is the single most space-efficient seating solution on this list and suits entries under 70 cm wide where even a slim fixed bench would obstruct passage.
A fold-down bench bracket kit costs $30–$70; the seat board itself, cut to width and finished to match the surrounding trim, costs $20–$60 in materials for a DIY build, or $100–$150 if having a finished seat custom-made. Mount at standard seat height (42–45 cm) and confirm the wall section has solid blocking or stud backing at the hinge points — this hardware takes a genuine seated load directly on a wall fixing, and mounting into plasterboard alone without proper backing will fail within months of regular use.
Styling tip: Mount a single hook directly above the folded bench’s stowed position. When the bench is folded up, that wall section reads as dead space unless something is using it — a hook placed at the right height turns the few square inches of wall above the bench into useful storage exactly when the bench itself isn’t occupying any floor space.
9. A Boot Tray and Rack Combination That Stacks Vertically
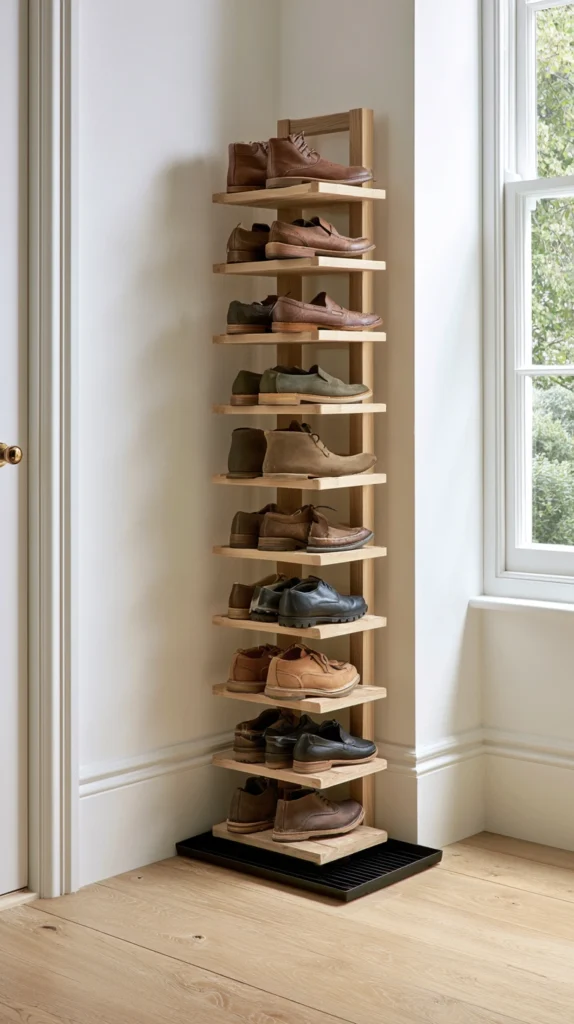
Budget: $30 – $90
In an entry too small for a horizontal shoe rack (which typically needs at least 60×30 cm of floor footprint), a vertical stacking shoe rack — holding pairs in tiers of two or three rather than spread in a single row — fits the same shoe capacity into roughly a third of the floor space. This matters specifically in homes without a dedicated mudroom, where the entry floor is often also the path to the rest of the house and every centimeter of footprint claimed by storage is footprint lost from walking clearance.
A three-tier vertical shoe rack holding six to nine pairs costs $25–$60; pairing it with a slim boot tray underneath to catch drips and debris (sized to the rack’s footprint, typically 35×25 cm) adds $10–$30. Check the rack’s overall height against the available wall or corner space before buying — a three-tier rack is typically 75–90 cm tall, which can interfere with a coat hook rail mounted at standard height if the two aren’t planned together.
Mudroom tip: Position the vertical rack in a corner rather than against a flat wall section. Corners are usually the most wasted floor space in a small entry — nothing else fits neatly into a 90-degree internal angle — while a vertical rack’s relatively small footprint slots into a corner without displacing any other planned storage.
10. A Magnetic Key and Mail Strip Mounted on the Door Itself
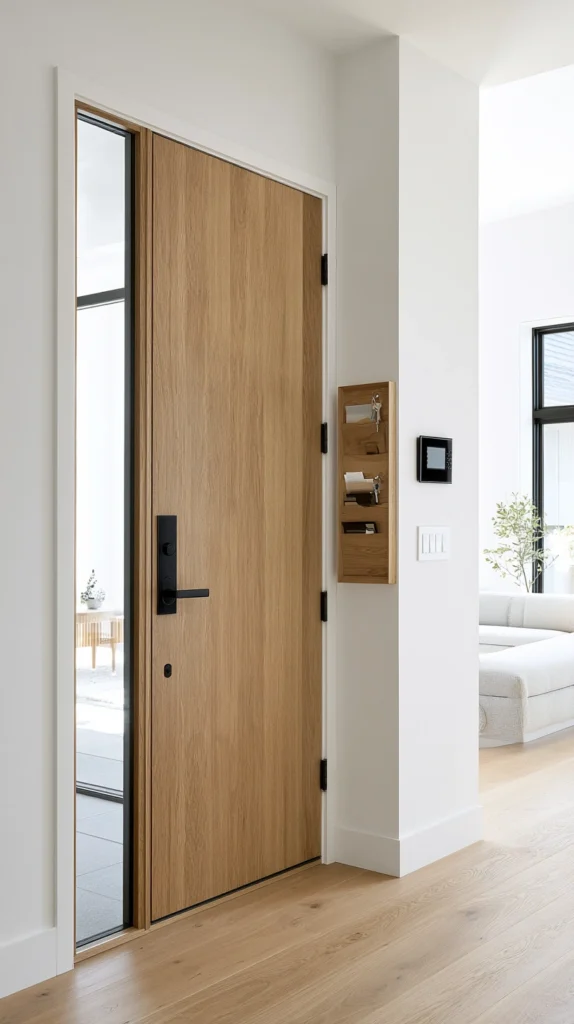
Budget: $20 – $60
Mounting a slim magnetic strip or a shallow adhesive-backed tray directly onto the back of the entry door — rather than on adjacent wall space, which a small mudroom area often doesn’t have to spare — claims storage area that costs nothing in floor or wall footprint, since the door is already there and already swings clear of foot traffic when open or closed.
A magnetic key strip costs $10–$25; an adhesive-mounted shallow door tray for mail and small items costs $12–$35. Confirm the door’s swing doesn’t bring the mounted items into contact with anything (a wall, a light switch, another piece of furniture) at any point in its full arc — test this through a complete open-and-close cycle before committing to adhesive mounting, since most adhesive-backed hardware doesn’t survive being repositioned once it’s been stuck down for more than a day.
Mudroom tip: Use the door-mounted strip specifically for items used on the way out (keys, sunglasses, transit cards) rather than items that arrive with the household on the way in. This keeps the system genuinely useful rather than becoming another catch-all surface — door-mounted storage works best with a narrow, specific purpose precisely because its capacity is small.
11. A Curtain-Concealed Storage Nook
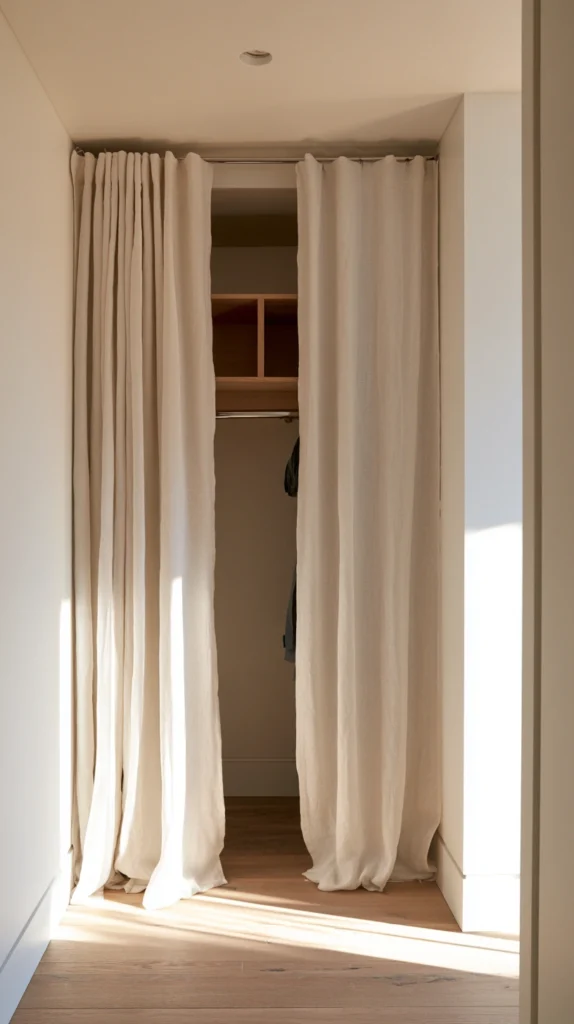
Budget: $40 – $120
For an alcove or gap too irregular or too rough-looking to leave fully open — exposed pipework, an unfinished wall section, a gap behind a door that swings open — hanging a simple curtain on a tension rod across the front conceals the storage without the cost of building proper doors or finishing the space behind it. This is the lowest-cost way to convert an “ugly but useful” gap into mudroom storage that doesn’t look like an ugly but useful gap.
A tension rod sized to the gap’s width costs $10–$25; a simple cotton or canvas curtain panel, ideally in a hard-wearing washable fabric given its proximity to dirty boots and wet coats, costs $20–$60 depending on size and fabric quality. Fit shelving or a hanging rail behind the curtain before hanging the curtain itself — retrofitting storage behind an already-hung curtain is considerably more awkward than building it out first.
Mudroom tip: Choose a curtain fabric that can be machine washed, and actually wash it every one to two months. A curtain positioned directly in the path of wet boots and muddy coats picks up grime faster than almost any other textile in the house, and a curtain that’s visibly dirty undoes the entire purpose of concealing the storage behind it in the first place.
12. A Hallway Runner That Visually Defines the Mudroom Zone
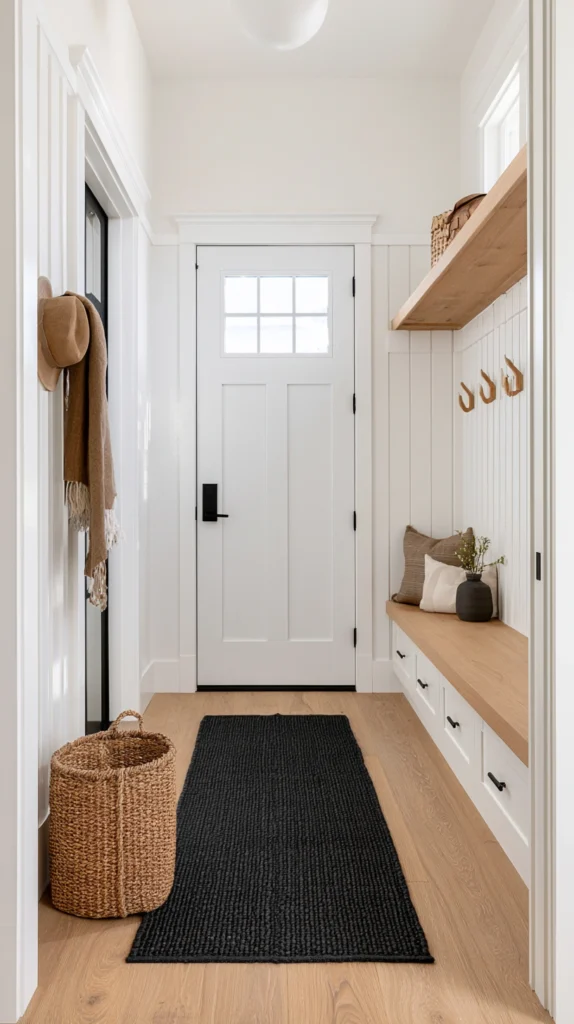
Budget: $40 – $150
Laying a durable, dark-toned runner rug specifically across the section of hallway functioning as the entry zone — distinct from any rug or flooring used in the rest of the hallway — visually marks the boundary of the makeshift mudroom even though no wall or structural division exists. This matters because one of the main reasons a borrowed hallway space doesn’t feel like a functional mudroom is that it has no visual edge; a runner gives the eye (and the household’s habits) a clear “this is where the mess happens” boundary.
A hard-wearing, low-pile runner suited to wet and muddy foot traffic costs $40–$100 for a standard 60×150 cm size in synthetic or flatweave material; a higher-quality wool or wool-blend runner with better stain resistance runs $80–$150. Choose a rubber-backed or non-slip-backed runner specifically — a runner that slides on hard flooring in a high-traffic entry point is a genuine trip hazard, more so here than almost anywhere else in the house given the wet conditions it’s likely to encounter.
Mudroom tip: Choose a pattern or a dark solid tone over a pale one, regardless of the rest of the home’s color scheme. This is one area where matching the existing decor matters less than practical performance — a pale runner in the literal mud-and-rain entry zone will look permanently stained within a season no matter how often it’s cleaned.
13. A Single Wall Hook Rail Sized to the Household, Not the Wall
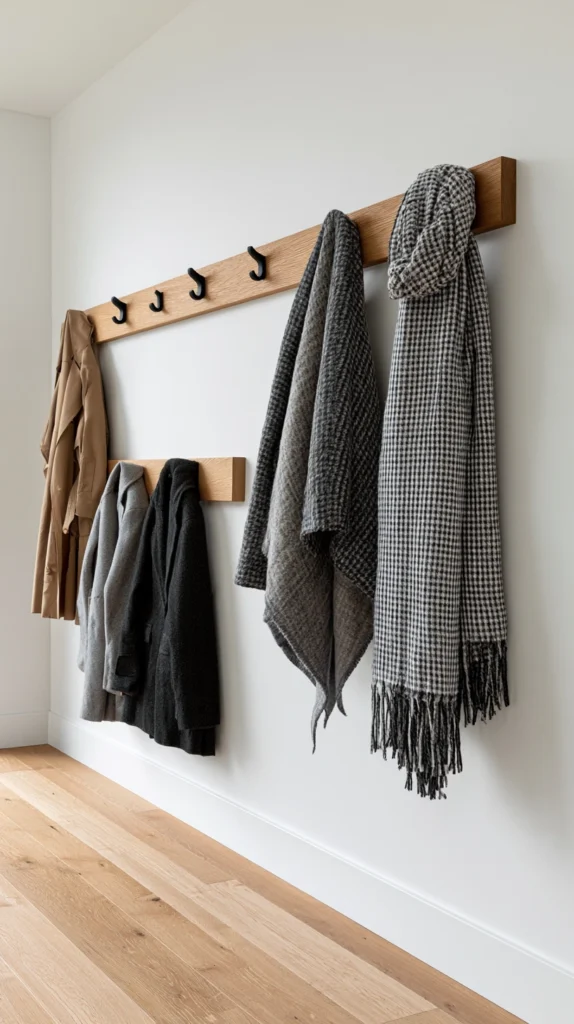
Budget: $25 – $70
Rather than buying a hook rail sized to fill the available wall space, measuring the actual number of people in the household and sizing the rail to exactly that many hooks (plus one spare) prevents the over-hanging that turns even a well-planned small mudroom corner back into a jumble within a few weeks. This is a sizing principle as much as a product choice, and it’s particularly important in a small borrowed space where there’s no slack capacity to absorb overflow the way a dedicated mudroom with multiple storage zones might.
A basic hook rail with the exact number of hooks needed (rather than a standard six or eight-hook unit) can often be custom-ordered from hardware retailers for $25–$50, or assembled from individual hooks mounted directly to a painted timber batten for $15–$40. Space hooks at 15–18 cm intervals minimum — tighter spacing causes coats to overlap and tangle, which is the specific failure mode that makes people start dropping coats on the floor instead of using the rail at all.
Mudroom tip: Mount the rail at two different heights if the household includes both adults and children — a lower rail at 100–110 cm for kids’ coats alongside the main rail at 145–150 cm for adults. This single adjustment is often what determines whether children actually hang up their own coats or whether an adult ends up doing it for them every single day.
14. A Slim Pegboard Panel for Fully Custom Configuration
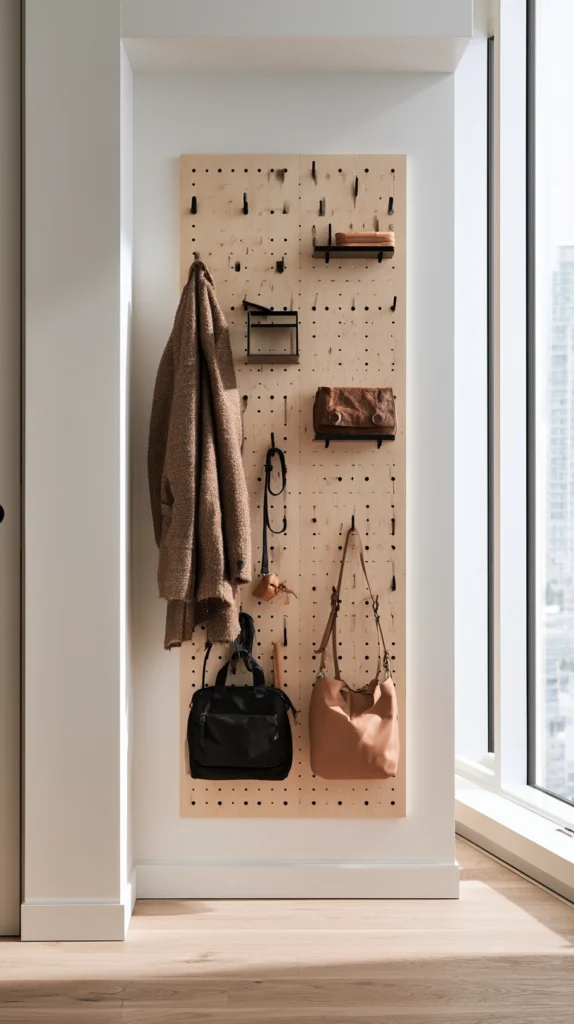
Budget: $30 – $90
A pegboard panel — even a narrow one, 40–60 cm wide — mounted in whatever odd-shaped gap is available gives a small borrowed mudroom space the one quality that fixed furniture can’t: the ability to be completely reconfigured as the household’s actual needs change, since hook and shelf positions move in seconds rather than requiring new furniture.
This is particularly useful in homes without a dedicated mudroom because the available space is often irregular and changes in how it’s used (a new pet, a child starting a sport, a change in commute) more frequently than a purpose-built mudroom would.
An MDF pegboard panel at 60×90 cm costs $15–$30; a starter set of ten assorted hooks, small shelves, and basket holders costs $15–$35. Mount with spacer blocks holding the board 2–3 cm off the wall — this gap is what allows the pegboard hooks to be fully inserted and removed, and skipping it (mounting the board flush to the wall) makes half the standard pegboard hardware unusable.
Mudroom tip: Trace an outline around each tool or item’s pegboard position in pencil once the configuration feels right. This single habit — borrowed from workshop organization — makes it immediately obvious when something hasn’t been returned to its spot, which matters more in a small, high-traffic mudroom zone than in almost any other storage system in the house.
Every idea on this list works by treating an incidental, leftover space as if it had been designed for the job from the start — claiming a closet, a landing, a gap beside an appliance, or even just the back of a door, and giving it the same deliberate seating, hook, and storage logic a purpose-built mudroom would have.
None of them require knocking down a wall or adding square footage to the house; they require identifying which existing few square feet are already absorbing the daily coat-and-boot chaos, and finally giving that spot the tools to do its job properly.
Start by measuring whatever space is currently functioning as your default entry catch-all — even if it’s just 70 cm of hallway floor — before choosing an idea from this list. The right solution is the one sized to the actual space and the actual household, not the one that looks best in a photograph of a much larger mudroom than most homes will ever have.