Popcorn Ceiling Guide: Removal, Covering & Painting
Popcorn Ceiling Guide: Removal, Covering & Painting
Popcorn ceilings were sprayed onto millions of American homes between the 1950s and the late 1980s, prized at the time for hiding drywall imperfections and dampening sound.
Decades later, that same bumpy, light-catching texture is one of the fastest ways to date a house. Real estate agents routinely flag it as a buyer turnoff, and homeowners living with it tend to notice the same things: it collects dust in a way flat ceilings don’t, it’s nearly impossible to spot-clean, and it swallows light instead of reflecting it.
The good news is that a popcorn ceiling isn’t a permanent condition. There are three real paths forward — scrape it off, cover it up, or paint over it — and each one comes with a genuinely different cost, timeline, and skill level. This guide walks through all three in enough detail to actually plan the project, not just decide it’s worth doing.
Why This Decision Trips People Up
Most homeowners start this project by watching a five-minute video of someone scraping wet texture off a ceiling in a single smooth pass, then assume their ceiling will behave the same way. It often doesn’t. Ceilings textured after 1978 may contain asbestos, some popcorn finishes were sprayed over unprimed drywall that damages easily when wet, and ceilings with water stains or repairs often have inconsistent texture that scrapes unevenly.
The homeowners who end up happy with the result are the ones who test before they commit, choose the method that matches their ceiling’s actual condition rather than the one that looked easiest online, and budget for the mess — because all three methods, even painting, generate more dust and dropcloth work than people expect.
Five Principles Before You Touch the Ceiling
- Test for asbestos first, always. This isn’t optional if the home was built or the ceiling was textured before 1990. A lab test costs less than a single day of labor and removes all guesswork.
- Match the method to the ceiling’s condition, not your preference. A ceiling with heavy water stains or crumbling texture is a poor candidate for wet-scraping no matter how much you’d prefer that route.
- Protect the room before protecting the ceiling. Popcorn removal in particular creates a specific kind of mess — wet, textured debris — that ruins flooring and furniture finishes if it’s not covered properly.
- Budget time, not just money. A 12×12 room can realistically take a full weekend for removal, even though the material cost might only be $40.
- Know your ceiling in advance. Ceilings with recessed lighting, sprinkler heads, or textured popcorn over plaster (rather than drywall) all need adjusted approaches covered below.
Testing for Asbestos Before You Start
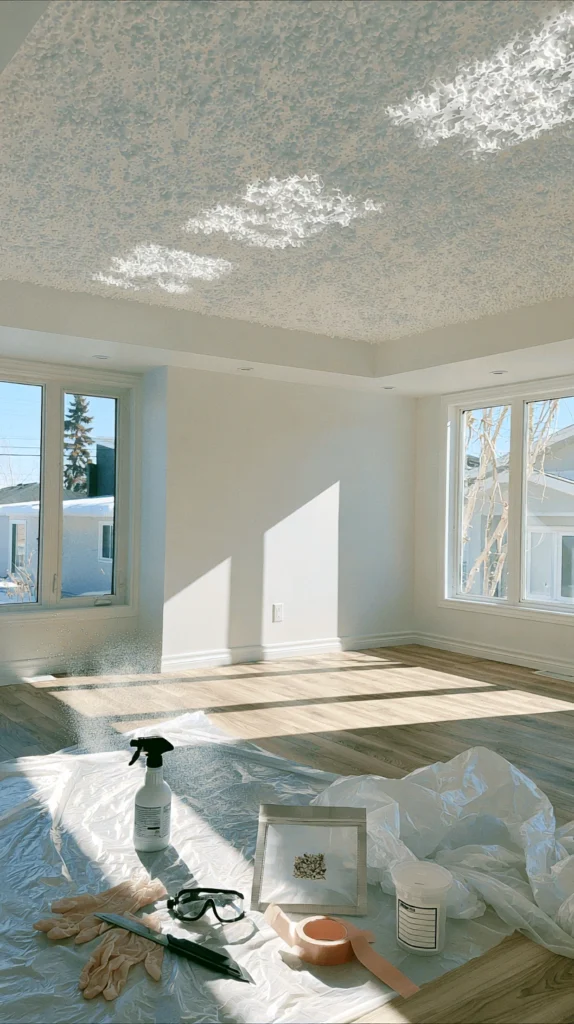
Popcorn ceiling texture manufactured before 1980, and in some cases up through 1990, may contain asbestos fibers used as a binding and fireproofing agent. Disturbing asbestos-containing material through scraping, sanding, or even aggressive scrubbing releases fibers into the air, which is a genuine health risk if inhaled over time.
How to Test
Homeowners have two realistic options. The first is a DIY test kit, which costs $30–$50 and involves carefully cutting a small sample of texture into a sealed bag using gloves and a damp cloth to minimize dust, then mailing it to an accredited lab. Results typically arrive in 3–5 business days. The second option is hiring a certified inspector to collect the sample, which costs $200–$400 but adds documentation that some local permitting offices require before approving removal work.
Critical rule: Never dry-scrape, sand, or vacuum a popcorn ceiling before testing. Even collecting a sample for testing should be done with the texture lightly misted with water first to prevent airborne fibers.
If the Test Comes Back Positive
If asbestos is confirmed, DIY removal is not recommended and, in many states, is legally restricted. Professional abatement typically costs $3–$7 per square foot, meaning a 200-square-foot ceiling runs $600–$1,400 for safe removal and disposal. In this scenario, covering the ceiling (Method 2 below) or painting over it with an encapsulating primer (Method 3) become the safer, far more affordable paths, since both avoid disturbing the existing material.
Method 1: Removing Popcorn Ceiling Texture
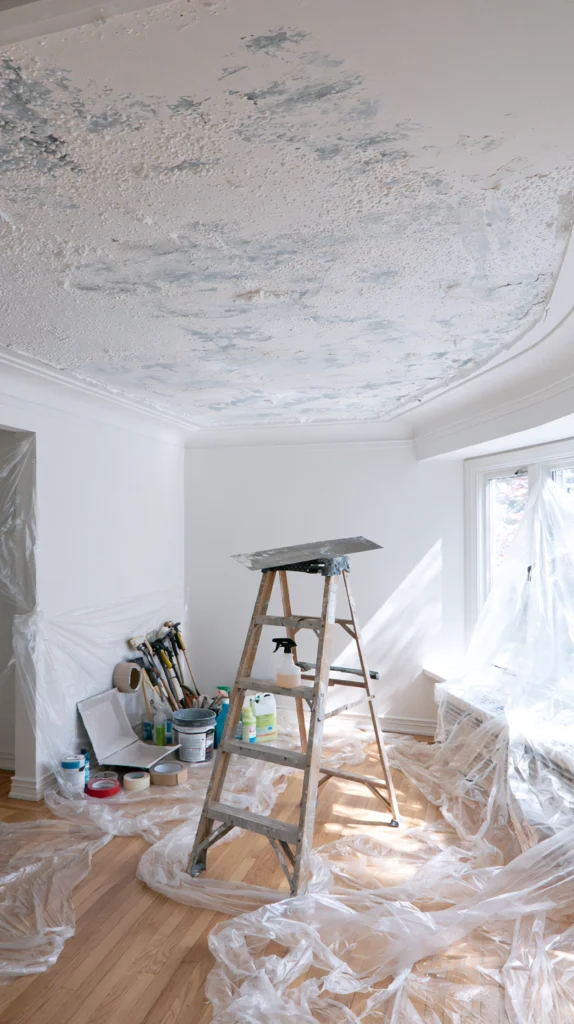
Removal is the most labor-intensive option but delivers the cleanest, most modern result — a flat, paintable ceiling with no texture history to work around later.
Tools and Materials Needed
- 4-inch or 6-inch drywall taping knife ($8–$15)
- Pump garden sprayer, 1–2 gallon size ($20–$35)
- Plastic sheeting, 3-mil or thicker, for floors and walls ($15–$25 per roll)
- Painter’s tape ($6–$10 per roll)
- Heavy dropcloths or rosin paper for flooring ($20–$40)
- Safety goggles and an N95 or P100 respirator mask ($15–$30)
- Joint compound for patching, 5-gallon bucket ($15–$20)
- Drywall sanding sponge or pole sander ($10–$20)
- Stilts or a sturdy step ladder, depending on ceiling height
Total tool and material cost for a first-time DIY removal typically runs $120–$180, most of which is reusable for future rooms.
Step-by-Step Removal Process
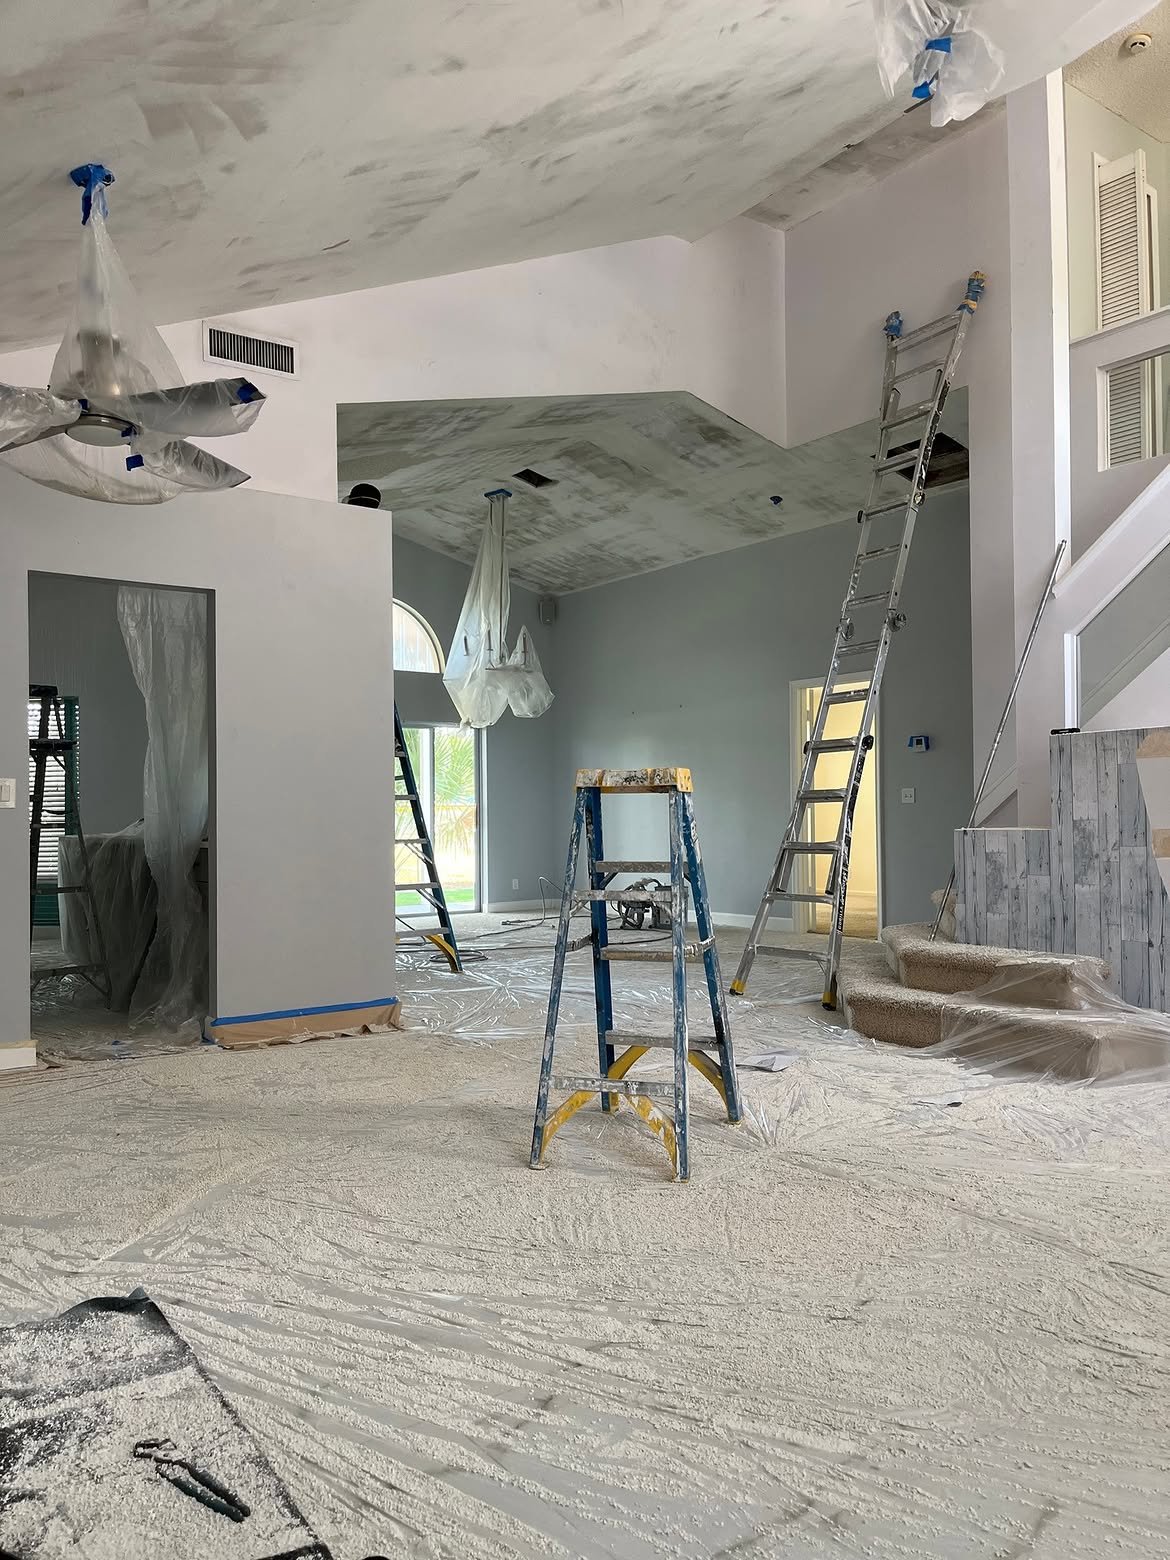
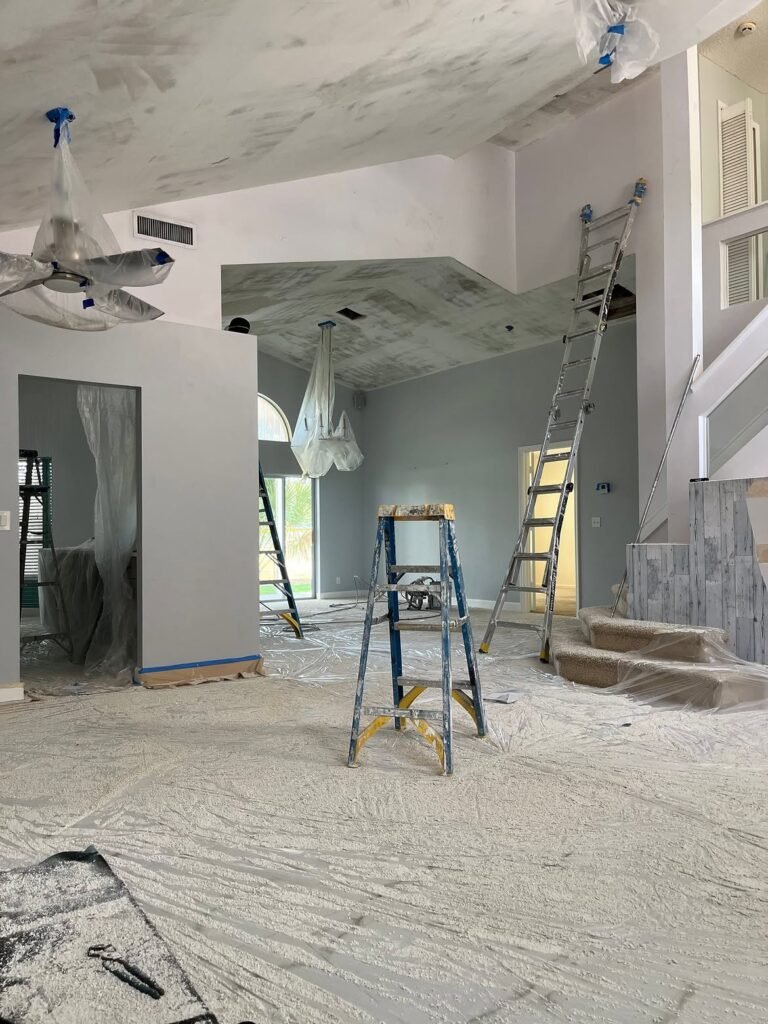
Step 1: Clear and protect the room. Remove all furniture where possible. Cover flooring completely with plastic sheeting, then a layer of rosin paper or dropcloth on top for traction and puncture resistance. Tape plastic sheeting up the walls to about 4 feet high to catch overspray and debris. Cover any built-in fixtures, outlets, and switch plates with painter’s tape and plastic.
Step 2: Cut power to the room. Popcorn removal involves spraying water near light fixtures and outlets. Shut off the circuit at the breaker box before starting, and cover any recessed lighting or fixture openings with plastic and tape.
Step 3: Test a small section. Before committing to the full ceiling, mist a 2×2-foot test section with water using the pump sprayer and let it sit for 10–15 minutes. Attempt to scrape it with the taping knife held at a low angle, roughly 15–20 degrees to the surface. If the texture comes away cleanly down to the drywall paper without gouging, the ceiling is a good candidate for wet-scrape removal.
Step 4: Work in small sections. Mist a 3×3-foot area at a time — spraying the entire ceiling at once causes the water to dry out before it’s scraped, forcing a repeat. Let each section sit for 10–15 minutes until the texture looks slightly darker and saturated, which indicates the water has softened the binding compound.
Step 5: Scrape at a low angle. Hold the taping knife nearly flat against the ceiling and push in long, even strokes rather than short choppy ones. Short strokes are what cause gouges in the drywall paper beneath. Wipe the blade clean every few strokes to keep debris from scratching the surface.
Step 6: Handle stubborn spots carefully. Some sections, particularly those with prior water damage or extra coats of texture, resist the first pass. Re-mist and let sit an additional 5–10 minutes rather than forcing the scraper, which is the most common cause of drywall paper tearing.
Step 7: Patch any gouges. Even careful scraping usually leaves a few small gouges or torn paper spots. Fill these with joint compound using the taping knife, feathering the edges out 4–6 inches so the patch blends when sanded. Let dry 24 hours before sanding smooth with a fine sanding sponge.
Step 8: Skim coat if needed. If the ceiling has more than a handful of patches, or if the underlying texture pattern (called “orange peel” in some homes) is uneven, a full skim coat of joint compound applied with a wide taping knife creates a uniform, paint-ready surface. This step adds a full day to the project but produces a noticeably smoother final ceiling.
Step 9: Prime and paint. Once sanded smooth and free of dust, apply a coat of high-quality ceiling primer ($25–$35 per gallon) followed by two coats of flat or matte ceiling paint ($30–$45 per gallon). A flat sheen hides minor imperfections better than anything with sheen.
Realistic Timeline and Cost
For a single 12×12 bedroom ceiling (144 square feet), expect 6–10 hours of hands-on labor spread across a weekend, factoring in dry time between coats. Material costs for that size room run $80–$150 including tools already listed. Hiring a professional for removal alone, without a full skim coat, typically runs $1.50–$3 per square foot, or $220–$430 for the same room; a full skim coat adds $1–$2 per square foot on top of that.
Method 2: Covering Popcorn Texture
Covering skips the removal process entirely, which makes it the fastest option and the safest choice for ceilings that tested positive for asbestos, since the existing material is never disturbed.
Option A: Drywall Overlay
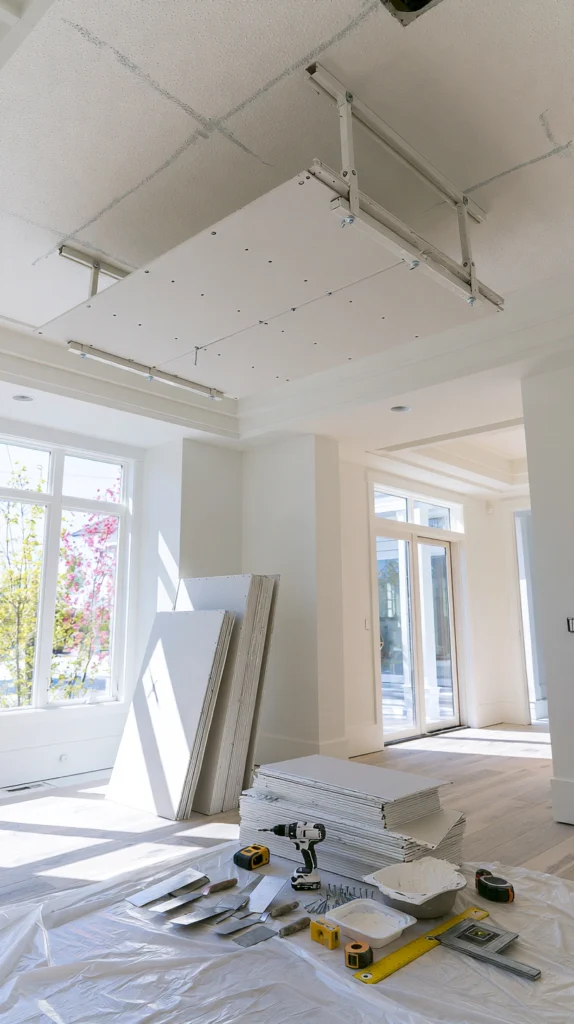
Installing a new layer of 1/4-inch or 3/8-inch drywall directly over the existing popcorn texture is the most common covering method. The thinner 1/4-inch panels are easier to lift and screw into ceiling joists but flex more and show waviness in the wrong lighting; 3/8-inch panels cost slightly more but hold a flatter, more professional finish.
Materials needed:
- 1/4-inch or 3/8-inch drywall sheets, 4×8 size ($12–$20 per sheet)
- Drywall screws, 1-1/4 inch, coarse thread for wood joists ($8–$12 per box)
- Joint tape and compound ($15–$20 combined)
- Drywall lift rental, if working solo ($40–$60 per day)
Process overview: Locate and mark ceiling joists using a stud finder, since the new panels must be screwed into solid framing rather than just the old texture layer. Lift each panel into place — a rented drywall lift makes this dramatically easier for a single installer and is worth the rental cost for anything larger than a small closet. Screw panels into joists every 12 inches, then tape and mud the seams using standard drywall finishing technique: paper or mesh tape embedded in a first coat, followed by two progressively wider finish coats feathered out 8–10 inches from the seam.
For a 144-square-foot room, expect $180–$280 in materials and 8–14 hours of labor across taping, mudding, sanding, and drying time between coats. Professional installation runs $2–$4 per square foot, or roughly $290–$580 for the same room — often cheaper than full removal once patching and skim coating are factored in.
Option B: Ceiling Planks or Panels
Wood-look ceiling planks, PVC panels, or tin-style ceiling tiles install directly over popcorn texture using furring strips, avoiding drywall work entirely. Shiplap-style ceiling planks run $3–$6 per square foot in materials, while decorative PVC or faux-tin panels run $4–$8 per square foot.
Process overview: Install 1×3 furring strips perpendicular to the ceiling joists, spaced according to the panel manufacturer’s specifications (commonly 16 or 24 inches on center), shimming as needed to correct for any unevenness in the original popcorn surface. Attach planks or panels to the furring strips with a brad nailer or panel adhesive, working from one wall to the other.
This method adds real texture and visual interest rather than aiming for a flat, paint-ready surface, which makes it a strong option for rooms like dining areas, dens, or basements where a wood or tin ceiling reads as a design feature rather than a repair. For a 144-square-foot room, expect $500–$900 in materials for a mid-range plank product, plus 10–16 hours of labor.
Option C: Suspended (Drop) Ceiling
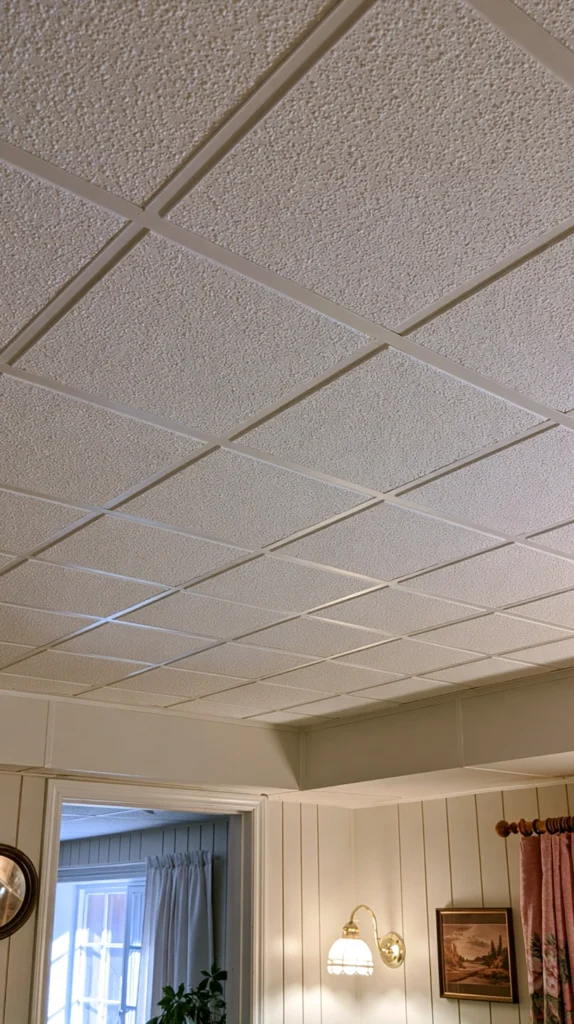
In basements or rooms with enough ceiling height to spare, a suspended grid ceiling with drop-in tiles covers popcorn texture completely while also providing access to wiring, ductwork, or plumbing above. This method requires giving up 3–6 inches of ceiling height for the grid and tile depth.
Grid and tile kits run $2–$4 per square foot for basic tiles, or $5–$10 per square foot for higher-end options with integrated LED panels. A 144-square-foot basement ceiling typically costs $350–$700 in materials and takes 8–12 hours to install, including grid layout, wall angle installation, and tile placement.
Method 3: Painting Over Popcorn Texture
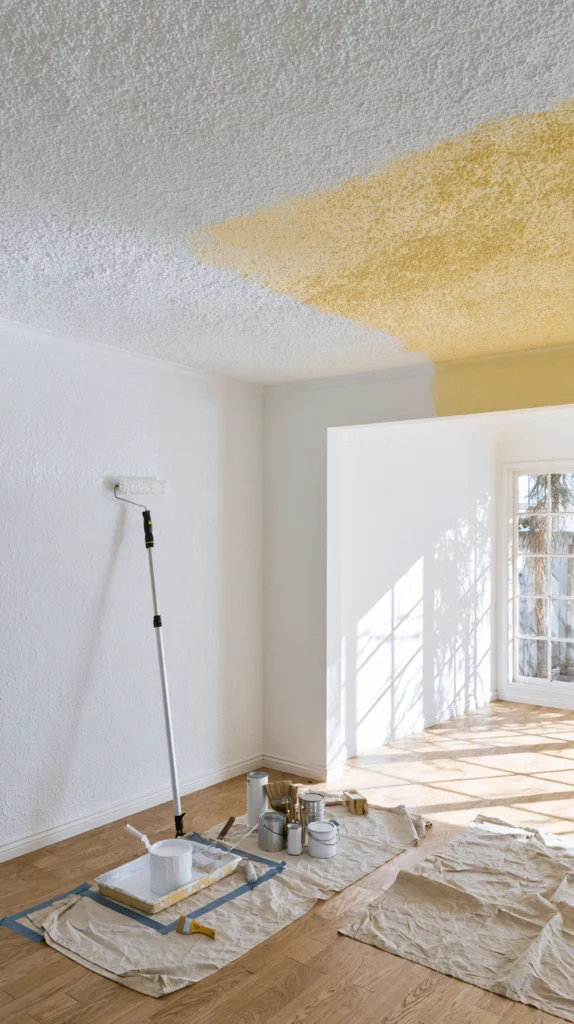
Painting is the fastest and least expensive option, and it’s the right choice for anyone who wants to improve the ceiling’s appearance without a multi-day project — but it comes with real limitations worth understanding upfront.
What Painting Can and Can’t Fix
Paint changes color and can slightly soften the visual harshness of popcorn texture, especially when switching from a yellowed, decades-old white to a fresh matte white or a soft off-white. What paint cannot do is smooth the texture or make it look like a flat ceiling — the bumps remain exactly as pronounced as before, just in a new color. For homeowners whose primary complaint is a stained, dingy, or discolored ceiling rather than the texture itself, painting alone often solves the actual problem.
Materials Needed
- Stain-blocking primer, if covering water stains or smoke damage ($30–$40 per gallon)
- Ceiling paint in flat or matte sheen ($30–$50 per gallon)
- 3/4-inch or 1-inch nap roller cover, for texture coverage ($6–$10 each)
- Extension pole for roller ($15–$25)
- Angled sash brush for edges and corners ($8–$12)
- Painter’s tape and plastic sheeting for walls and floors ($20–$30 combined)
Step-by-Step Painting Process
Step 1: Clean the ceiling. Popcorn texture collects dust more than a flat ceiling does, and painting over dusty texture leads to visible flat spots and poor adhesion. Use a vacuum with a soft brush attachment or a dry microfiber ceiling duster to remove loose dust across the full surface before doing anything else.
Step 2: Address stains. Water stains, smoke discoloration, or nicotine yellowing will bleed through standard ceiling paint if not sealed first. Spot-prime any stained areas with a stain-blocking primer and let dry fully, typically 1–2 hours, before proceeding.
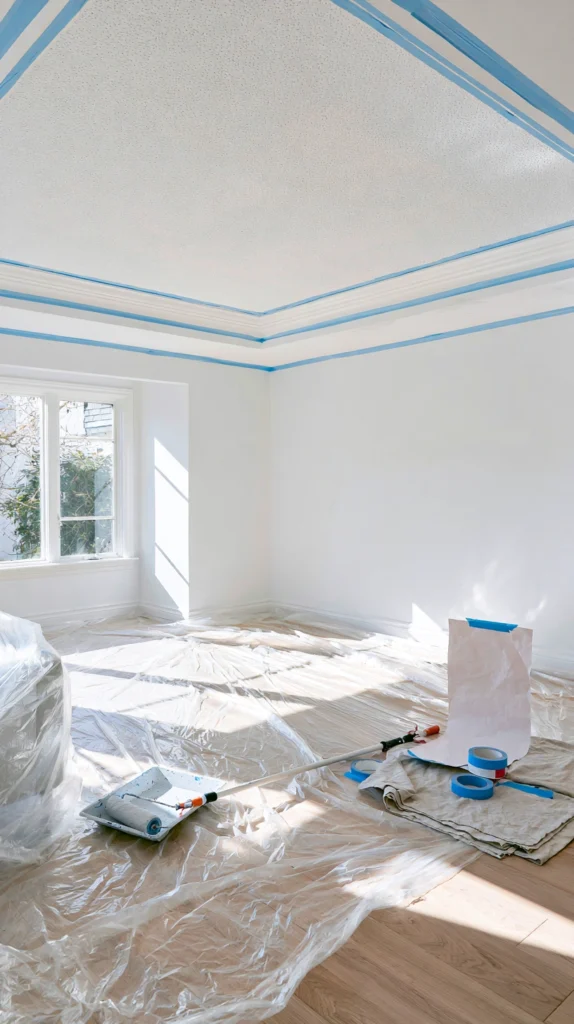
Step 3: Protect the room. Tape off wall edges where they meet the ceiling, and cover flooring and furniture with plastic sheeting, since a heavily textured ceiling sheds more paint spatter during rolling than a flat one.
Step 4: Cut in the edges. Using the angled sash brush, paint a 2–3 inch border around the ceiling’s perimeter and around any fixtures before rolling, so the roller work can move quickly without needing to stop and cut in later.
Step 5: Roll with a thick nap. A 3/4-inch or 1-inch nap roller cover is essential — a standard 3/8-inch nap used for walls won’t reach into the texture’s crevices and leaves the recessed areas unpainted, which becomes obvious once the ceiling is viewed at an angle under lighting. Roll in overlapping sections, working in one direction to maintain a consistent texture pattern in the paint application itself.
Step 6: Apply a second coat. Popcorn texture is porous and typically absorbs more paint than a flat surface, meaning a single coat often looks patchy once dry. Let the first coat dry fully — usually 2–4 hours depending on humidity — before applying a second full coat.
Step 7: Check under raking light. Once dry, check the ceiling with a flashlight held at a low angle across the surface. This raking light reveals any missed spots in the texture crevices that are invisible under normal overhead lighting.
Cost and Timeline
For a 144-square-foot ceiling, expect $60–$100 in materials and 4–6 hours of hands-on work spread across two coats with dry time in between — easily a single-day project. This makes painting roughly one-third to one-half the cost of the cheapest removal or covering option, which is why it remains the most common first step for homeowners not ready to commit to a bigger renovation.
A Note on Encapsulating Paint for Asbestos Ceilings
For ceilings that tested positive for asbestos, a specific category of encapsulating ceiling paint is designed to seal texture fibers in place without disturbing them. These products cost more than standard ceiling paint, typically $50–$70 per gallon, and are applied in a thicker coat than normal painting technique calls for. This approach doesn’t remove the health consideration entirely — the material is still present — but it does significantly reduce the risk of fiber release compared to leaving the ceiling untouched and undisturbed by daily wear.
Comparing the Three Methods
| Factor | Removal | Covering | Painting |
| Cost (144 sq ft, DIY) | $80–$150 + tools | $180–$900 depending on method | $60–$100 |
| Time | 1–2 full days | 1–2 days | 1 day |
| Skill level | Moderate to high | Moderate to high | Beginner-friendly |
| Asbestos-safe | No, unless tested clear | Yes (undisturbed) | Yes, with encapsulating paint |
| Result | Flat, modern ceiling | Flat or textured, depending on method | Same texture, new color |
Common Mistakes to Avoid
Skipping the test patch. Jumping straight into full-ceiling scraping without testing a small section first is the single most common cause of a botched removal.
Oversaturating with water. Heavily soaked texture can saturate through to the drywall paper, causing it to swell or tear away in sheets rather than scraping cleanly. A light, even mist works better than a heavy soak.
Ignoring ceiling fixtures and vents. Recessed lighting, smoke detectors, and HVAC vents all need to be covered before spraying water anywhere near them.
Painting over unclean texture. Dust trapped in popcorn texture prevents paint from adhering evenly, leading to flat, dull patches once dry.
Using the wrong roller nap. A roller cover meant for smooth walls cannot reach into the recesses of heavy texture, which is the most common reason a “finished” ceiling still shows the old color in raking light.
Underestimating drying time between coats. Rushing a second coat before the first has cured traps moisture, leading to peeling or an uneven final texture.
Frequently Asked Questions
Can I remove popcorn texture from a plaster ceiling instead of drywall? Yes, with more caution. Plaster ceilings, common in homes built before the 1950s, hold up to wet-scraping reasonably well, but the plaster is more prone to cracking under pressure than drywall’s paper-faced gypsum core. Working in smaller sections with lighter scraping pressure reduces the risk of cracking through to the lath beneath.
Do I need to remove popcorn texture from the whole house, or can I do one room at a time? Room by room is completely reasonable. Starting with the most-used rooms — a living room or primary bedroom — delivers the most day-to-day impact before moving on to secondary spaces.
Will removing popcorn texture increase my home’s resale value? Agents commonly cite popcorn ceilings as a factor that makes a home feel dated, particularly in markets where comparable listings already have flat ceilings. It’s difficult to attach an exact dollar figure, but removal is generally considered a value-neutral-to-positive renovation.
How long does the smell from ceiling paint or joint compound last? Standard latex ceiling paint off-gases noticeably for 24–48 hours, fading substantially after that as it cures over the following one to two weeks. Joint compound has a milder smell that clears within a day or two once fully dry.
Is it worth renting a drywall lift for a single room? For a full overlay covering more than roughly 100 square feet, yes — a rented lift ($40–$60 per day) saves time and reduces the risk of dropping or cracking a panel while holding it in place solo. For smaller patch work, a helper and a couple of T-braces built from scrap lumber can substitute for the rental.
A Question Before You Start
Before choosing a method, ask: is the actual problem the texture itself, or is it the color and condition of the ceiling? Homeowners chasing a genuinely modern, flat ceiling need removal or a drywall overlay — painting won’t get them there. But homeowners whose real complaint is a yellowed, dingy ceiling often find that a fresh coat of paint solves 80% of the frustration for a fraction of the cost and effort.
Getting Started This Weekend
Start with the asbestos test if the home predates 1990 — it’s inexpensive, fast, and removes the biggest variable in the entire decision. While waiting on results, take ceiling measurements for the room in question and price out materials for both a removal project and a painting project, so the moment results come back, there’s already a clear next step instead of another week of research.