13 Summer Backyard Zoning Ideas for Better Layout
13 Summer Backyard Zoning Ideas for Better Layout
There is a reason some backyards feel genuinely liveable and others feel like outdoor storage with aspirations. It is not the quality of the planting or the furniture or the paving materials. It is structure — or the absence of it. A backyard without zones is a backyard where the dining table is placed wherever it fits, the children’s equipment occupies whatever space is left, and the seating area that was supposed to be a relaxing retreat is three metres from the lawn mower and directly in the path of anyone walking from the back door to the shed.
Zoning is the practice of dividing the backyard into defined areas, each with a specific purpose, arranged in a logical relationship to each other and to the house. It is what a landscape architect does on day one of any garden project and what most homeowners never quite do — not because it is complicated but because it requires thinking about the garden as a whole before addressing any of its parts. The backyard planned in zones first, then furnished and planted within those zones, always produces a better result than the backyard to which elements are added one at a time without reference to the larger plan.
Each idea below defines a specific zone and explains how to create it. Each includes what you will need, what it will cost, and a practical tip to make the zone work well within the larger backyard layout.
1. The Outdoor Dining Zone
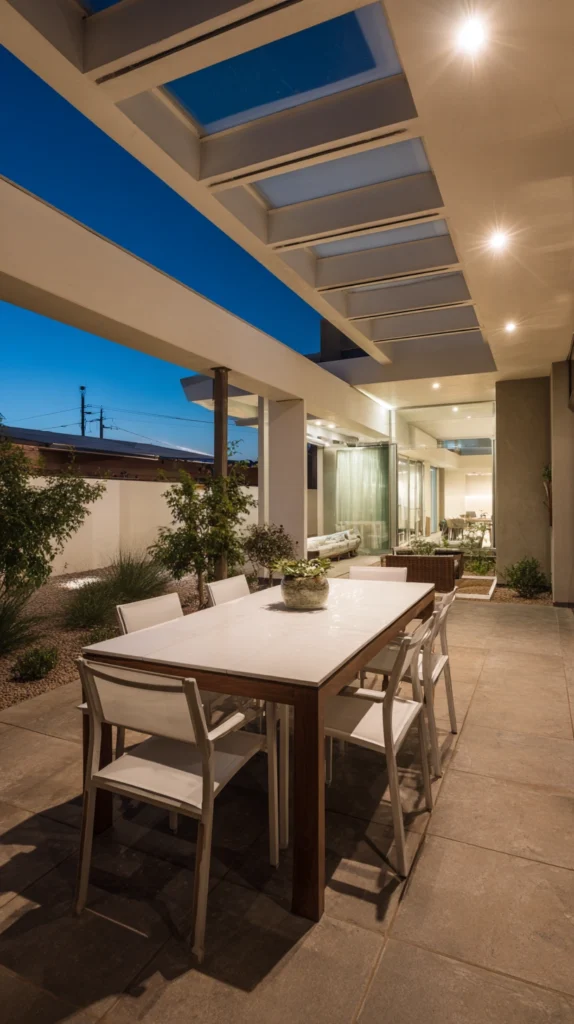
Budget: $100 – $600
The dining zone is the zone most directly connected to the house — positioned closest to the kitchen door so that the distance between cooking and serving is as short as possible — and the one most consistently placed incorrectly. The dining zone needs to be far enough from the kitchen door to feel like a destination rather than an overflow, but close enough to the kitchen to function as a genuine extension of it. Three to four metres from the kitchen door is usually the right distance.
An outdoor dining table for six costs $150–$500. A hard surface underfoot — paving, decking, or compacted gravel — costs $80–$400 for a standard dining area. The dining zone boundary is defined by the surface material, by lighting overhead, and by planting on at least two sides to give the space a sense of enclosure that an open lawn position lacks. The zone needs a light source that is warm and directional rather than flat — a pendant from a pergola beam or festoon lights overhead — so the evening dining experience is genuinely pleasant rather than adequately lit.
Style tip: Position the dining zone so the seated guest’s primary view is toward the garden rather than toward the house. Guests facing the garden feel they are in the garden; guests facing the kitchen wall feel they are eating outside the kitchen, which is a different and considerably less pleasant experience. The orientation of the dining table within the zone is a hospitality decision as well as a design one.
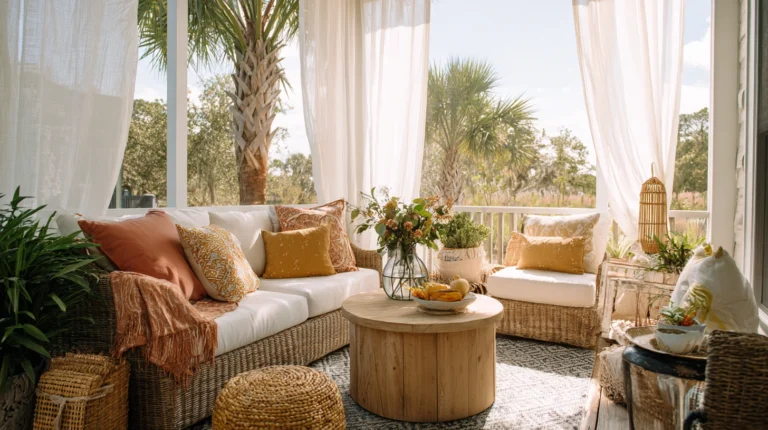
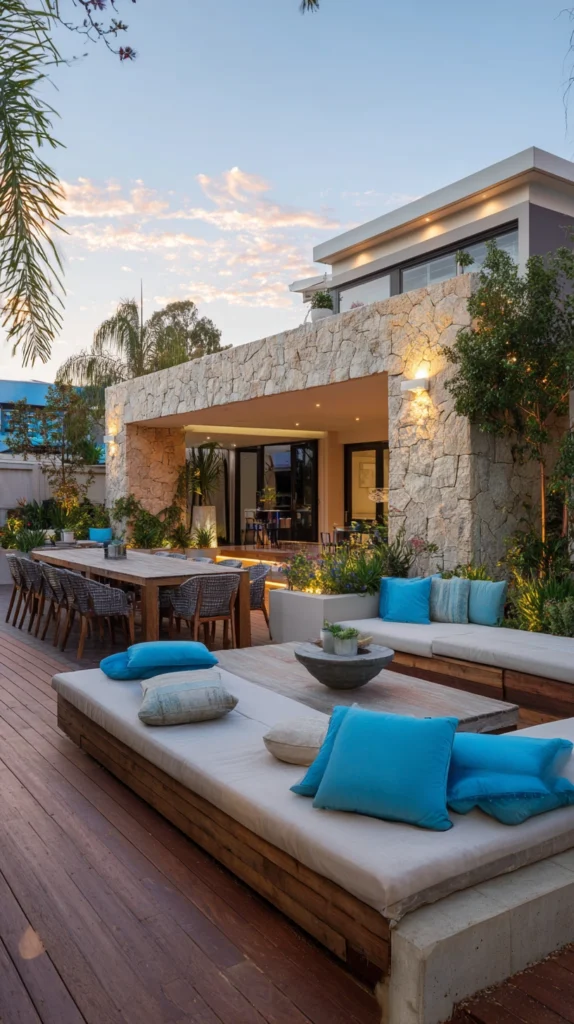
2. The Relaxation and Lounging Zone
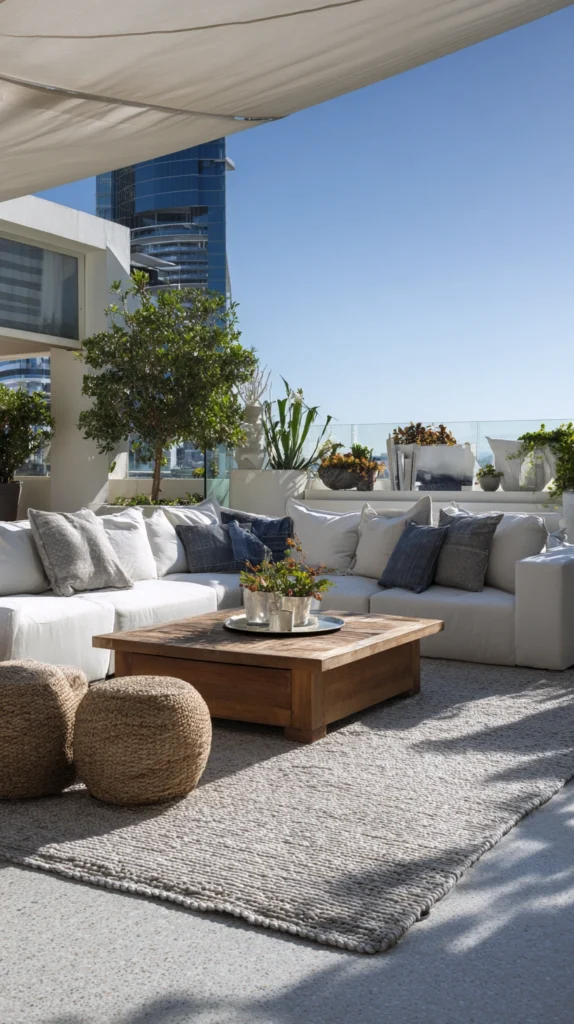
Budget: $150 – $800
The lounging zone is the zone furthest from the house — or at minimum the zone most separated from the functional areas of cooking, dining, and play — where the primary activity is doing nothing of consequence. It needs the best shade, the most comfortable seating, the most considered lighting for the evening, and the highest level of privacy from neighbouring properties. It is the zone that earns the most use on a good summer afternoon and receives the least attention in most backyard layouts.
An outdoor sofa or daybed costs $150–$600. An outdoor rug defining the zone boundary costs $40–$120. A shade structure of some kind — umbrella, sail, pergola, or planted overhead — costs $50–$500. The lounging zone boundary is defined by the rug, the change in floor surface, or the surrounding planting — ideally all three — so that entering it feels like entering a different area rather than simply sitting down somewhere in the garden.
Style tip: Separate the lounging zone from the dining zone by at least three metres of garden — path, planting, or open lawn — rather than placing them side by side with only a change of furniture to distinguish them. Adjacent zones of different purpose work against each other: the dining zone creates movement, noise, and the logistics of meal service; the lounging zone requires stillness, quiet, and the sense of having left the practical parts of the garden behind. The distance between them is the design detail that makes both zones function better.
3. The Children’s Activity Zone
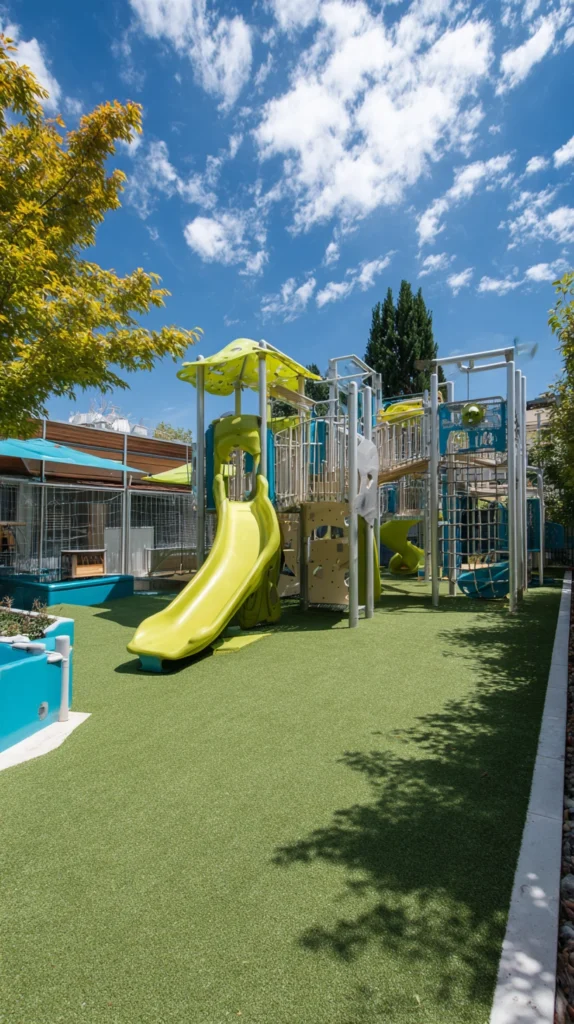
Budget: $80 – $500
The children’s activity zone needs three things that no other zone requires: direct visibility from the kitchen or the primary adult seating area, a surface material that tolerates rough play and does not produce injury when fallen on, and a defined boundary that children understand as theirs. The visibility requirement often determines the location — the children’s zone should be within sightline of the adult zones rather than tucked behind a screen where it cannot be seen.
Artificial grass or rubber play matting costs $8–$25 per square metre. A sand pit with a cover runs $40–$150. A climbing frame starts at $150–$500. A low fence or a planted hedge to define the boundary without blocking the sightline costs $30–$100. The children’s zone that is genuinely their space — that has been designed for their use with the same seriousness that the adult zones receive — is used more consistently and more imaginatively than the space where children’s equipment has been placed in whatever corner was left after the adult areas were arranged.
Style tip: Include a storage box within the children’s zone for the equipment and the toys that belong there — a weatherproof bin or a timber chest — so the tidying of the children’s area happens within the zone rather than requiring equipment to be carried to the shed at the end of each day. A zone with its own storage is self-managing in a way that a zone without storage never is.
4. The Kitchen Garden Zone
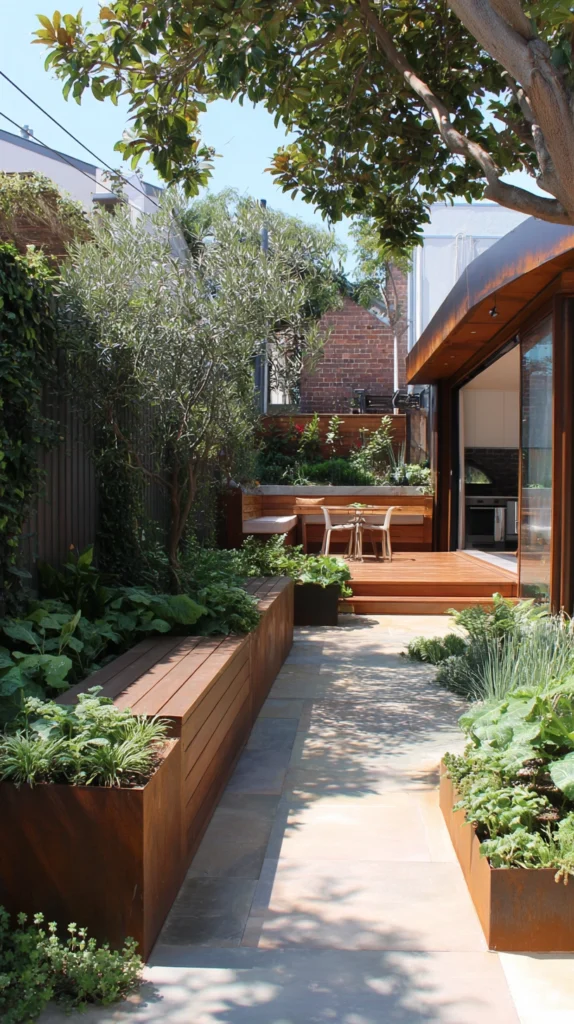
Budget: $60 – $300
The kitchen garden zone — raised beds, herb planters, fruit trees in pots, or a combination — belongs adjacent to but distinct from the outdoor dining and cooking area, close enough that herbs and salad leaves are within arm’s reach of food preparation and far enough from the aesthetic zones that its functional appearance does not conflict with the lounging and dining areas that were designed for pleasure.
Raised beds in timber or galvanised steel cost $40–$150 each. A herb planter rail beside the kitchen door costs $25–$60. The kitchen garden zone is the most productive zone in the backyard and the one that most directly connects the outdoor space to the life of the house — a household that uses its kitchen garden regularly has an outdoor zone that earns its maintenance in the most literal way possible.
Style tip: Position the kitchen garden zone on the most sun-facing boundary of the backyard rather than in the position that is most convenient to the house. A kitchen garden in the right light conditions produces reliably; one in inadequate light produces disappointingly regardless of how convenient its position. Walk the backyard at midday on a sunny day and mark where the sun falls — the kitchen garden belongs in the brightest area, wherever that is in relation to the house.
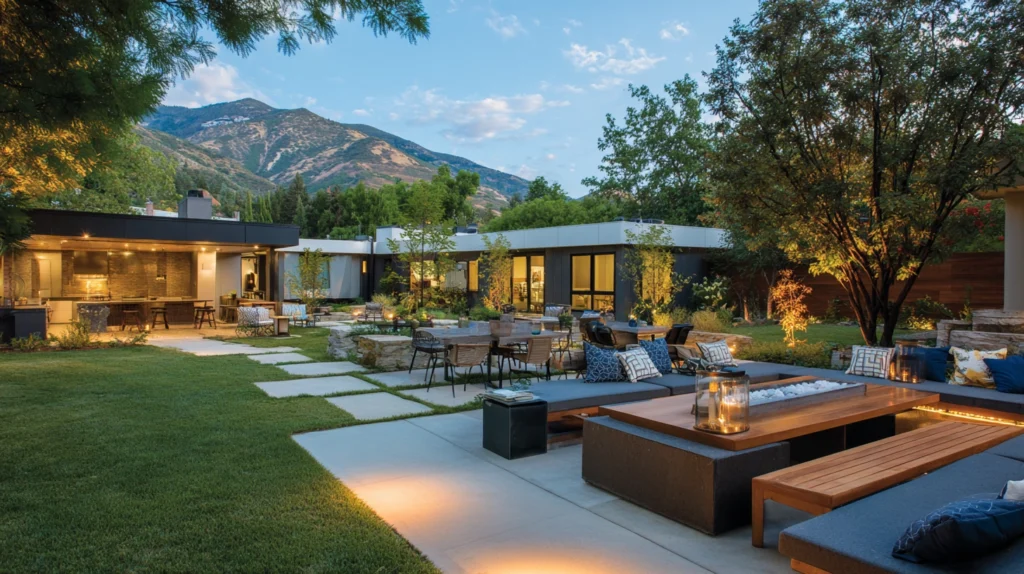
5. The Fire and Evening Gathering Zone
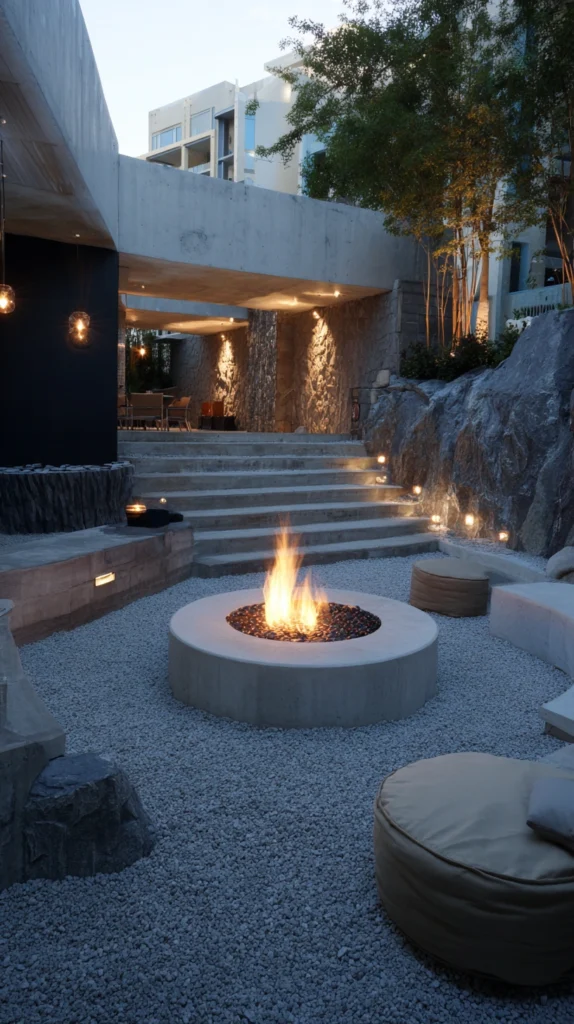
Budget: $80 – $400
The fire zone — a fire pit, a fire bowl, or a chiminea with seating arranged around it — is a zone defined by the fire rather than by any surface or structure. Its location matters more than its furnishing: the fire zone should be at the far end of the backyard, away from the house and away from overhanging trees or structures, in a position where the smoke rises into the open sky rather than into a neighbour’s garden or back through the kitchen window.
A portable steel fire pit costs $40–$150. Log seat rounds cost $3–$8 each from a timber yard. A gravel pad beneath the fire pit costs $20–$50. Three to four metres of clearance from any structure or overhanging vegetation is the minimum safe distance for an open fire in a domestic backyard. The fire zone seating arrangement — seats in a loose arc around the fire rather than in a formal circle — determines whether the zone is genuinely social or merely functional.
Style tip: Create a path from the primary dining or lounging zone to the fire zone so that moving between the two is a deliberate journey rather than a walk across the lawn. A path between zones connects them into a sequence — dinner in the dining zone, fire in the evening zone — and the sequence is what gives the backyard a narrative and a reason to move through it rather than simply sitting in one area.
6. The Utility and Storage Zone
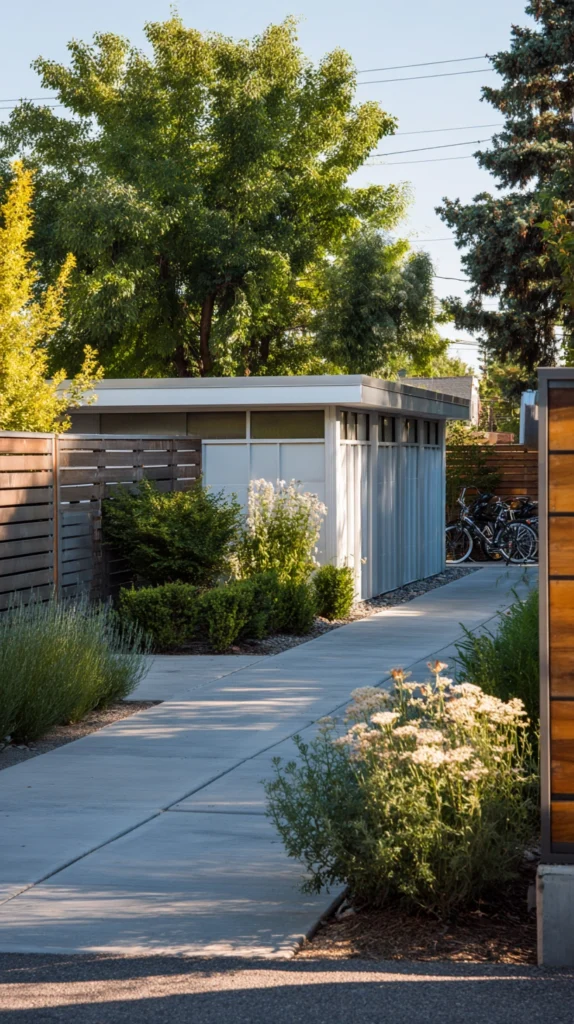
Budget: $50 – $300
The utility zone — the compost bin, the garden shed, the log store, the hose connection, the recycling — belongs at the far end of the backyard and behind some form of visual screen so that the functional infrastructure of the garden is accessible without being the view from the primary seating area. Most backyards accommodate utility and leisure in the same visual space, which is the planning failure that makes a backyard feel unresolved regardless of how well any individual element within it has been addressed.
A simple trellis screen with planting to soften it costs $30–$80. A timber fence section to conceal the shed costs $40–$120. A gate that closes the utility zone off from the rest of the garden costs $50–$150. The utility zone screen does not need to be opaque — a trellis planted with a climber that allows glimpsed rather than clear visibility of what is behind it achieves the visual separation that the zone needs without requiring a solid structure.
Style tip: Install a hook rail or a simple outdoor storage cabinet in the utility zone for the tools used most frequently — the hand trowel, the secateurs, the gloves — so that daily gardening tasks do not require entering the shed. A hook rail beside the compost bin means the tools needed for composting and light gardening are in the zone where they are used rather than in the shed at the far end of the property, which is the difference between a tool that is used and a tool that is retrieved.
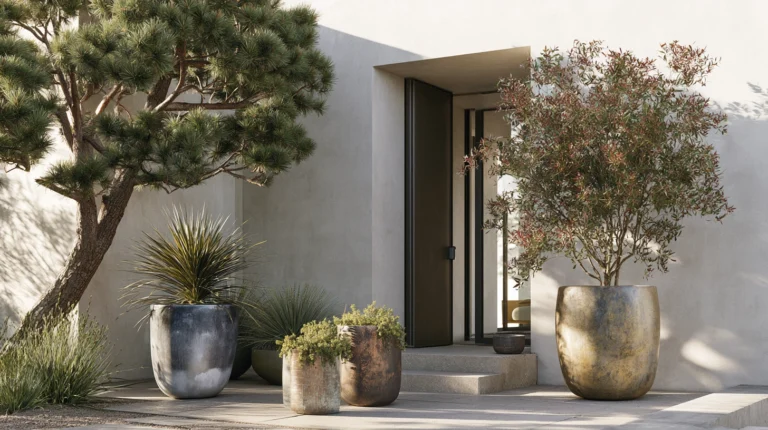
7. The Transition Zone
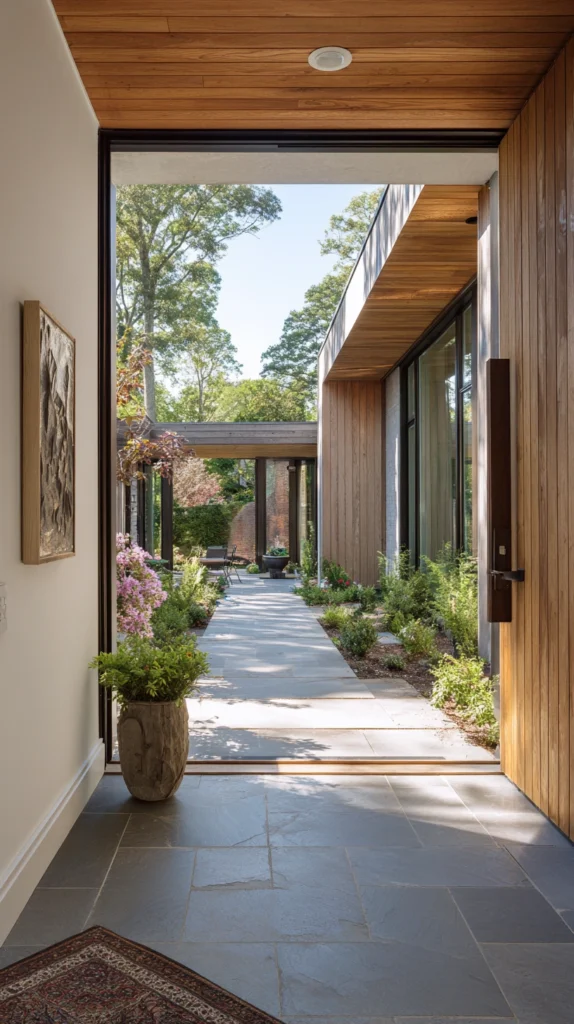
Budget: $30 – $150
The transition zone is the space between the house and the first garden zone — typically a terrace, a step, or a short path — that serves as the decompression point between the indoor and outdoor environments. In most backyards it is not acknowledged as a zone at all, which is why the step from the kitchen door leads directly into a patio with no visual or physical preparation for the change of environment.
A pot on each side of the back door ($20–$50 each) creates the first definition of the transition. A change in flooring material between the internal floor and the first outdoor surface communicates the transition through texture rather than just through the door itself. An overhead element — a small canopy, a timber trellis, a pair of espaliered trees framing the door — creates the framing that makes the transition feel like a threshold rather than an exit.
Style tip: Keep the transition zone uncluttered — this is not the zone for furniture or decorative planting. Its purpose is to prepare the person moving through it for the garden that follows, and it does that best when it is clear, well-maintained, and proportional. A cluttered transition — recycling bins beside the back door, garden tools propped against the house wall, shoes on the step — is the transition that makes the garden feel like an extension of the domestic interior rather than a departure from it.
8. The Wildlife and Biodiversity Zone
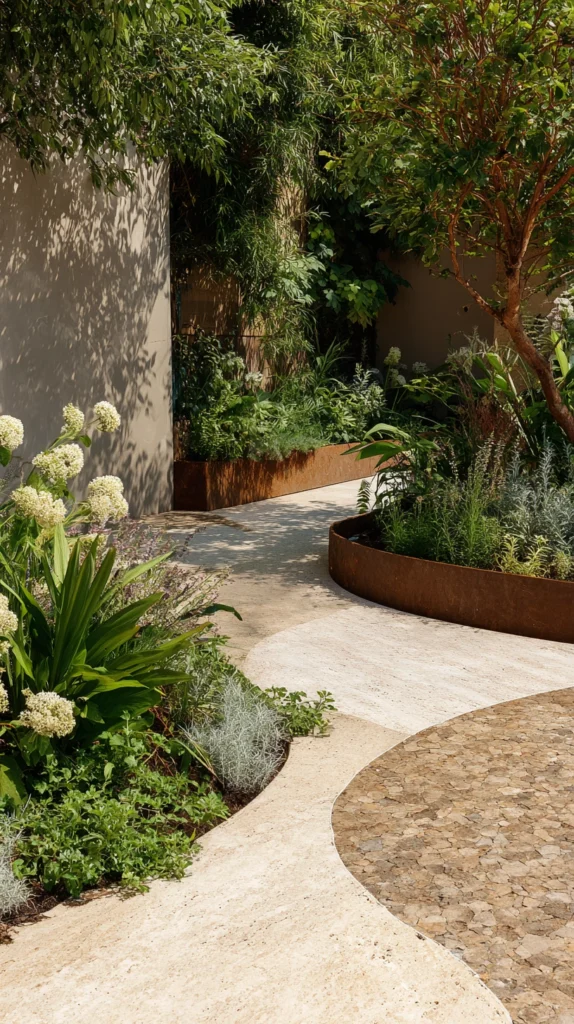
Budget: $20 – $150
A zone of the backyard designated for wildlife — a wildflower patch, a pond, a log pile, an unmown corner, a native hedgerow section — contributes to the biodiversity of the garden in a way that the maintained zones cannot and creates the particular quality of a corner that is alive and complex in its own right. The wildlife zone is the zone that requires the least maintenance and produces the most consistent ecological return.
Wildflower seed mix costs $5–$15 per packet for enough to sow a 3 by 2 metre area. A small pre-formed wildlife pond costs $30–$80. Log rounds stacked in a corner cost nothing. The wildlife zone does not need to be large — a 2 by 2 metre corner planted with wildflowers, containing a water source and a log pile, provides habitat for beneficial insects, birds, and small mammals in the specific corner of the backyard where a maintained lawn would provide none.
Style tip: Define the edge of the wildlife zone with a clear boundary — a mown edge, a low timber border, a row of lavender — rather than allowing it to merge gradually with the surrounding lawn or border. A clearly defined wildlife zone reads as a deliberate design choice; one that fades gradually into the surrounding garden reads as a maintenance area that has been allowed to become wild. The defined edge is what makes the wildness look intentional.
9. The Outdoor Cooking Zone
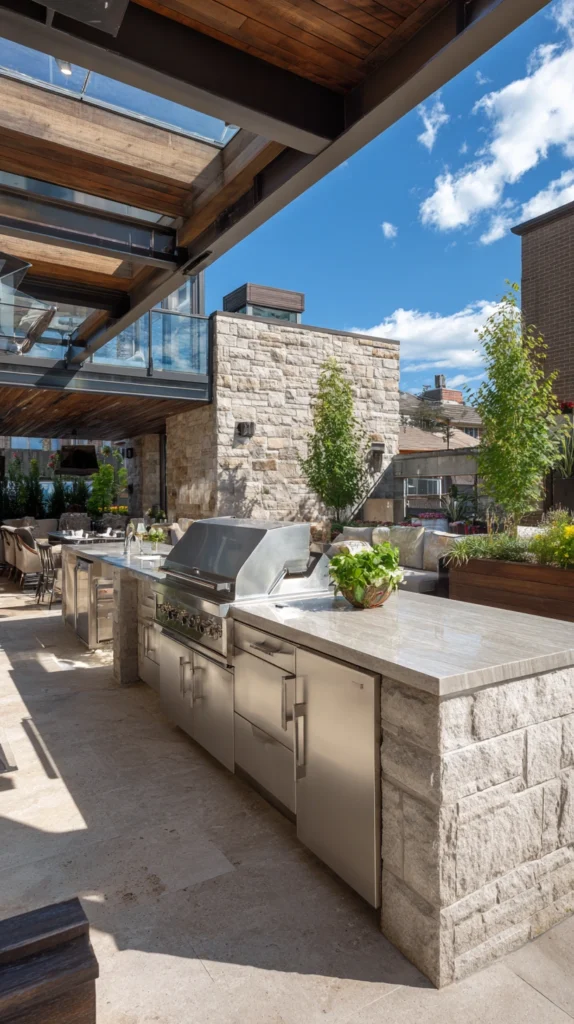
Budget: $100 – $1,000
The outdoor cooking zone is distinct from the dining zone — it is the zone where food is prepared and cooked, with a grill or a pizza oven as its centrepiece, a prep surface, storage for tools and fuel, and a sink or a water connection if the layout allows. The cooking zone should be adjacent to but not within the dining zone — close enough that food moves easily between them, far enough that the heat, smoke, and activity of outdoor cooking do not dominate the dining experience.
A built-in outdoor grill costs $200–$600. A free-standing barbecue with a side table runs $100–$400. A prep counter of cinder block and timber costs $60–$150. A hose connection from the nearest outdoor tap costs $10–$25 in fittings. Position the cooking zone so the cook faces the guest seating rather than away from it — the social quality of outdoor cooking depends entirely on the cook being able to participate in the conversation while managing the grill.
Style tip: Orient the cooking zone so the prevailing wind carries smoke away from both the dining zone and the primary seating zone rather than through them. Smoke driven by wind into the faces of seated guests ends a garden party more quickly and more certainly than rain, and the orientation of the grill relative to the prevailing wind is the single most practical zoning decision in the outdoor cooking area.
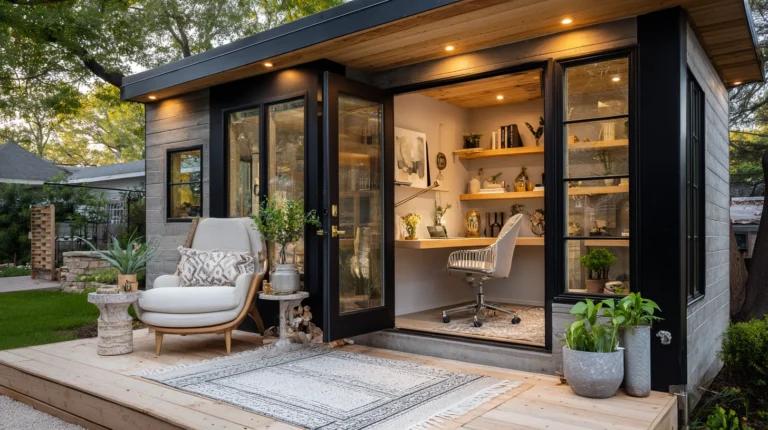
10. The Meditation and Quiet Zone
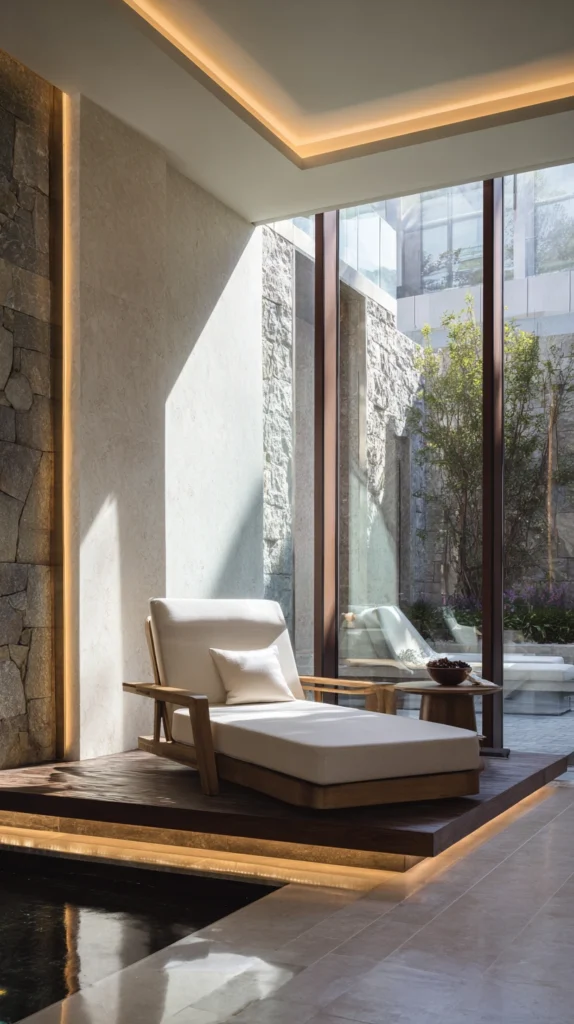
Budget: $30 – $200
A quiet zone — a specific corner of the backyard where the purpose is stillness rather than activity — gives the garden the dimension of retreat that busy outdoor spaces consistently lack. The quiet zone is defined by its separation from the activity zones, by planting that screens it from the rest of the garden, and by the deliberateness with which it contains nothing that requires management or decision.
A single chair or a meditation cushion on a timber platform costs $30–$100. Fragrant planting on three sides — lavender, rosemary, scented-leaf geranium — costs $30–$80. A small water feature for the sound of water costs $30–$80. The quiet zone is the zone that most backyard occupants discover they use more than expected once it exists, because the provision of a specific place for stillness changes the availability of stillness in the garden from theoretical to practical.
Style tip: Face the quiet zone chair toward the most natural and least domestic view the garden offers — the sky, the planting, the distant boundary — rather than toward the house or the other garden zones. A quiet zone that looks outward from the garden creates the quality of perspective that stillness is meant to produce; one that looks back into the busyness of the other zones undermines the purpose of being in it.
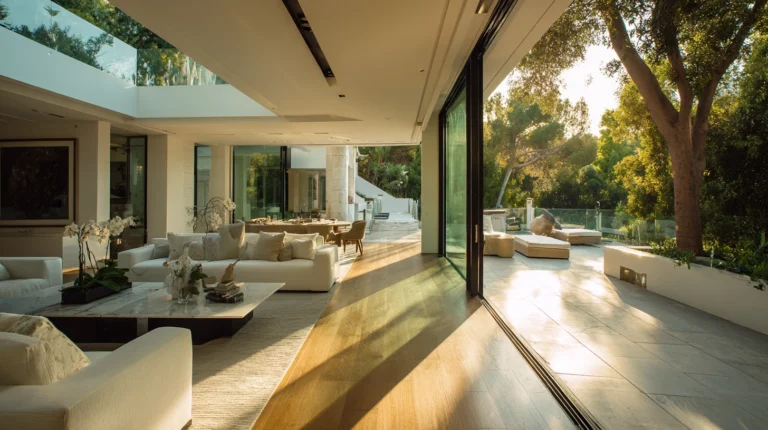
11. The Entertaining Zone
Budget: $150 – $1,000
The entertaining zone is the largest zone in the backyard and the one that needs the most infrastructure — a hard surface of sufficient size for the expected number of guests, lighting that creates atmosphere rather than simply providing visibility, seating that can be supplemented for larger gatherings, and a drinks station that does not require the host to go inside. It is the zone that defines how the backyard functions as a social space and the one that most repays investment in surfaces, lighting, and flexibility.
A hard surface large enough for twelve to fifteen people costs $200–$600 in paving or decking materials. Festoon lights overhead run $20–$60. A bar cart or outdoor bar counter costs $60–$200. Foldable seating that supplements permanent seating for larger gatherings costs $20–$40 per chair. The entertaining zone is designed for the largest gathering rather than the typical gathering — a zone sized for six people that is regularly used by twelve is the planning failure that makes outdoor entertaining feel constrained rather than generous.
Style tip: Install the outdoor lighting for the entertaining zone before the surface is finalised rather than after. Running a lighting cable along the base of a fence, under a paving edge, or through a pergola post is straightforward before the surface is laid and complicated after. The lighting is infrastructure and infrastructure is always easier to install in the right sequence — before the surfaces that will cover and conceal it are in place.
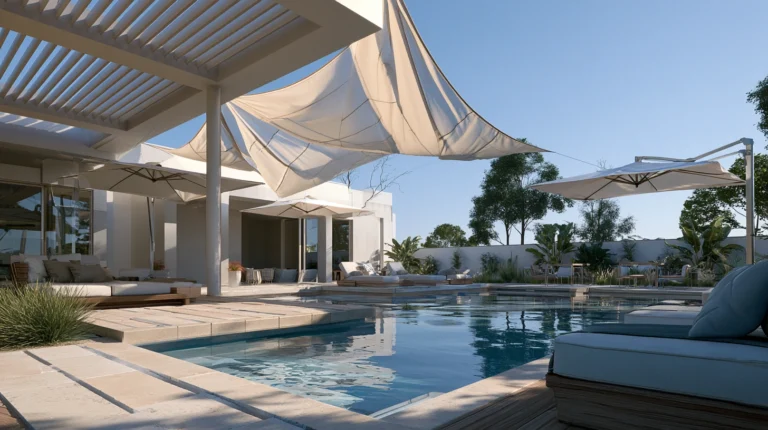
12. The Pool and Bathing Zone
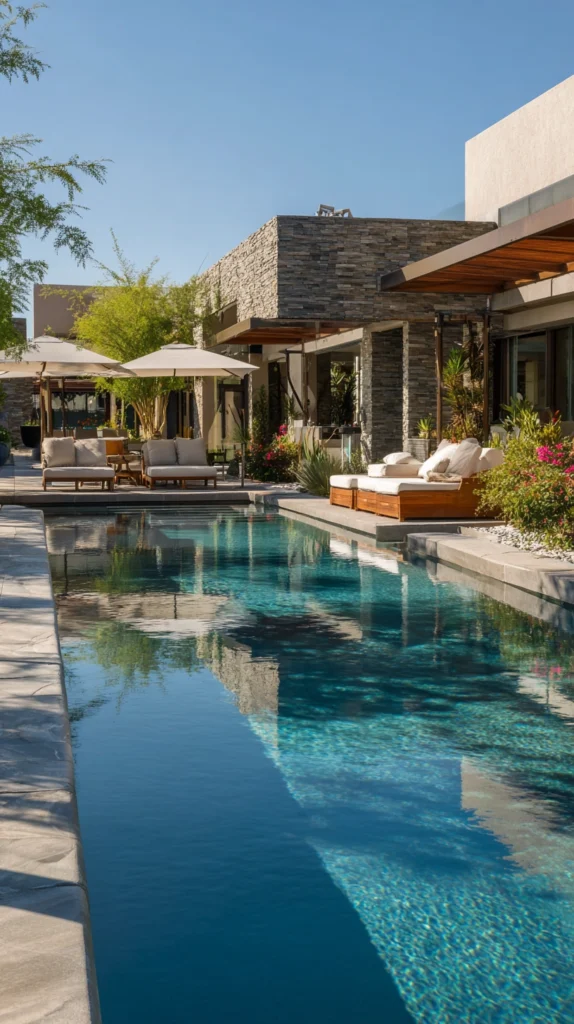
Budget: $200 – $5,000
The pool zone — whether a full in-ground pool, a stock tank, a plunge pool, or a hot tub — needs to be treated as an entirely separate zone from all other backyard zones rather than as a feature within a general outdoor space. The pool zone has specific requirements: a non-slip surface around the water edge, a changing area or at minimum a robe hook and a towel rail, a shade structure for the lounger positions, and adequate separation from the children’s play zone if those two zones overlap.
Pool surround paving costs $3–$10 per tile. A shade sail over the lounger positions runs $50–$200. A towel rail beside the pool costs $30–$80. The pool zone boundary is most effectively defined by a change in floor material — from the general patio paving to a dedicated pool deck surface — and by planting or screening that gives the pool area a sense of being a destination within the larger garden rather than a feature visible from every position in it.
Style tip: Design the pool zone so that the view from the pool — the view seen by a person in the water looking toward the garden — is the best view the garden offers. The person in the pool spends the most time in a horizontal position looking outward, and the quality of that view determines the quality of the pool experience more than any specification of the pool itself. Plant generously on the boundaries visible from the water and position the most interesting garden features within that sightline.
13. The Seasonal Flex Zone
Budget: $30 – $200
A flex zone is a defined area of the backyard that serves different purposes in different seasons — a summer dining extension in July, a bulb-forcing area in autumn, a Christmas tree pot position in December, a spring seedling nursery in March. The flex zone is the backyard’s most adaptable and most underused planning concept: an area that was designed from the beginning to change purpose rather than a fixed zone that has to be reorganised when needs change.
Removable surface materials — outdoor interlocking tiles, portable decking panels — cost $20–$50 per square metre. A fold-flat furniture set that stores flat when not in use runs $60–$150. A zone of compacted gravel as the base surface costs $30–$80 and accepts any use above it without preparation. The flex zone works because it was designed to be empty when not in use — it has a defined boundary and a stable surface, but no permanent furniture or planting that would resist the change of use.
Style tip: Mark the boundaries of the flex zone on a simple garden plan at the beginning of each season and note its designated use for the coming months. A flex zone without a plan becomes the zone where things are stored when they have no other place — the default accumulation area rather than the flexible purpose area it was designed to be. The plan does not need to be elaborate: a simple sketch with the zone’s seasonal purpose written beside it is sufficient to keep the flex zone flexible.
The backyard with considered zoning is not a more complicated backyard or a more heavily designed one — it is simply a backyard that was planned in the right order. Zones first, then surfaces, then furniture, then planting, then lighting: the sequence that produces a garden where each area functions well because it was designed with its purpose in mind rather than furnished after the fact with furniture that happened to be available.
Plan the zones on paper before moving anything outside. Walk the backyard at different times of day and mark where the sun falls, where the wind comes from, where the most natural transition between inside and outside occurs. Then design each zone in relation to those realities rather than in relation to what seems convenient from a single vantage point at a single time of day. The zones that work are the zones that were designed for the garden that exists rather than the garden that was imagined.