12 Small Garden Ideas That Maximize Every Inch Beautifully
12 Small Garden Ideas That Maximize Every Inch Beautifully
My garden was barely 10 by 12 feet, and for years I treated that as a limitation rather than a design constraint to actually work with, which meant it stayed half-empty and a little awkward no matter what I planted in it.
A small garden doesn’t need to feel small once you start using vertical space, layered heights, and a few specific planting techniques that work better in a tight footprint than they would in a sprawling yard.
Here’s what actually changed mine, with the measurements and specifics that make these ideas repeatable rather than just vaguely inspirational.
1. Build a Vertical Planting Wall Against a Fence
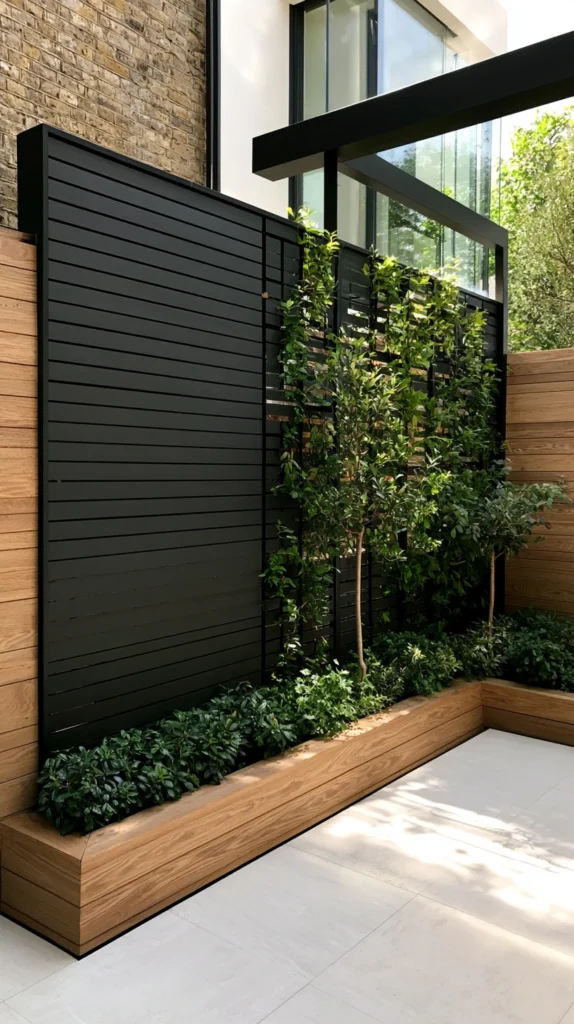
A vertical planter, whether a modular pocket system or simple stacked wood boxes mounted to an existing fence, can hold 15 to 20 plants in a footprint that would otherwise fit only two or three pots on the ground. This single change does more to maximize a small garden’s planting capacity than almost any other idea on this list.
Standard modular wall planter pockets run about 12 inches wide and 9 inches deep, enough room for shallow-rooted plants like lettuce, strawberries, or most herbs, though anything with a deeper root system, tomatoes or peppers, will struggle in that depth.
Budget: $60-120 for a modular vertical planting system covering roughly 4 feet of fence.
Mount the system into the fence’s actual posts rather than just the fence boards themselves, since a fully loaded vertical planter, especially once watered, gets heavy enough to pull thinner fence slats away from their frame over a season.
2. Use Tiered Planting to Create the Illusion of More Depth
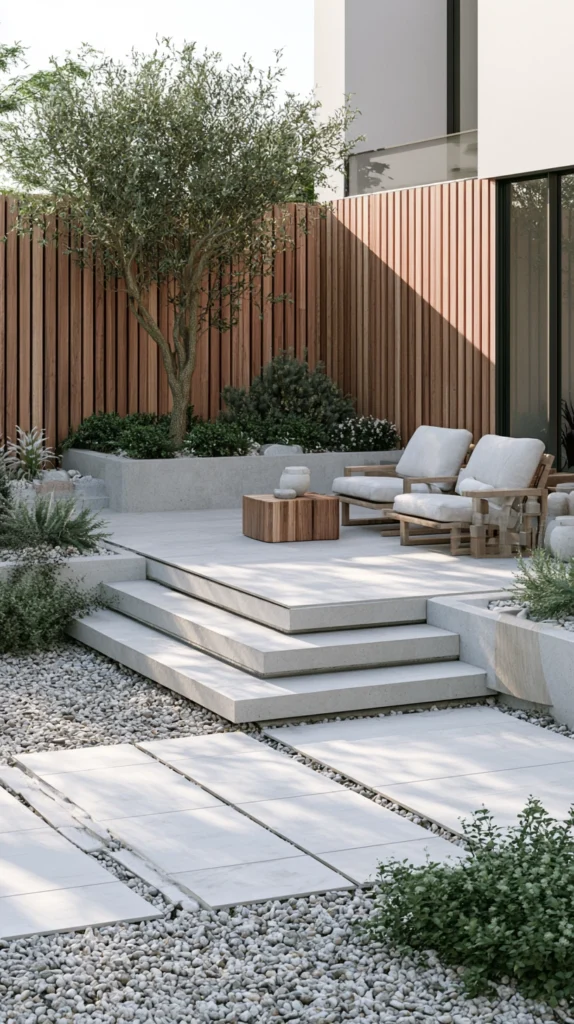
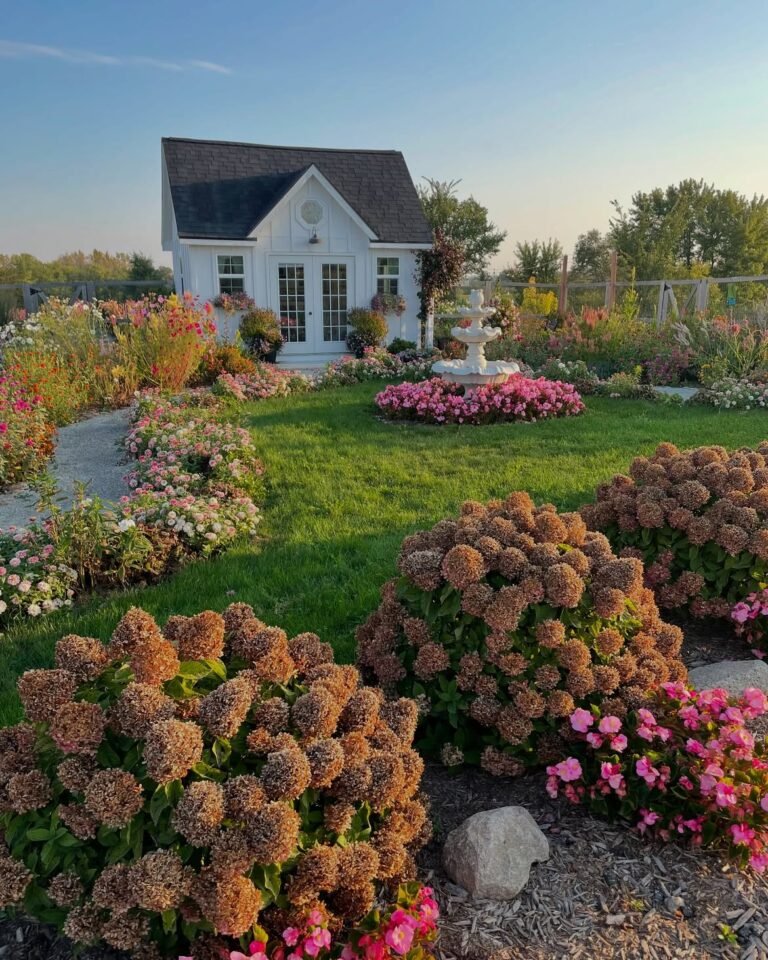
Arranging plants in three height tiers, tall at the back, medium in the middle, low and trailing at the front, makes a shallow bed look considerably deeper than its actual measurements, the same trick used in theater set design.
For a bed only 24 inches deep, this means choosing back-row plants that grow upright rather than spreading, a tall ornamental grass or a trellised vine, with groundcover or trailing varieties like sweet alyssum filling the front 6 to 8 inches.
Budget: variable depending on plant choice, generally no additional cost beyond the plants themselves since this is a layout strategy rather than a product purchase.
Measure your bed’s actual depth before choosing plants and check each variety’s mature spread on the plant tag, since a plant that spreads wider than expected in the back row will crowd out the middle tier within a single growing season.
3. Choose Dwarf or Compact Varieties Bred Specifically for Small Spaces
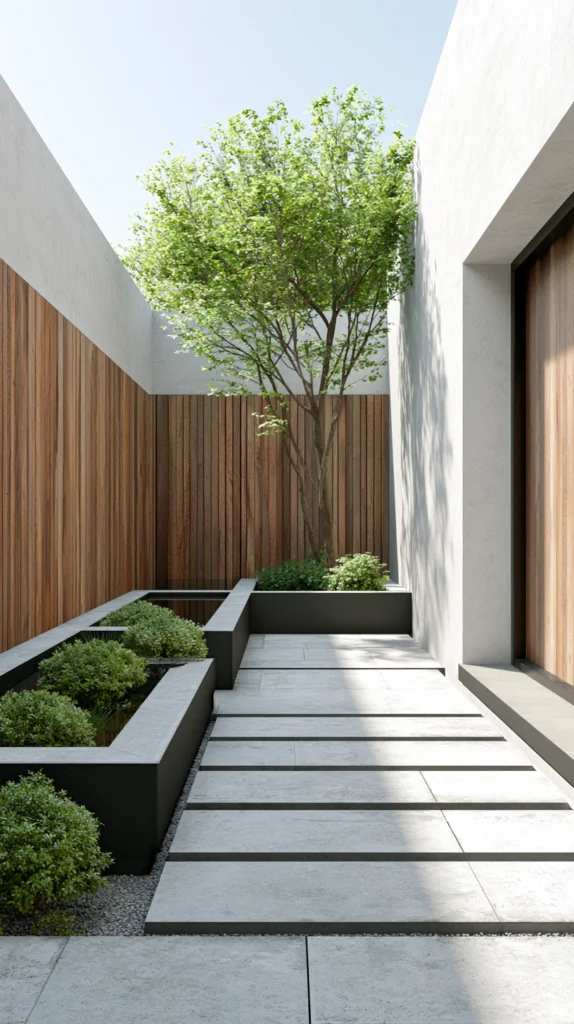
Many popular vegetables and flowers now come in dwarf cultivars bred to reach a fraction of the standard variety’s mature size while still producing a full-sized harvest or bloom. A dwarf tomato variety might max out at 18 inches tall versus 4 to 6 feet for a standard indeterminate type, while still producing a reasonable yield in a much smaller footprint.
Look specifically for words like “patio,” “bush,” “dwarf,” or “compact” on seed packets and plant tags, since these are the industry-standard terms indicating a variety bred for container or small-space growing rather than a full garden bed.
Budget: $3-6 per seed packet or $8-15 per starter plant, generally comparable to standard variety pricing.
Check the mature spread listed on the tag, not just the height, since some compact varieties stay short but still spread wide, which can be the more relevant measurement in a tight bed.
4. Add a Trellis Over a Narrow Side Path
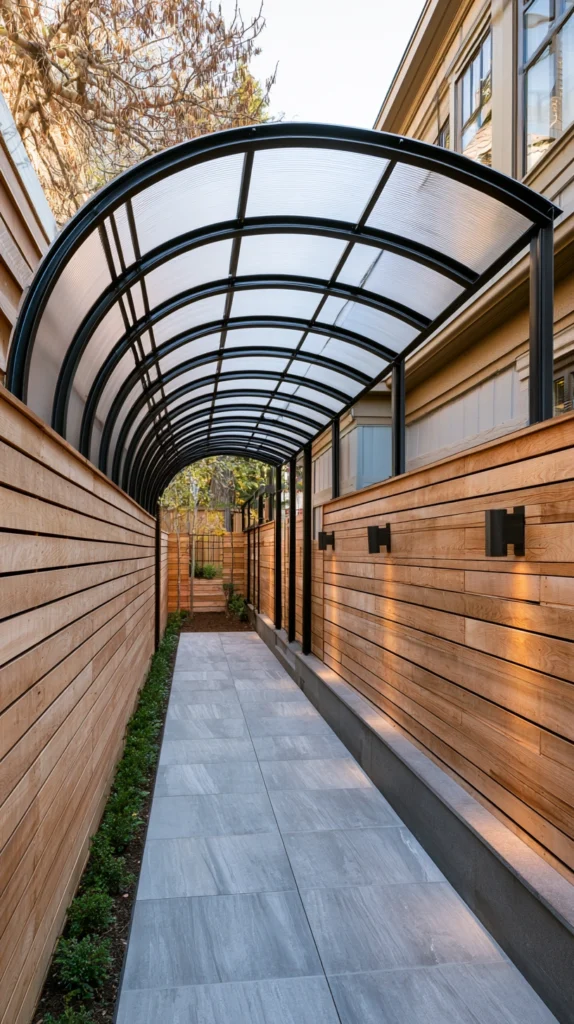
A narrow side yard, often as little as 18 to 24 inches wide, is usually treated as dead space, but a trellis arching overhead turns that same path into a productive growing area for vining plants like cucumbers, pole beans, or a climbing rose, all without taking up any of the path’s actual walking width.
A simple A-frame or arched trellis kit, roughly 6 feet tall, fits most narrow side yards without requiring the vines to compete with foot traffic at ground level.
Budget: $40-80 for a basic A-frame or arched trellis kit sized for a narrow path.
Anchor the trellis legs into the ground at least 8 inches deep on each side, since a narrow path means less soil mass on either side to stabilize a tall structure, and a fully grown, wind-caught vine trellis can topple more easily than people expect.
5. Use Railing Planters to Capture Unused Vertical Edges
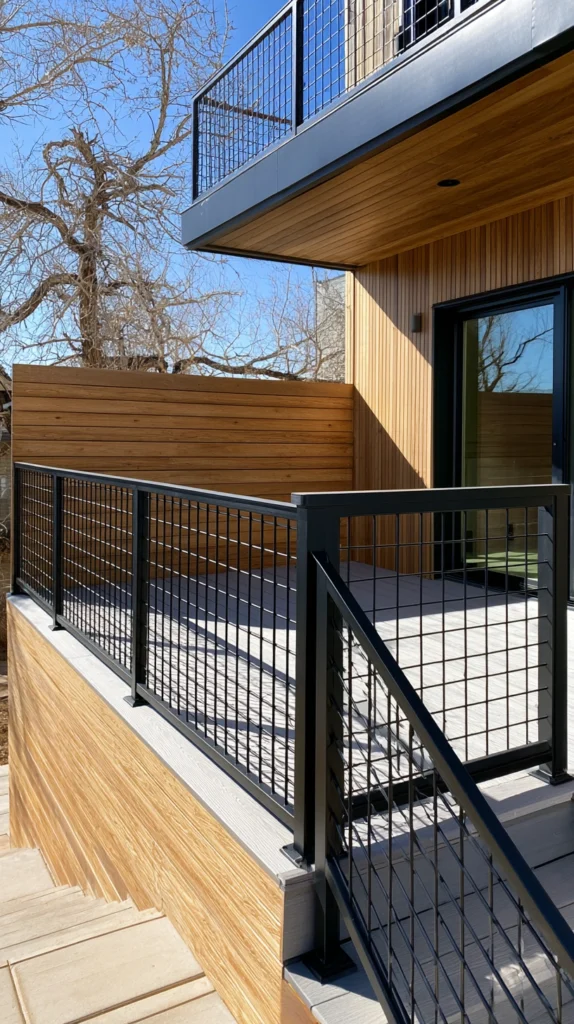
If the garden includes any kind of railing, a raised bed’s edge, a small deck, or a low fence with a flat top rail, hanging planters designed specifically to clip over that edge add growing space that uses zero additional ground footprint at all.
Standard railing planters fit rail widths between about 3.5 and 5.5 inches, so measure your specific rail before buying, since a planter sized for a narrower rail won’t clip securely onto a wider one.
Budget: $15-25 per railing planter, with most railings able to fit a planter every 18 to 24 inches along their length.
Choose a self-watering railing planter specifically if the rail is in full sun, since these shallow planters dry out considerably faster than an in-ground bed and can need watering daily during a hot stretch without a reservoir built in.
6. Plant in Layers Within the Same Container
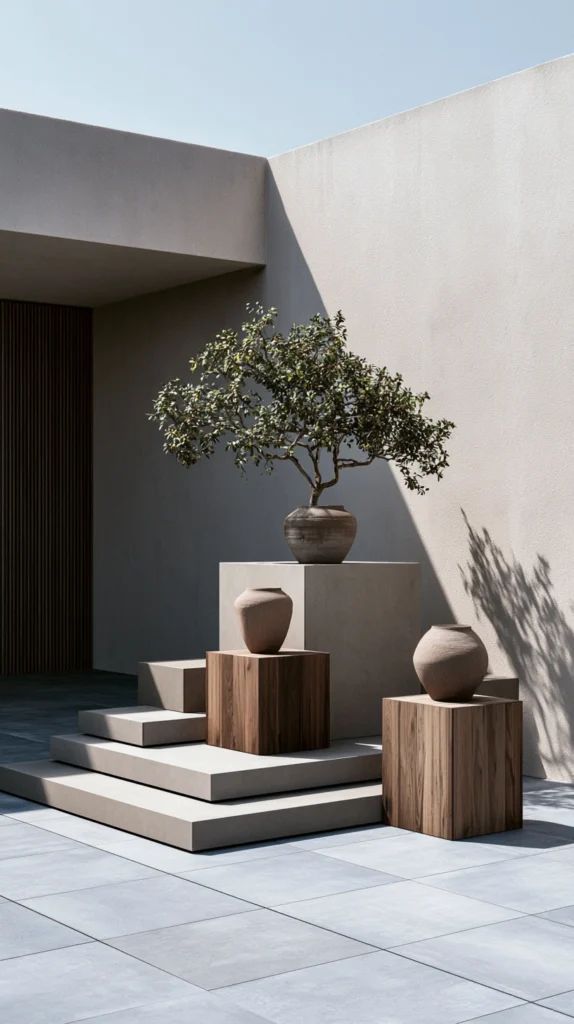
Rather than one plant per pot, layering three plants with different root depths in a single larger container, a tall central plant, a filler plant around it, and a trailing plant at the rim, maximizes what a small garden can hold in containers without needing more pots than you have room for.
This technique, often called “thriller, filler, spiller” in container gardening, works in any pot at least 14 inches in diameter, giving enough root room for all three plants to coexist without competing too aggressively.
Budget: $15-25 per container for the three starter plants, plus $20-40 for a quality 14-to-16-inch pot if not already on hand.
Choose plants with similar water and light needs for any single combined container, since the most common failure with this technique is pairing a drought-tolerant filler with a thirstier thriller plant, which means one or the other ends up over or under-watered.
7. Use Mirrors to Visually Double a Small Garden’s Footprint
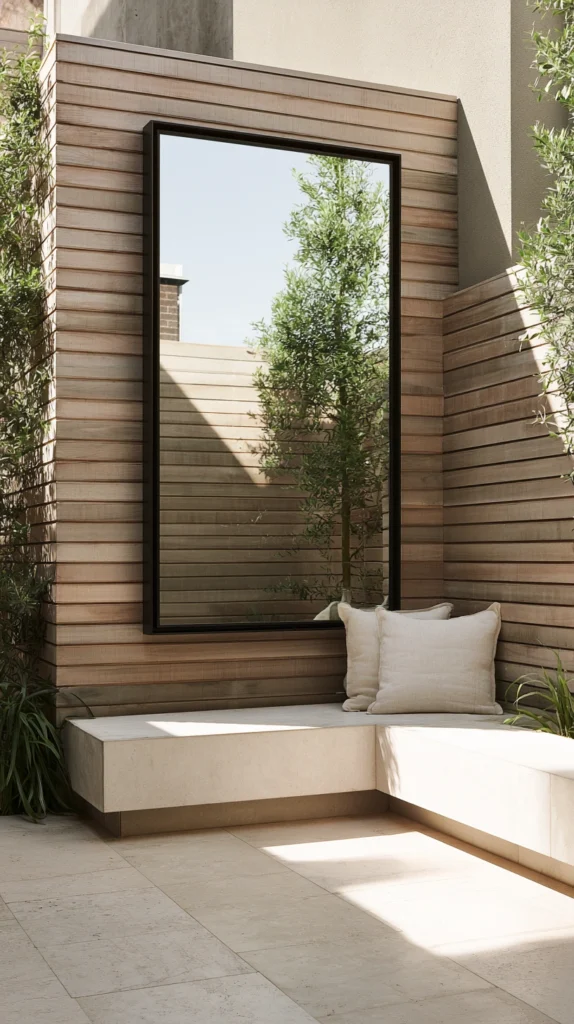
A weatherproof outdoor mirror, mounted on a fence or wall at the garden’s far end, reflects the planting bed back and creates the visual impression of a garden twice its actual size, a technique borrowed directly from small interior room design.
Position the mirror to reflect the most attractive planting area rather than a utility corner or compost bin, and angle it slightly if needed so it reflects greenery rather than just sky.
Budget: $50-100 for a quality weatherproof outdoor mirror, generally in the 24-to-36-inch range for a small garden’s scale.
Choose a mirror specifically rated for outdoor use, with a sealed or acrylic-safe backing, since a standard indoor mirror’s backing will degrade and develop dark spots within one season of direct weather exposure.
8. Build a Raised Bed With a Wide Cap for Seating
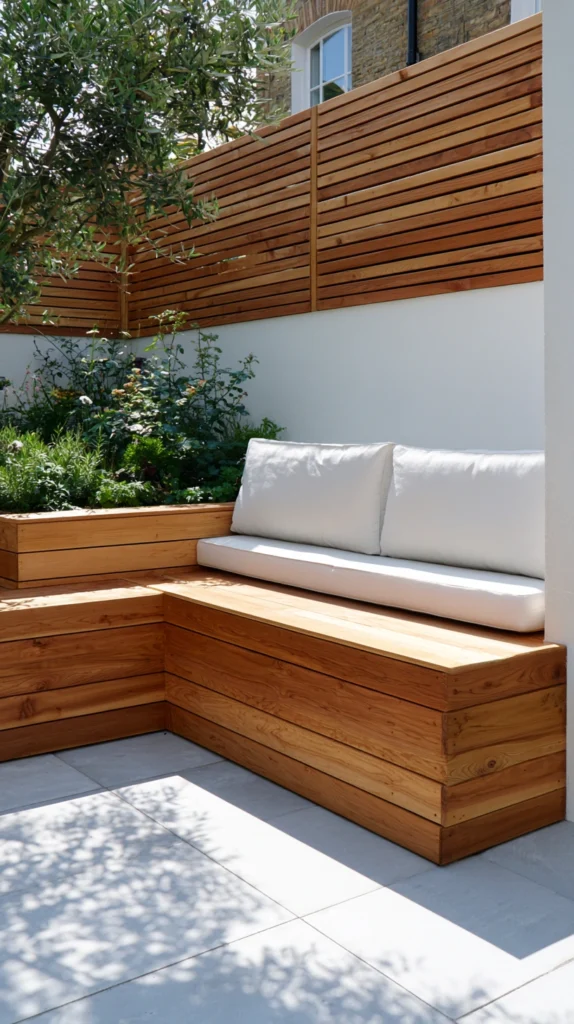
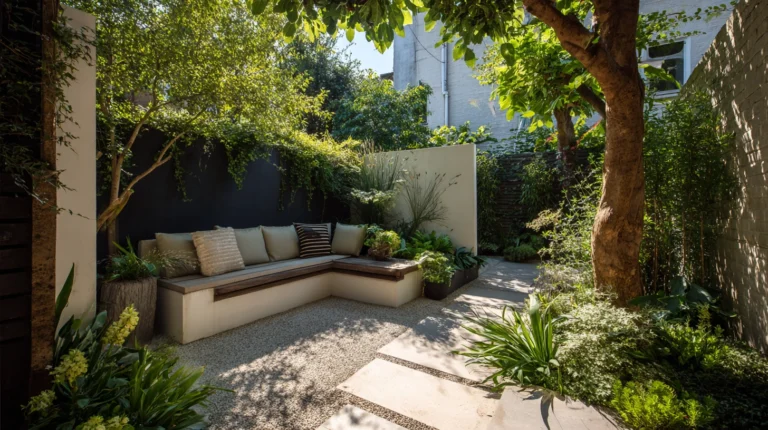
A raised bed framed with a flat board cap, roughly 10 to 12 inches wide along the top edge, doubles as informal seating without requiring any separate bench, which matters considerably in a small garden where every square foot of furniture competes directly with planting space.
Standard raised bed height for comfortable seating runs 16 to 18 inches, slightly taller than the typical 12-inch raised bed built purely for planting depth.
Budget: $150-300 for lumber and basic hardware to build one 4-by-8-foot raised bed with a seating cap, depending on wood choice.
Use a hardwood or pressure-treated cap board specifically for the seating surface, since a softer wood will splinter and wear faster under repeated sitting than it would just holding soil in place.
9. Choose a Single Repeated Color Story to Make the Space Feel Curated, Not Crowded
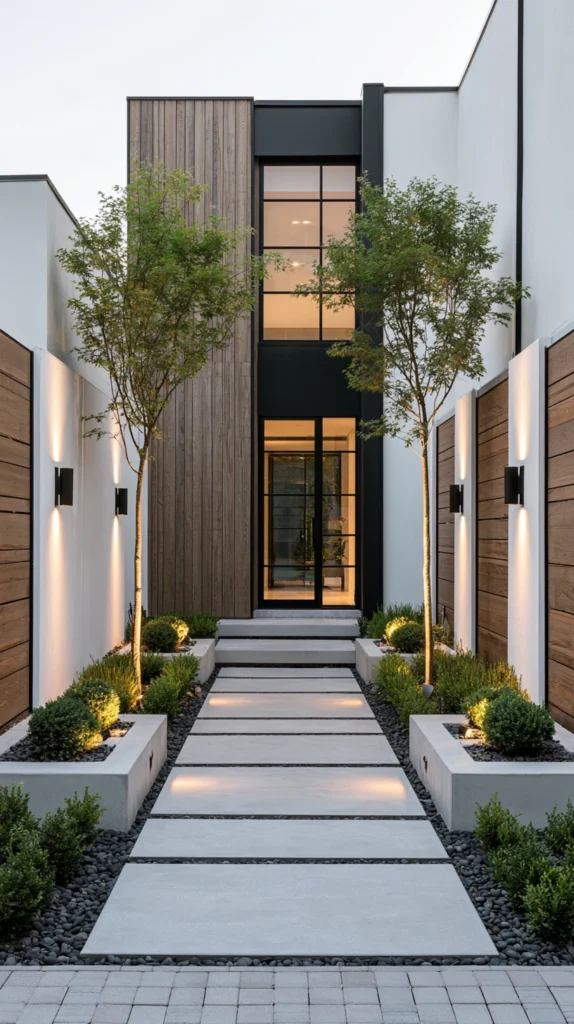
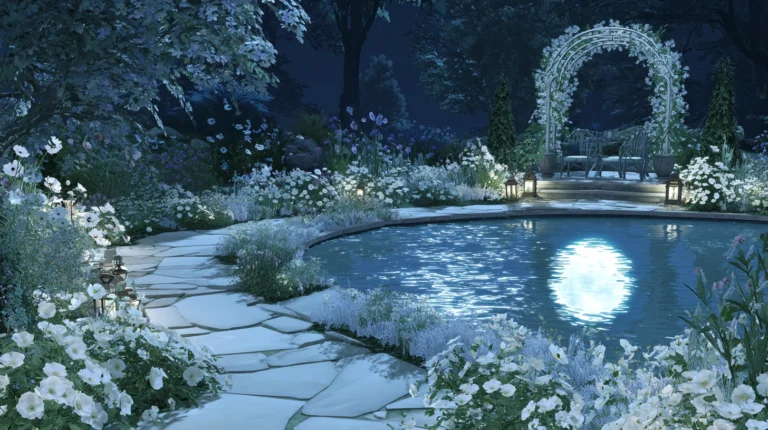
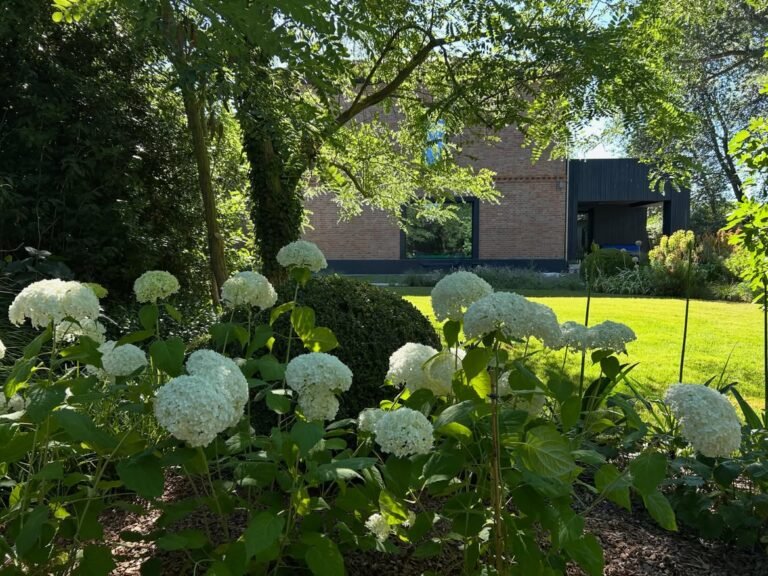
In a small garden, mixing many different flower colors can make the space look busier and more cluttered than it actually is. Limiting the palette to two or three colors, repeated throughout every bed and container, makes even a fully packed small garden read as intentional rather than chaotic.
This is a planning principle rather than a purchase, but it affects every other plant choice on this list, so decide on the palette before buying anything else.
Budget: no separate cost, since this is a selection criterion applied to whichever plants you’re already purchasing.
Write your chosen colors down before visiting a nursery, since it’s easy to get swept up by an appealing plant in an off-palette color once you’re there in person, and a single off-color impulse buy can throw off an otherwise cohesive small space.
10. Add a Narrow Water Feature Along One Edge
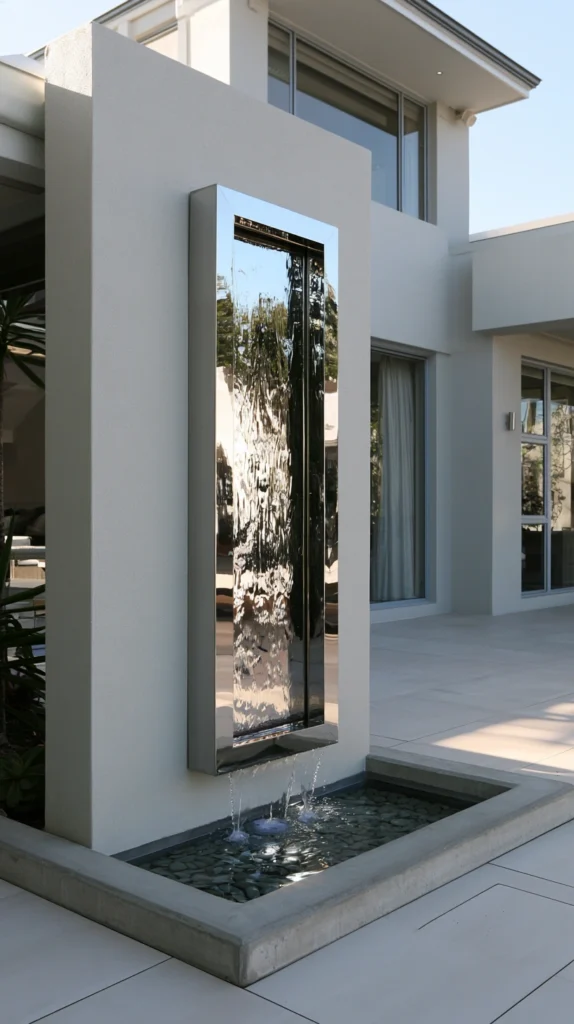
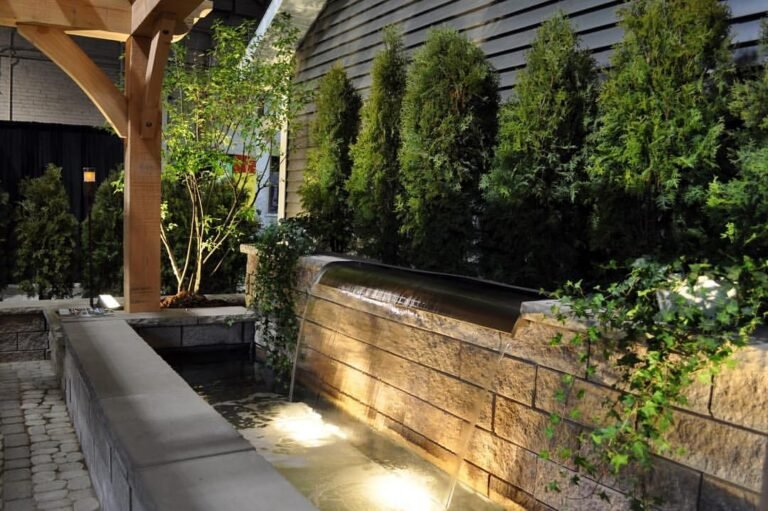
A slim, wall-mounted water feature, often no more than 6 to 8 inches deep, adds sound and movement to a small garden without consuming meaningful floor space, and the sound of moving water also helps mask street or neighbor noise in a tightly packed yard.
Look for a self-contained, recirculating unit specifically, since this avoids the need for any plumbing work and lets the whole feature run off a single nearby outlet.
Budget: $100-200 for a self-contained wall-mounted water feature.
Check the noise level described in product reviews before buying if the garden sits close to a bedroom window, since some pump systems are considerably louder than their marketing photos suggest.
11. Use Multi-Level Plant Stands Instead of Single Pots on the Ground
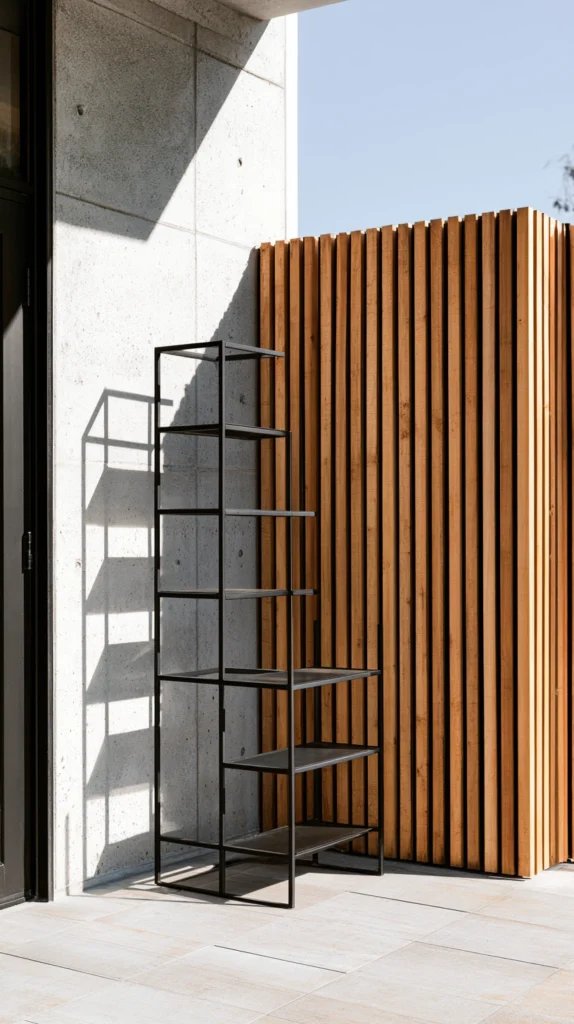
A tiered plant stand, holding three to five pots at staggered heights in the same ground footprint one large pot would need, multiplies how many plants a small corner can hold while also creating the same depth illusion covered in idea two.
Standard tiered stands range from about 24 to 40 inches tall and 18 to 24 inches wide at the base, small enough to tuck into most corners without disrupting a path or seating area.
Budget: $30-60 for a quality multi-tier plant stand rated for outdoor use.
Check the stand’s per-tier weight rating before loading it with larger pots, since the most common failure with this kind of stand is overloading the top tier with a heavier container than the structure was designed to support.
12. Combine Several of These Into One Fully Maximized Layout
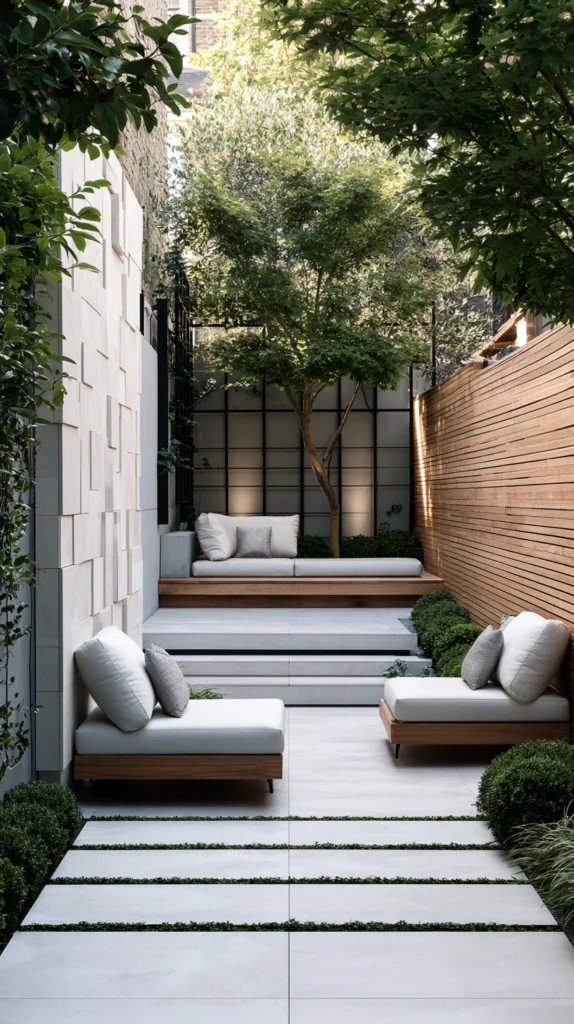
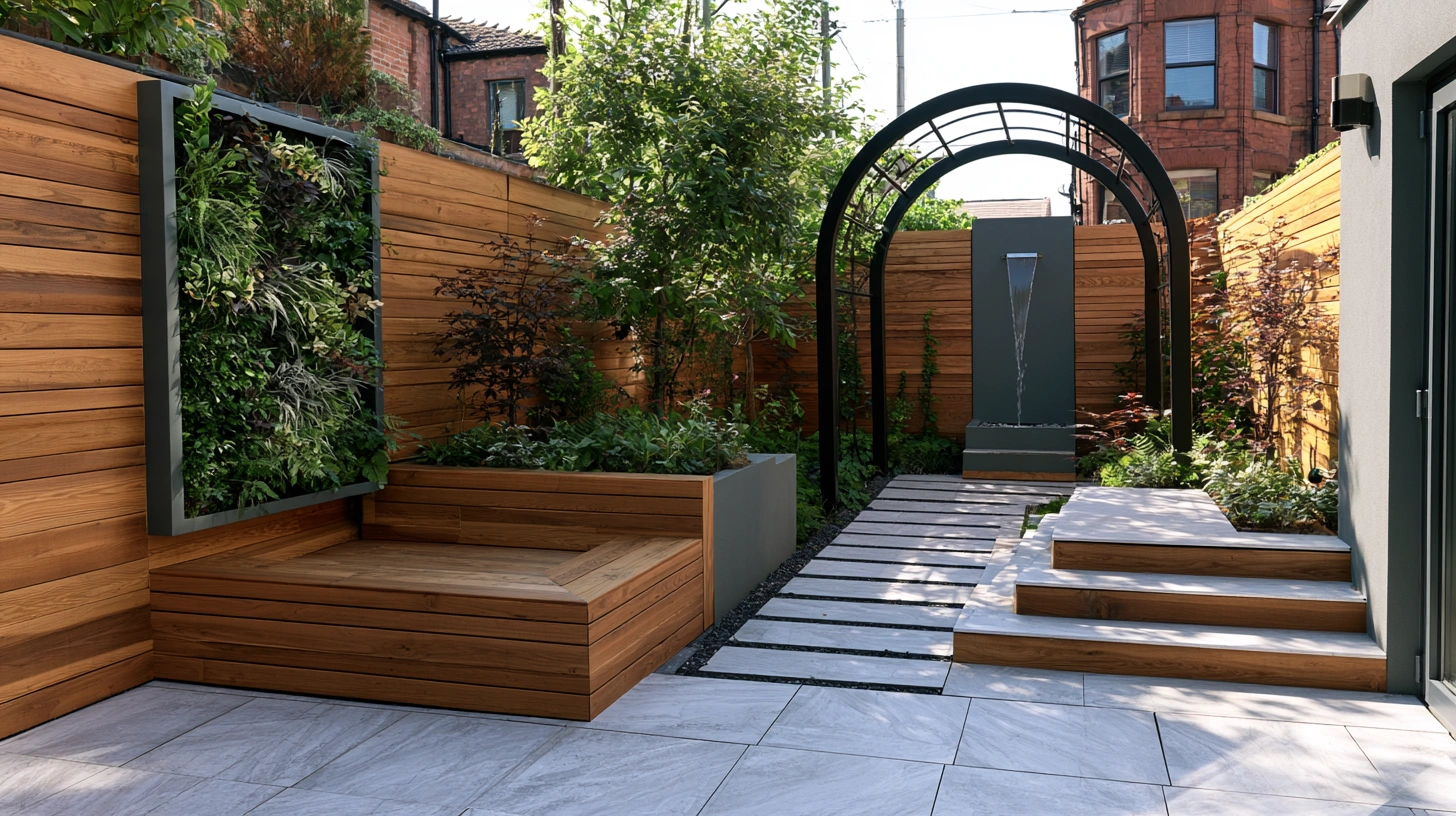
Bringing together vertical wall planting, tiered height arrangement, a repeated color palette, and a raised bed with a seating cap turns a small garden from a space defined by its limits into one that uses every available surface, vertical, horizontal, and layered, deliberately rather than by accident.
Budget: $300-600 to combine most of the ideas above into one full small-garden redesign, depending on how many structural elements like the raised bed or trellis are included.
Sketch the layout on paper first, marking actual measurements for the bed, any structures, and walking paths, since a small garden has far less room for trial and error than a larger yard does if a planned element turns out not to fit once you start building.
Choosing Your Approach
For the fastest improvement: the tiered height arrangement (idea 2) and a repeated color palette (idea 9) require no construction or purchase beyond the plants themselves.
For a bigger single change: the vertical wall planter (idea 1) or a trellis over a narrow path (idea 4) adds the most new growing space relative to the investment.
For the fullest transformation: combine several ideas using idea 12’s approach, sketching the layout with real measurements before buying or building anything.
A small garden’s real constraint is rarely square footage, it’s usually that every plant and structure is competing for the same single ground-level plane. Once height, layering, and a few vertical surfaces enter the plan, the same modest footprint holds far more than it first appears capable of.