15 Magical Backyard Lighting Ideas for Evenings Outdoors
15 Magical Backyard Lighting Ideas for Evenings Outdoors
There is a specific transformation that happens to a garden at the moment when the right outdoor lighting comes on at dusk. It is not merely that the garden becomes visible after dark — it is that it becomes a different and in some ways better version of itself. The things that are lit are revealed with an intensity and a clarity that daylight, which illuminates everything equally, never produces.
The things that are not lit recede into a darkness that creates depth and mystery. The garden at night, lit well, has a quality of composition that the daytime garden, however beautiful, cannot achieve because daylight does not select.
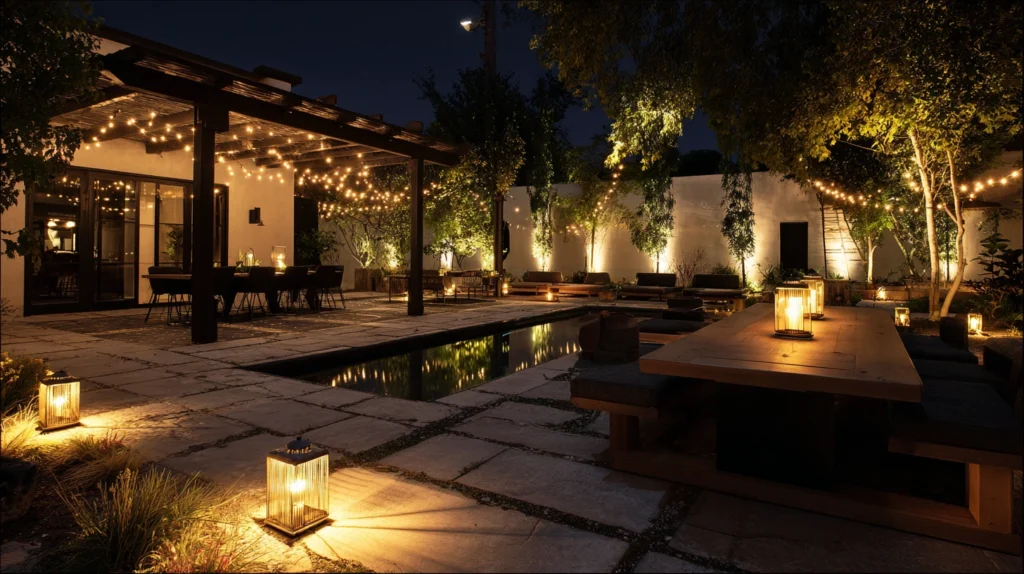
The backyard that is lit well after dark is used more, enjoyed more, and experienced as more valuable than one that closes at sunset regardless of how well-designed the daytime version is. The investment in outdoor lighting is the investment in the full use of the outdoor space across the full range of summer hours — from the afternoon through the evening, from the end of the working day through the hours when the best conversations happen and the sky does things that the interior of the house cannot see.
Each idea below is a specific approach to one type of backyard lighting. Each includes what you will need, what it will cost, and a practical tip to make it work as well as the magical evening it is designed for.
1. The Festoon Light Canopy
Budget: $30 – $200
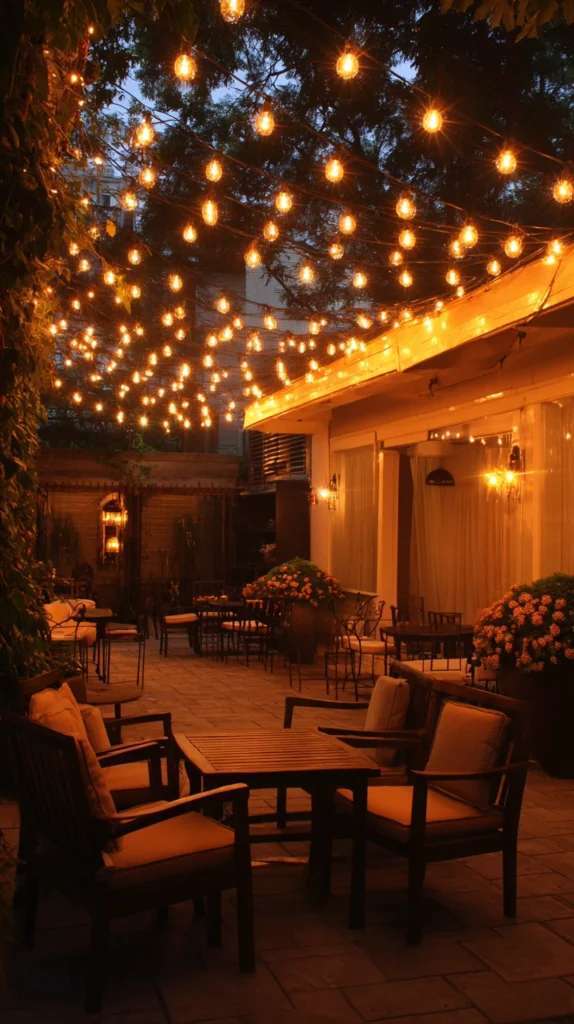
Warm white festoon lights — strung in parallel rows from the house wall to a pergola, between posts, or from tree to tree in a consistent overhead canopy — create the most immediately atmospheric and most universally loved of all backyard lighting effects.
The festoon canopy does not illuminate the garden from above; it creates the impression of a ceiling of warm light that defines the outdoor space as a room and makes the area beneath it feel enclosed, warm, and genuinely inviting regardless of the temperature of the air.
Festoon lights with globe bulbs on a 10-metre string cost $20–$60. A full canopy over a standard patio of 4 by 4 metres requires three to four strings — $60–$240 in lights. Connect to an outdoor timer socket ($8–$15) so the canopy activates automatically at dusk.
String the lights in parallel rows spaced 60–80 centimetres apart rather than in a zigzag — parallel rows create a consistent canopy effect that reads as a designed installation rather than a string of lights threaded between two points.
Style tip: Allow a sag of 20–30 centimetres in each light string rather than pulling the strings taut between anchor points. The relaxed curve of the sag reads as a deliberately generous canopy — the natural drape of something that was hung with care rather than stretched with precision. A taut string reads as a cable; a sagged string reads as light.
2. The Uplit Tree Feature
Budget: $30 – $200
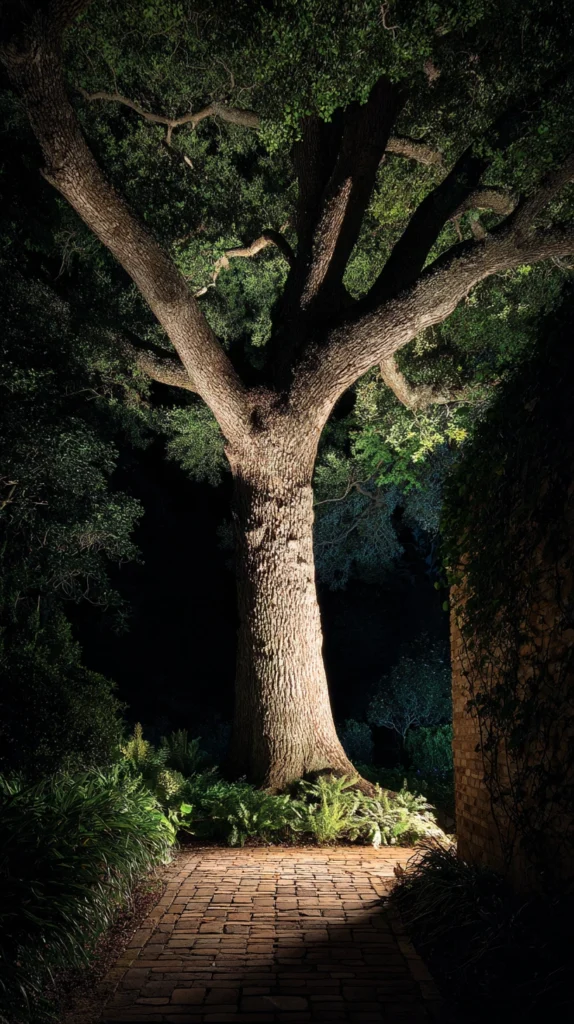
A spotlight aimed upward from the base of a significant tree — illuminating the underside of the canopy, the texture of the bark, and the structure of the branching from below — creates the most architecturally dramatic of all garden lighting effects and the one most immediately recognised as professionally designed. An uplit tree provides the garden’s primary nighttime focal point, creates depth by illuminating the middle distance against the dark garden beyond it, and produces a quality of luminous organic form that no manufactured feature can replicate.
A ground-mounted LED spotlight of 5–10 watts costs $15–$40. A set of three for a significant tree runs $45–$120. Waterproof spike-mounted spotlights that push directly into the ground cost $15–$30 each and require no installation. Choose a warm white LED at 2700K — the warm temperature flatters the colour of bark and foliage in the same way that warm light flatters skin tones, and a cool white spotlight on a tree produces a quality of cold examination rather than warm illumination.
Style tip: Aim the uplight so it illuminates the branching structure of the tree rather than flooding the underside of the canopy with undifferentiated light. A spotlight aimed at the point where the main branches diverge from the trunk illuminates both the trunk texture and the branching structure simultaneously; one aimed directly upward at the canopy from a central position produces a flat, even illumination of the underside of the leaves that loses the three-dimensional quality of the tree’s structure.
3. The Path Edge Solar Lighting
Budget: $20 – $100
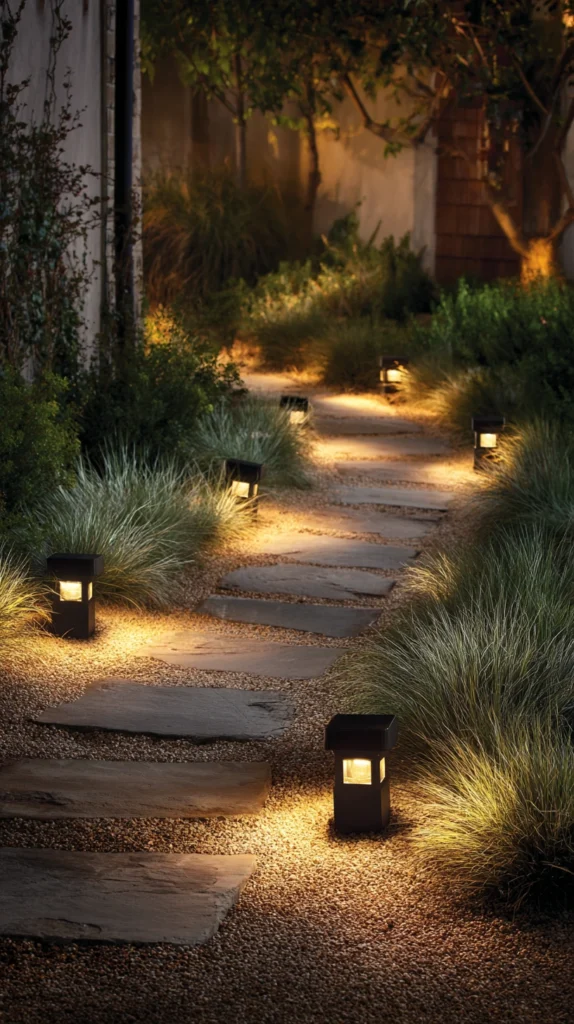
Solar ground stake lights along the primary garden path — positioned at the path edge at 60–90 centimetre intervals, switching on automatically at dusk and providing low-level navigation light — give the garden its most functional and most consistently present night lighting without any electrical installation. Path lighting communicates that the garden was designed for evening use by defining the route through it in darkness and giving the garden visitor confidence in the ground beneath their feet.
Solar path stake lights in a warm white tone cost $5–$15 each. A set of ten for a standard garden path runs $50–$150. Choose stakes with a warm amber or warm white LED rather than the blue-white that many solar path lights default to — the blue-white reads as security lighting and produces a quality of cold interrogation rather than the warm guidance of a well-lit garden path.
Style tip: Position the path lights on alternating sides of the path rather than in a uniform row on one side. Alternating the light positions creates a dappled effect along the path that reads as more organic and more generous than a single-sided row, and it provides slightly better visibility of the full path width rather than illuminating one edge while leaving the other in relative darkness.
4. The Pergola Pendant Cluster
Budget: $80 – $400
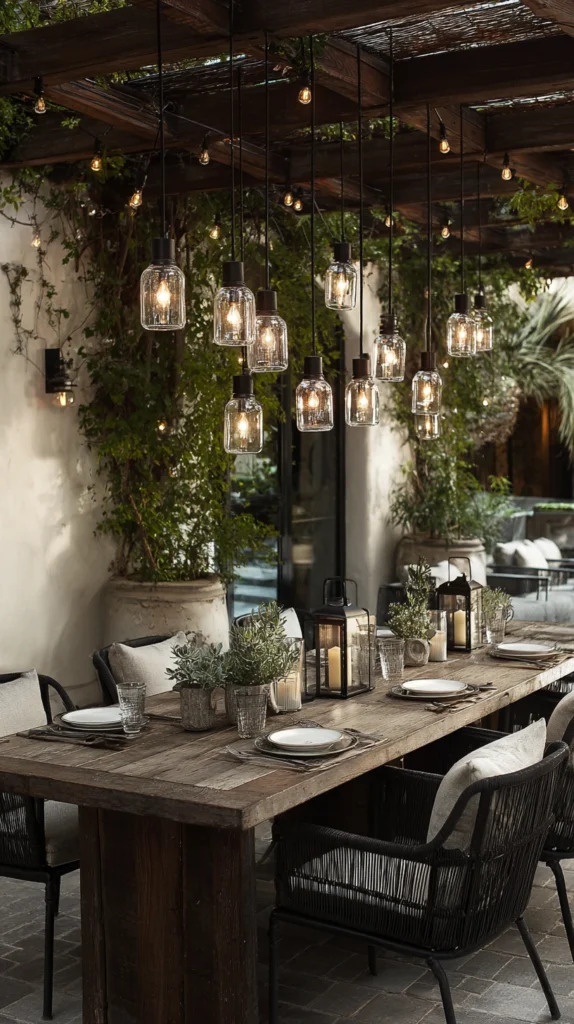
A cluster of pendant lights hung at different heights from a pergola beam — three or five pendants in coordinating materials such as rattan, ceramic, or weatherproof linen, positioned above the dining table or the primary seating — creates the most interior-quality outdoor lighting available. The pendant cluster above the outdoor table replicates the specific quality of a dining room pendant — the intimate pool of warm light over the table surface that makes an outdoor meal feel as considered and as atmospheric as the best indoor dining experience.
A set of three weatherproof outdoor pendants costs $60–$200. A single large rattan pendant costs $40–$150. A weatherproof cable and socket set for outdoor pendant hanging runs $20–$50. The pendants should be positioned so the lowest point sits 70–80 centimetres above the table surface — the height that produces the intimate light pool rather than the distant ambient source that a higher position creates.
Style tip: Put all outdoor pendants on a dimmer circuit rather than on a fixed switch — a smart plug with dimmer function costs $15–$25 and converts any outdoor pendant to a dimmable source without electrical work. The pendant at full brightness is functional for the meal; the same pendant at thirty percent is atmospheric for the conversation that follows. The dimmer is the control that allows the pendant to perform at both rather than compromising between them.
5. The Ground Level Candle Lantern Collection
Budget: $30 – $150
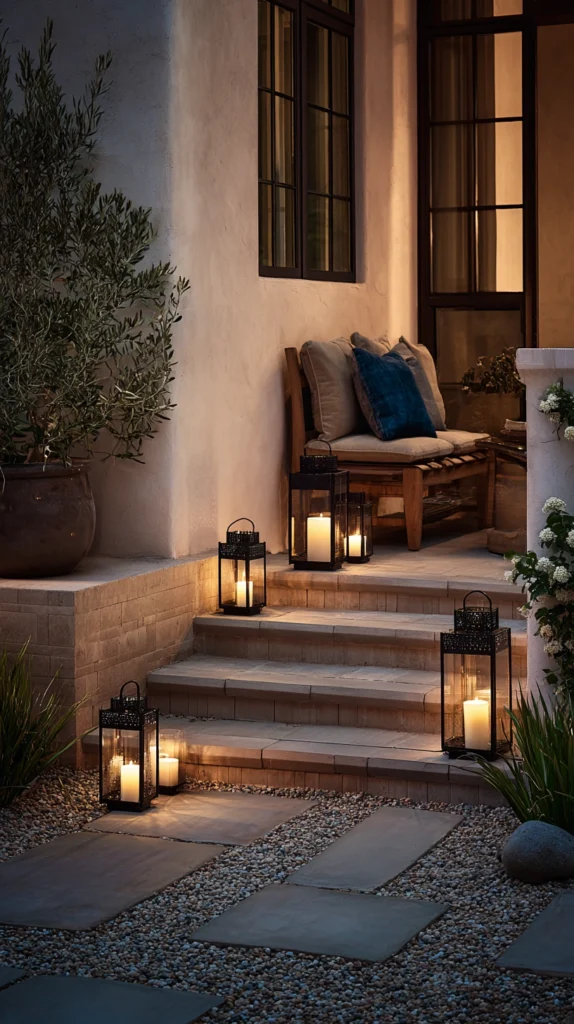
A collection of lanterns positioned at ground level — along the edges of the patio, at the base of planters, beside the steps, at the entrance to the garden — provides the warm, low-level light that most distinguishes a considered garden lighting scheme from one that relies only on overhead sources. Ground-level lanterns create the quality of light rising from the floor rather than falling from above, and the upward direction of this light source is the most flattering and most atmospheric direction available in any lighting application.
Individual lanterns in glass and metal cost $8–$25 each. A collection of eight for a standard patio runs $64–$200. Pillar candles for the lanterns cost $5–$15 each. Solar-powered LED lanterns with a realistic candle flicker cost $8–$20 each and eliminate the requirement to light and maintain real candles. Choose lanterns in a consistent material finish — all black metal, all aged bronze, all clear glass — so the collection reads as a considered set rather than as individual lanterns placed in proximity.
Style tip: Position at least one ground lantern at the entry point to each outdoor zone — the top of the steps from the house to the patio, the edge of the path at the lawn, the entrance to the fire pit area — so the transitions between zones are marked with warm light. The lantern at the threshold communicates a prepared space; the dark threshold communicates an unmanaged transition.
6. The String Light Silhouette Trees
Budget: $20 – $100
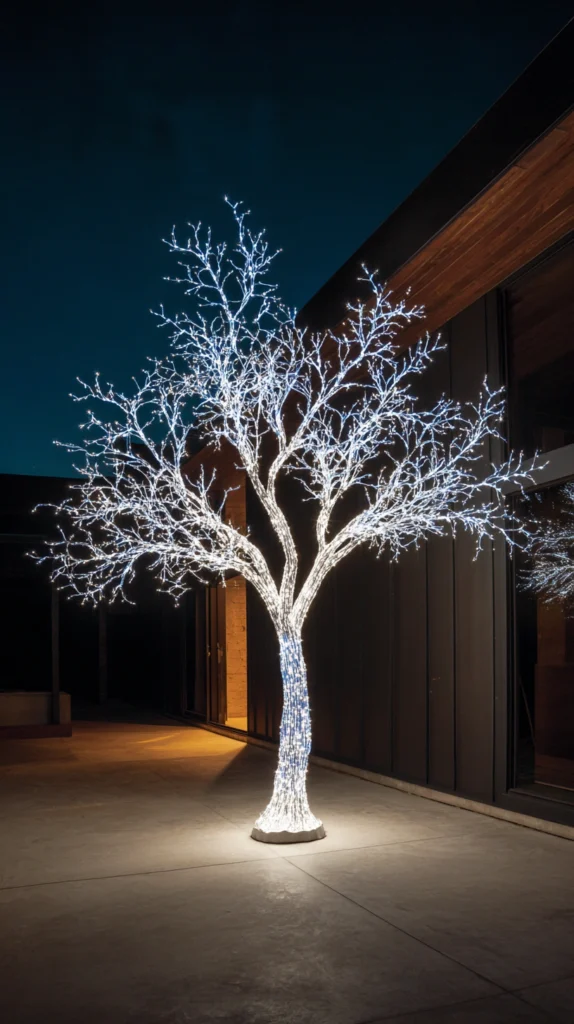
Warm white micro LED lights wound around the trunk and major branches of a garden tree — creating a silhouette of warm light against the dark garden — produce the garden’s most immediately beautiful and most specifically magical night-time feature. A tree lit from within its own structure, with the warmth of the lights revealing the specific branching character of the individual tree, looks like nothing else in domestic outdoor lighting and produces a quality of illuminated organic form that outdoor fixtures positioned beside the tree cannot replicate.
Warm white micro LED lights on a 20-metre wire cost $10–$30. Two reels are sufficient for a standard garden tree. Outdoor-rated lights are essential — indoor micro lights used outdoors deteriorate within the first season. Wind the lights beginning at the base of the trunk and working upward and outward along the main branches to the tips — the distribution from dense at the trunk to sparse at the branch tips replicates the natural light distribution of a lit interior structure.
Style tip: Connect the tree lights to the same timer as any other permanent garden lighting so the tree illuminates automatically at dusk. A lit tree that comes on automatically is a garden feature that is present every evening; one that requires manual operation is an occasional feature that is used when remembered. The timer is the management decision that makes the investment in the tree lighting fully productive.
7. The Outdoor Wall Sconce Pair
Budget: $60 – $300
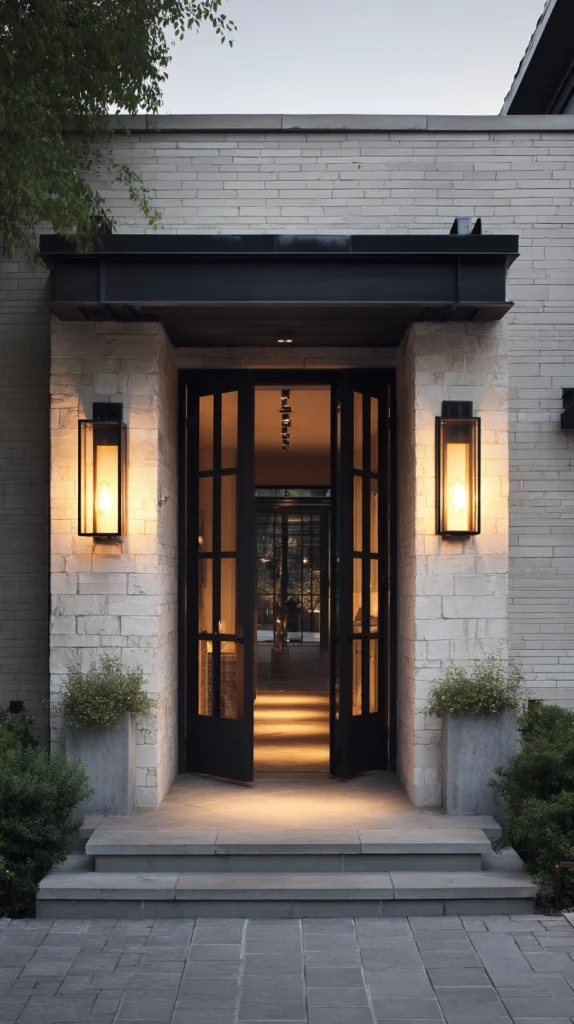
A pair of outdoor wall sconces — positioned on each side of the back door or the garden room entrance, at a height of 200–210 centimetres, in a complementary finish to the outdoor furniture and fittings — provides the functional entry light and the architectural definition of the house-to-garden threshold simultaneously. Well-chosen wall sconces communicate that the outdoor space was designed as a continuation of the house rather than as an area behind it, and the quality and the finish of the sconce communicates the quality of the outdoor space at the most visible and most closely inspected lighting position.
A pair of weatherproof outdoor wall sconces in a lantern or industrial style costs $60–$200. Brushed stainless sconces run $80–$250 per pair. A classic black powder-coated pair costs $40–$150. Install on a separate switch from the interior hallway lights — wall sconces that can only be switched on from inside the house are sconces that cannot be turned on from outside, which is the specific functional failure that most consistently prevents outdoor wall sconces from being used as intended.
Style tip: Choose a sconce that directs light both upward and downward from the wall position rather than purely downward. A sconce with upward light wash creates a warm glow on the wall surface above the fitting that gives the entrance wall its quality of warmth and welcome; a downward-only sconce provides functional light without the atmospheric quality of the illuminated wall surface.
8. The Moonlighting Effect
Budget: $40 – $200
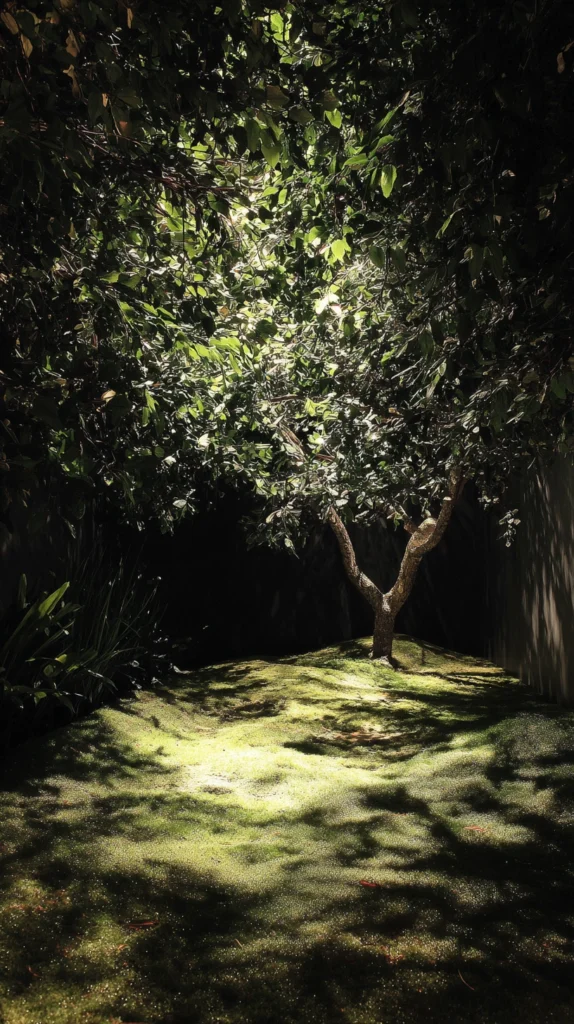
Moonlighting — a technique of positioning a downlight high in a tree canopy and directing it downward through the branches to the garden floor — creates the closest available imitation of natural moonlight in a garden. The light descending through the canopy creates the same dappled, moving shadow patterns that the moon produces through the leaves on a clear night, and the effect is one of extraordinary natural beauty that no ground-level or horizon-level light source can produce.
A waterproof LED spotlight rated for outdoor use costs $20–$60. A tree surgeon or an arborist is required to position the light in the upper canopy — $50–$150 for a basic installation. A low-voltage cable run from the house to the tree costs $20–$50 in materials. Choose a cool white at 4000K rather than the warm white used for other garden lighting — the slightly cooler temperature of cool white is closer to the actual colour temperature of natural moonlight and produces the specific quality of the moonlighting effect rather than the warm amber quality of ordinary garden illumination.
Style tip: Use the moonlighting effect sparingly — one tree in the garden at most — rather than installing downlights in multiple trees. A single moonlit tree is a specific focal point around which the rest of the garden is organised; multiple moonlit trees produce a uniformly illuminated canopy that loses the specific quality of the single lit tree against the dark garden background.
9. The Outdoor Floor Lamp
Budget: $60 – $300
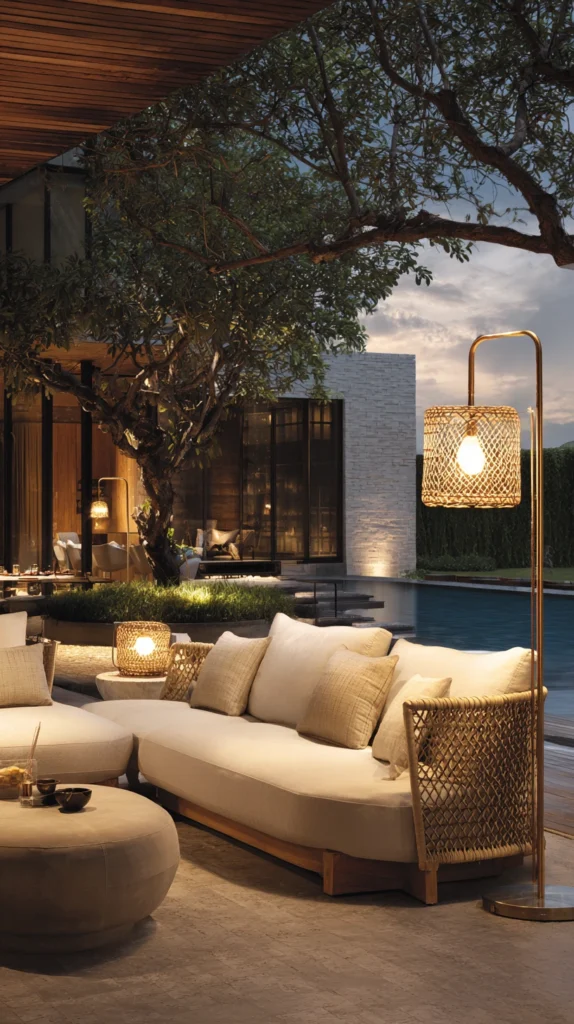
A freestanding outdoor floor lamp — positioned beside the primary outdoor seating in the same way that a floor lamp is positioned beside the primary indoor seating — creates the most interior-quality outdoor lighting effect and the one that most directly communicates that the outdoor space was designed as an outdoor room. An outdoor floor lamp beside a sofa or a set of armchairs produces warm, directional, intimate light at the reading and conversation scale that overhead and path lighting cannot provide.
A weatherproof outdoor floor lamp costs $60–$200. A solar-powered version that requires no electrical connection runs $40–$150. An arc floor lamp — the design that extends the shade out and over the seating position — costs $80–$250. Position the floor lamp so the shade is at the height and the angle that directs light onto the faces of the seated occupants rather than into their eyes or away from them — the shade position is the specification that determines whether the floor lamp provides useful atmospheric light or simply provides an illuminated shade at the periphery of the seating area.
Style tip: Choose an outdoor floor lamp with a shade in a warm-toned fabric or a wicker material rather than a metal shade. A fabric or wicker shade glows from within when lit and produces the warm, diffuse quality of an interior lamp; a metal shade blocks the light upward and downward and produces a focused beam rather than the ambient glow that the floor lamp position requires.
10. The Fairy Light Jar Collection
Budget: $20 – $80
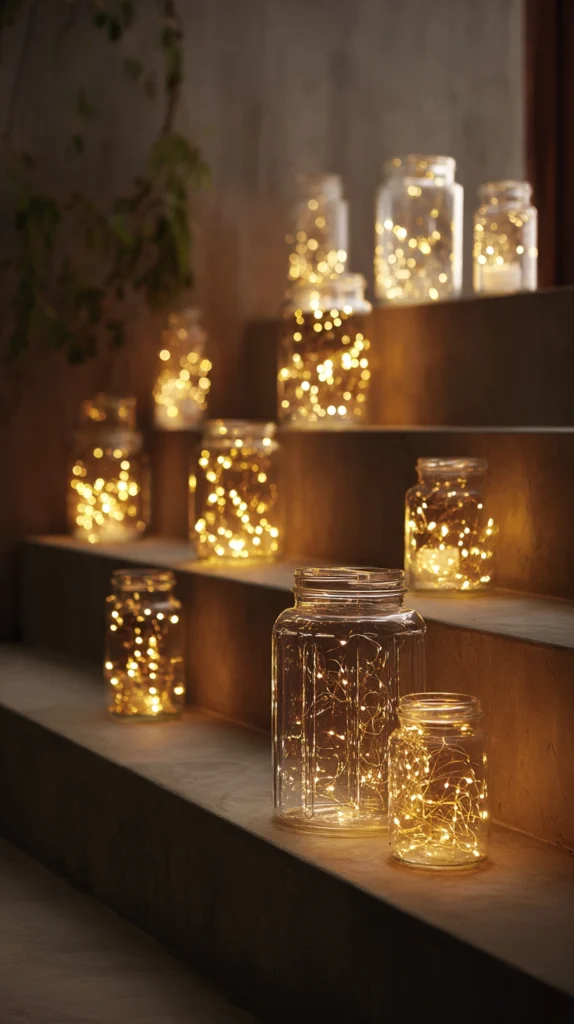
A collection of glass jars — clear mason jars, old jam jars, or glass lanterns — each containing a small coil of battery-powered warm white fairy lights, arranged along the table, along the steps, or at the edges of the patio, creates the most easily assembled and most instantly atmospheric of all backyard lighting effects. The lit jar produces a warm, diffuse, internally illuminated glow that references both the lantern and the candle — the oldest forms of portable light — and communicates a quality of deliberate preparation that the gathering it lights was worth.
Battery-powered warm white fairy light coils cost $3–$8 each. Clear glass jars cost $1–$3 each or nothing if repurposed from the kitchen. A collection of ten lit jars costs $20–$70 in total and takes fifteen minutes to assemble. Arrange the jars at different heights — some on the table surface, some on a raised ledge or a step — rather than at a uniform height, so the warm light creates vertical variety rather than a single horizontal line.
Style tip: Use the fairy light jar collection as a temporary installation for specific occasions rather than as a permanent lighting element. Jars arranged for a Friday evening dinner that are packed away on Saturday morning retain the quality of something that was made for the specific occasion; jars left in position indefinitely become part of the background and lose the quality of deliberate preparation that is their primary atmospheric contribution.
11. The Illuminated Water Feature
Budget: $30 – $150
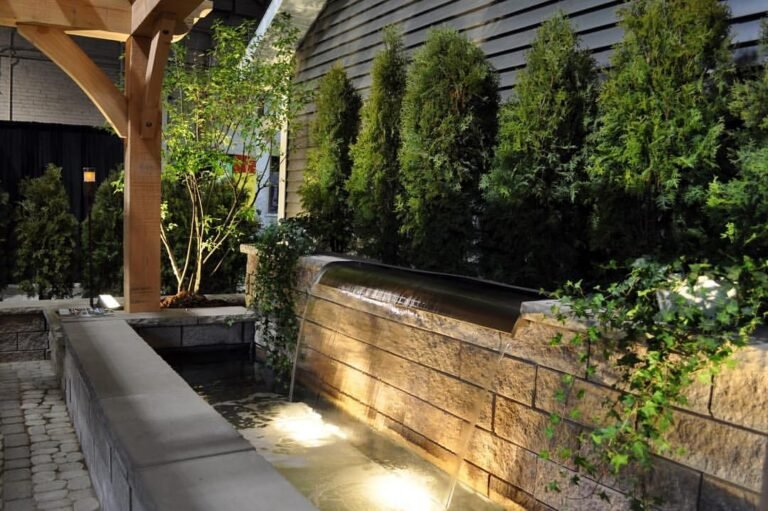
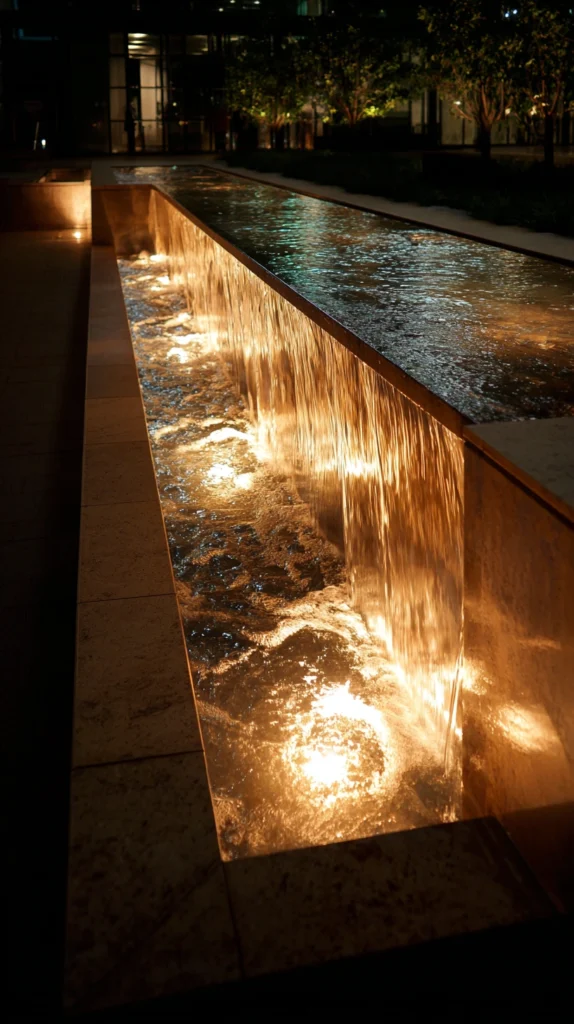
Submersible LED lights in a garden pond, a water feature, or a fountain — illuminating the water from below so the surface glows and the movement of the water is visible as light rather than as reflection — create the most specifically magical of all garden lighting effects. Lit water at night produces a quality of light that is entirely different from any surface light source — the glow rises from below the water surface, the movement of the water creates a continuously changing light pattern, and the reflection of the lit water on surrounding surfaces extends the light effect beyond the feature itself.
Submersible LED lights rated for pond use cost $10–$30 each. A set of three for a standard pond or water feature runs $30–$90. A colour-changing version — capable of producing warm white, cool white, and coloured light — costs $15–$40 each. Choose warm white for a natural water feature and cool blue or aqua for a contemporary formal pool — the specific light colour communicates the character of the water feature as accurately as its physical form.
Style tip: Position submersible lights so they illuminate the water from the side rather than from directly below the surface. A light positioned at the edge of the pond floor, aimed across the base rather than straight up, produces the specific quality of water illuminated from within its own depth; a light positioned directly beneath the water surface produces a flat, even glow that lacks the depth and the movement quality of the side-lit water effect.
12. The Coloured Accent Lighting
Budget: $20 – $100
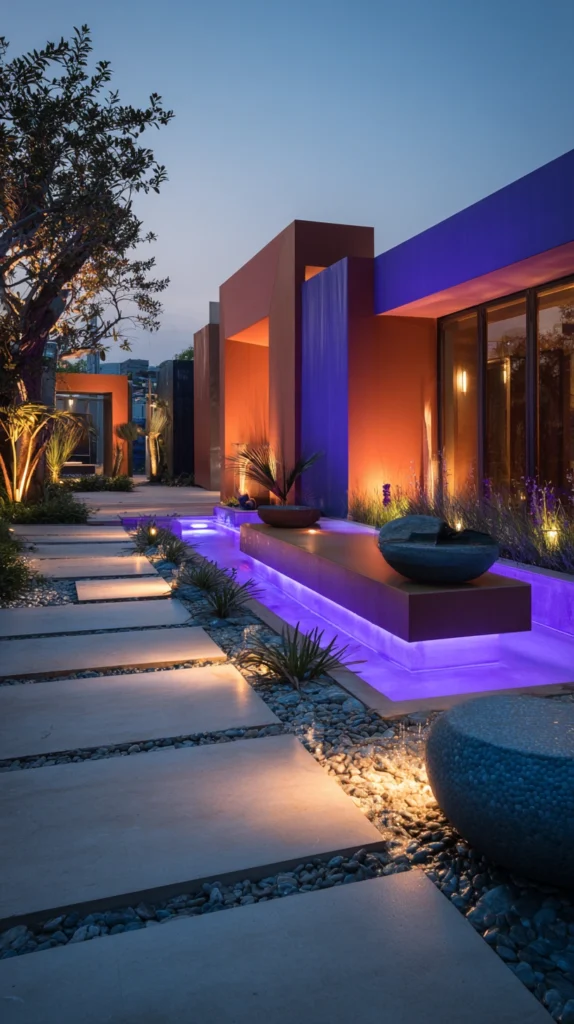
A single accent colour — warm amber, deep blue, or soft green — used in one specific zone of the garden (the fire pit area, the planted border, the water feature) creates a point of colour contrast within an otherwise warm white lighting scheme. The coloured accent communicates that the lighting was considered at the zone level as well as the whole-garden level, and the specific colour creates a visual identity for its zone that distinguishes it from the rest of the garden in the way that a different material or a different planting would distinguish it in daylight.
Colour-changing LED spotlights for garden use cost $15–$40 each. A set of three for a zone accent costs $45–$120. Solar-powered colour-changing ground stakes run $8–$20 each. The coloured accent should be used at a single zone only — coloured lighting at multiple positions throughout the garden produces a fairground quality rather than the considered accent that a single colour at a single zone provides.
Style tip: Choose the accent colour in relation to the planting or the material of the zone it illuminates. Warm amber light on terracotta paving or brick reads as warm and domestic. Cool blue light on a contemporary water feature or pale stone reads as calm and precise. Deep green light in a planted border creates a specifically botanical quality. The relationship between the light colour and the material it illuminates is the design decision that makes the accent feel composed rather than decorative.
13. The Outdoor Table Centrepiece Light
Budget: $20 – $100
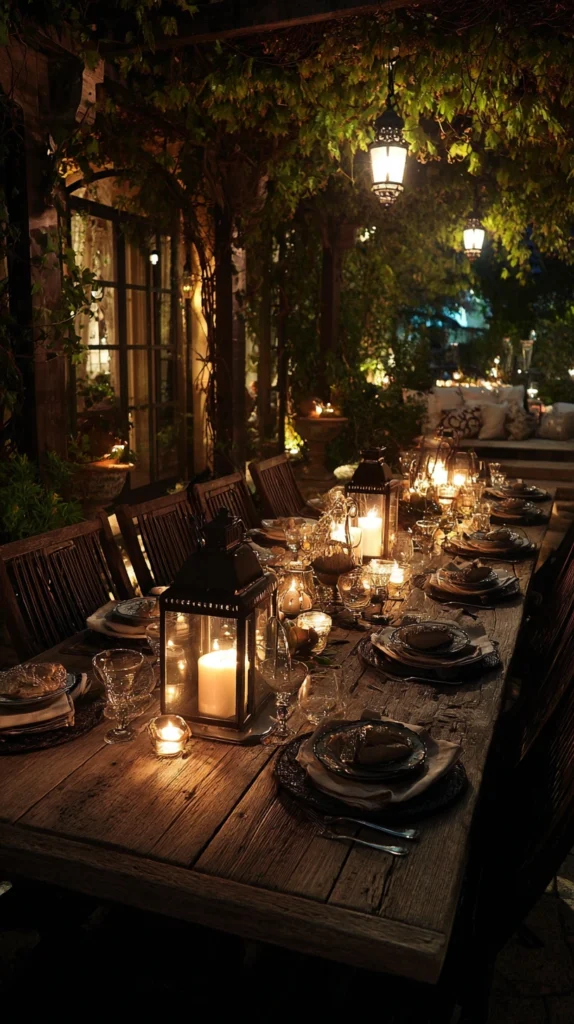
A light source at the centre of the outdoor dining or coffee table — a cluster of pillar candles, a hurricane lantern with a large candle inside, a cluster of fairy light jars, or a small bioethanol fire bowl — provides the most intimate and most specifically social of all outdoor light sources. The table centrepiece light illuminates the faces of the people around it from a position of shared proximity, and the quality of light it produces at this scale and this distance is the quality that makes an outdoor evening feel genuinely warm and genuinely social rather than functionally lit.
A large hurricane lantern costs $15–$40. Pillar candles of three heights for a cluster costs $15–$30. A small bioethanol fire bowl for the table runs $30–$80. A fairy light jar cluster costs $10–$30. The table centrepiece light works in combination with the overhead and perimeter lighting rather than instead of it — the centrepiece provides the intimate layer while the overhead sources provide the ambient layer, and the combination of the two produces the full depth of the considered outdoor lighting scheme.
Style tip: Position the table centrepiece light so it does not obstruct the sightlines between the people seated around the table. A candle cluster that is taller than the eye level of a seated person blocks the view between the guests on either side of it — the arrangement detail that most undermines conversation at an outdoor table. All centrepiece lighting should sit below the seated eye level of approximately 120 centimetres from the ground.
14. The Perimeter Border Uplight
Budget: $40 – $200
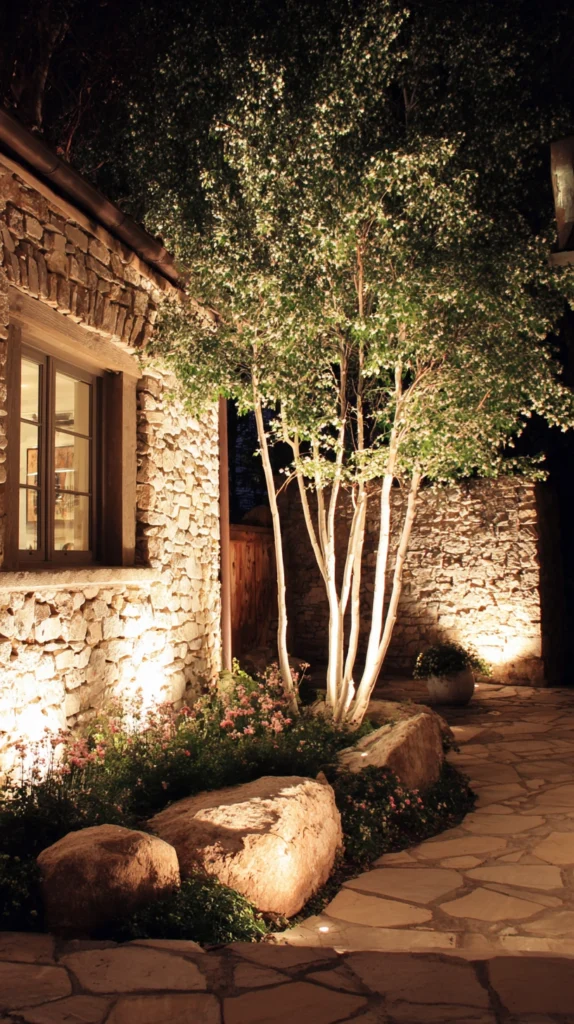
Low-voltage uplights positioned within the planted borders — illuminating individual plants, shrubs, and garden features from within the planting at ground level — create the garden’s most specifically horticultural and most genuinely beautiful night lighting effect. The plants illuminated from within the border are revealed in a way that daylight, which shows them as part of a continuous garden surface, does not — each lit plant is an individual form against the dark garden, and the composition of the border at night, with selected plants illuminated and the spaces between them receding into darkness, has a quality of editing that the daylight border, which shows everything simultaneously, cannot achieve.
Ground spike uplights for border installation cost $15–$30 each. A set of six for a standard border runs $90–$180. Low-voltage LED versions on a transformer system cost $100–$250 for a complete kit. Choose uplights with a narrow beam angle of 15–30 degrees for individual plant illumination — a narrow beam produces a precise cone of light that reveals the plant’s form; a wide beam floods the surrounding area and reduces the contrast between the lit plant and the dark garden behind it.
Style tip: Light selectively rather than comprehensively — illuminate one in three of the border’s most significant plants rather than attempting to light all of them. A border where every plant is lit loses the contrast between light and darkness that is the source of the night garden’s specific beauty. The unlit plants in the dark garden behind the lit ones are as important to the composition as the plants that are illuminated.
15. The Smart Lighting System
Budget: $80 – $400
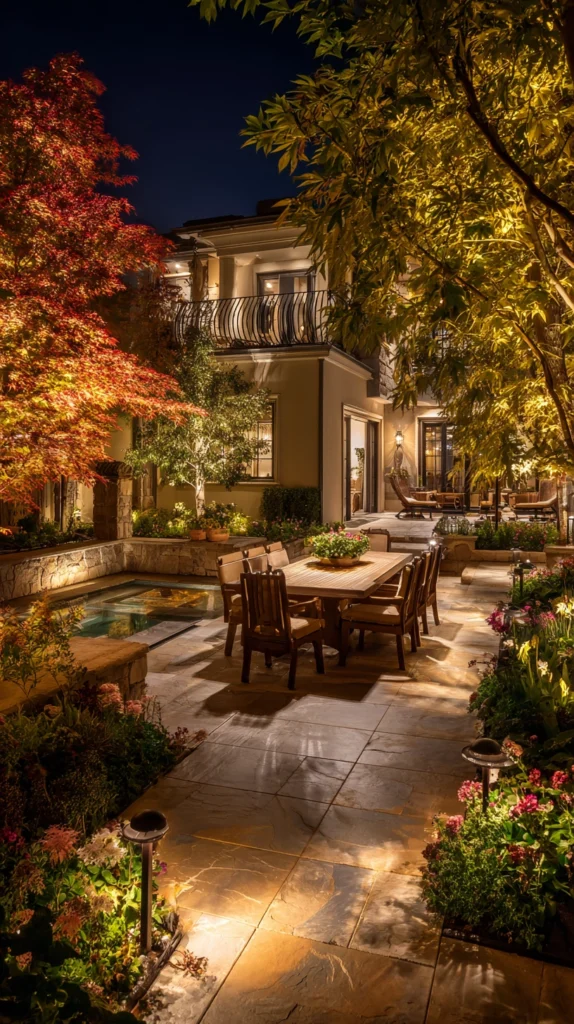
A smart outdoor lighting system — outdoor smart plugs controlling all permanent light sources through a single app or a single voice command, with pre-set scenes for different outdoor occasions — creates the management infrastructure that transforms a collection of individual outdoor lights into a coordinated lighting scheme. The difference between outdoor lighting that is used every evening and outdoor lighting that is used occasionally is almost entirely the difference between lighting that is simple to activate and lighting that requires multiple actions before the garden is lit.
Outdoor smart plugs cost $15–$30 each. A complete outdoor smart lighting system controlling four circuits costs $60–$120 in smart plugs. A smart bridge for a proprietary system runs $30–$60. Set up two pre-set scenes — a ‘dinner’ scene for the full lighting scheme at functional brightness and an ‘evening’ scene for the full scheme at atmospheric dimness — so any outdoor occasion is managed with a single activation rather than the individual adjustment of each light source.
Style tip: Connect the smart outdoor lighting system to a sunset-trigger rather than a fixed time. A fixed-time schedule that turns the garden lights on at 9 pm in October produces darkness in the garden from 6 pm when sunset has moved earlier; a sunset-triggered system activates the lights at the correct moment every evening of the year regardless of the season. The sunset trigger is the schedule setting that makes the smart outdoor lighting genuinely smart rather than simply remote-controlled.
The backyard lighting scheme that produces magical evenings outdoors is not the most elaborate or the most expensively specified. It is the one that was designed for the specific garden — the specific trees to uplight, the specific path to edge, the specific table to pendant over — and that was executed with the attention to light temperature, direction, and management that makes the difference between a garden that is illuminated after dark and one that is genuinely transformed by it.
Begin with the festoon canopy over the primary outdoor living area and the path lighting along the primary garden route. These two elements alone produce the most immediate and most significant improvement to the evening quality of the garden. Add the tree uplighting, the water feature illumination, and the border lighting in subsequent seasons as the garden develops.
Connect everything to timers and smart switches so the lighting activates consistently rather than occasionally. And then go outside at dusk and experience the specific quality of a garden that was designed for the evening as well as for the day — a quality that no amount of daytime gardening, however skilled and however patient, can produce.